What Is a CoreXY 3D Printer? Mechanics, Pros, Cons, and Buying Insights
If you’ve looked at the desktop manufacturing landscape anytime recently, you’ve probably noticed a massive architectural shift. The traditional "bedslinger" machines that carried the industry for a decade are stepping aside. Today, whether you are browsing engineering subreddits or watching YouTube tech reviews, one term dominates the conversation: CoreXY.
But what actually is it? Simply put, a CoreXY 3D printer is a machine that uses a fixed, dual-motor belt system to move the printhead swiftly across the X and Y axes, shedding moving weight to achieve incredible speeds. But does this motion system actually make a difference, or is it just the latest trend the industry is rallying around? Let's pop the hood, explore the kinematics, weigh the real-world pros and cons, and see why combining CoreXY with advanced toolchangers is defining the 3D printing ecosystem in 2026.
Key Takeaways
- Speed and Stability: CoreXY sheds moving weight by using stationary motors, unlocking blistering print speeds and exceptional XY dynamic performance.
- Precision is Required: The complex belt paths require perfect alignment and tensioning, making setup less forgiving than traditional printers.
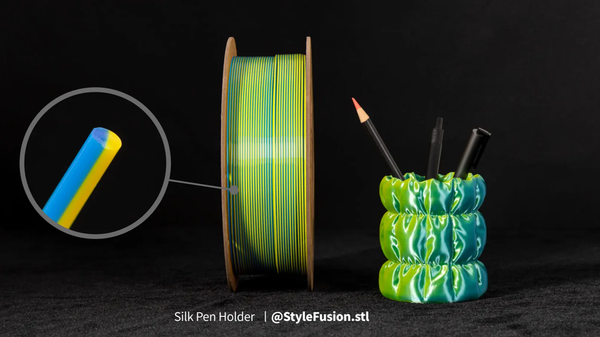
- The Zero-Waste Future: Pairing CoreXY with a toolchanger (like the Snapmaker U1) solves the massive filament waste of modern multi-color printing.
The Mechanics Explained: How CoreXY Works
At its heart, CoreXY is not a specific type of 3D printer, but rather a highly synchronized, belt-driven kinematic motion system utilized within fused deposition modeling (FDM) machines to move the printhead across the X and Y axes.
History and Drafting Table Origins
While it feels like cutting-edge tech, the foundational math behind CoreXY isn't new. Its origins can actually be traced back to early mechanical drafting tables and CNC machinery. It was designed as the most efficient way to achieve synchronized X and Y movement without burdening the moving parts with heavy motors.
Why Stationary Motors?
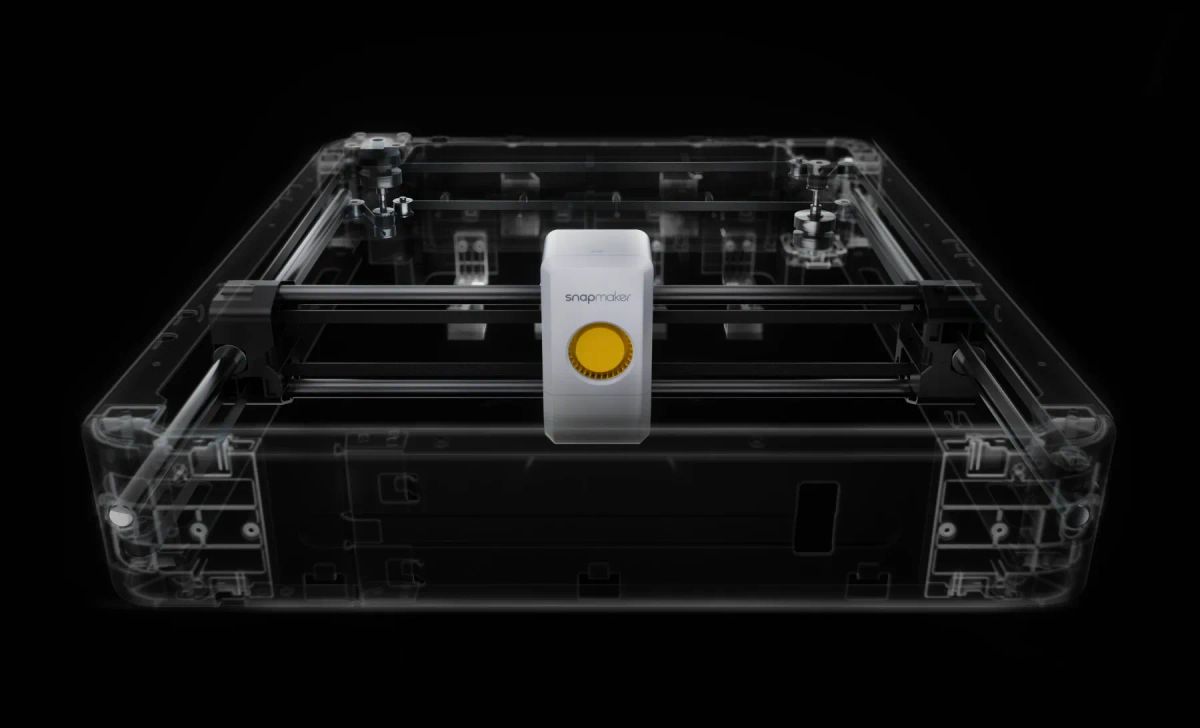
The secret sauce lies in the motor placement. In a standard Cartesian setup, a heavy stepper motor is bolted directly to a moving axis. CoreXY flips the script. The two motors responsible for horizontal movement are permanently fixed to the rigid outer frame of the machine.
Instead of one motor for X and one for Y, CoreXY uses two stationary motors that work in tandem, pulling an incredibly long, interwoven timing belt system.
- When both motors spin in the same direction, the toolhead glides diagonally at a 45-degree angle.
- When they spin in opposite directions, the motion resolves into a perfectly straight line along the pure X or Y axis.
Because the motors don’t move with the print head, the system sheds a tremendous amount of kinetic mass.
CoreXY vs Cartesian vs Delta: The Breakdown
To see why CoreXY matters, it helps to compare it with the other common FDM motion systems.
Cartesian (Bedslinger)
In a Cartesian setup, the print head moves side-to-side along the X-axis, while the heavy print bed moves front-to-back along the Y-axis. This classic design is simple and highly affordable. However, the moving bed adds massive physical inertia. Because of this, faster prints introduce mechanical vibration—often called "ringing"—and tall, thin prints tend to wobble as the bed aggressively shifts back and forth.
Delta
Delta printers utilize three vertical guide columns and mechanical arms to suspend the nozzle in space. They are mesmerizing to watch and excellent for printing tall cylinders quickly. However, Deltas are notoriously difficult to calibrate. More importantly, they struggle with the modern industry shift toward heavy "Direct-Drive" extruders. Suspending this extra motor weight on a Delta's flying arms forces users to sacrifice speed to maintain print quality, limiting their competitive edge.
CoreXY
In a CoreXY system, the toolhead moves fluidly across the X and Y axes at the top of the machine, while the bed only slowly drops down the Z-axis. This setup represents the goldilocks zone of 3D printing. It offers the geometric simplicity of Cartesian coordinates combined with the lightweight, high-speed agility required for professional desktop manufacturing.
What are the Advantages and Disadvantages?
Why is CoreXY becoming so popular?
The industry is obsessed with this architecture for three undeniable reasons:
- Blistering Speed and Precision: By shedding the dead weight, a modern CoreXY printer can achieve staggering speeds. High-end CoreXY printers can reach 500 mm/s, with accelerations typically ranging between 10,000 and 20,000 mm/s². You get faster prints with sharper corners and smoother surfaces.
- Z-Axis Stability: Because the bed only moves down, the geometry stays incredibly stable, which is a lifesaver when printing tall, delicate objects.
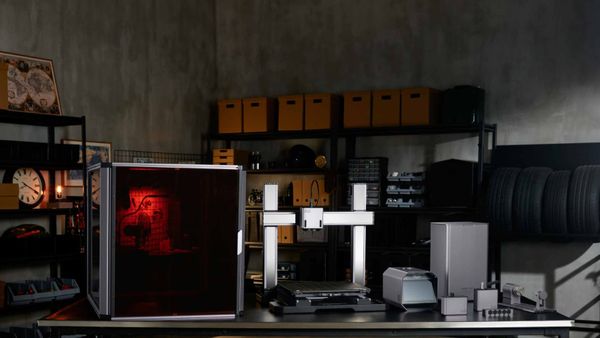
- Enclosure Friendly: The build plate doesn't sweep outside the frame. CoreXY machines are naturally compact and incredibly easy to enclose, making them perfect for maintaining the high ambient temperatures required for engineering filaments like ABS, ASA, and Polycarbonate.
CoreXY vs H-Bot
There is a common misconception that CoreXY and H-Bot are the same. They are not. While both use stationary motors, H-Bot relies on a single, continuous belt. When an H-Bot moves, it generates a massive twisting force (torque) that causes the gantry to physically rack or "cant," leading to severe wear and tear. CoreXY solves this by using two independent, overlapping belts that perfectly cancel out this twisting force, resulting in a vastly superior and stable structure.
The Engineering Challenge: Parallelism and Tension
CoreXY is an engineering marvel, but it isn't forgiving. The massive, intertwined belt system demands absolute precision. Every segment of the belt whose length changes during movement must be perfectly parallel to the guide rails. If they aren't, or if the tension between the A and B belts is uneven, the printer will actually output distorted, non-square, diamond-shaped objects. Furthermore, mitigating these forces requires highly rigid metal extrusions and premium linear rails, pushing the initial cost higher than entry-level machines.
The Post-Speed Era: Why We Need Better Multi-Color Printing
Here’s a reality check for 2026: Speed is a solved problem. When every flagship printer on the market can hit 500 mm/s, raw speed alone isn't enough to stand out. The real bottleneck in the industry today is multi-color and multi-material printing efficiency.
The "Poop" Problem of Single Nozzle Systems
Most machines currently handle multiple colors using an Automatic Material System (AMS). While it works, it feeds all colors into a single nozzle. To prevent colors from bleeding into each other during a swap, the machine must purge massive amounts of melted plastic. It's not uncommon to generate 150 grams of unrecyclable waste—affectionately known by the community as "printer poop"—just to print a 40-gram multi-color model. Furthermore, the mechanical swapping process adds hours of agonizing downtime to your print.
Snapmaker U1: Redefining CoreXY with Toolchanging
Instead of feeding multiple materials through one nozzle, the ultimate evolution of the FDM ecosystem is combining a CoreXY chassis with an independent Toolchanger. This brings us to the Snapmaker U1, a machine that is fundamentally rewriting the rulebook.
The Snapmaker U1 is built on an elite CoreXY foundation, featuring incredibly lightweight and rigid carbon fiber X-axis rails. This premium hardware allows it to comfortably cruise at 500 mm/s while maintaining micron-level accuracy across a generous 270 × 270 × 270 mm build volume.
SnapSwap's 5-Second Zero-Waste Experience
The true game-changer is the SnapSwap tool-changing system. The U1 dock holds up to four independent toolheads. When a color change is needed, the printer uses steel-ball kinematic couplings to drop one hotend and click the next into perfect position in just 5 seconds.
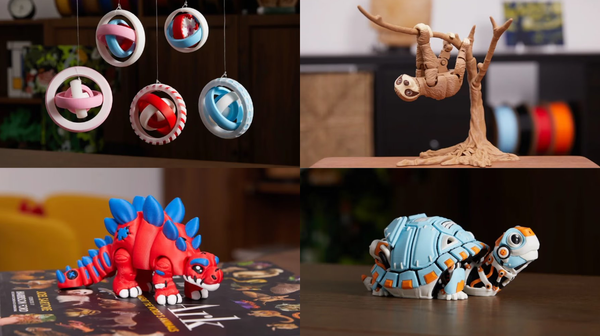
Because each color has its own dedicated nozzle (capable of reaching 572°F/300°C), no purging is required. It completely eliminates the filament waste associated with single-nozzle systems. Real-world tests show a drastic improvement: highly complex multi-color prints (like a multi-color Pikachu keychain) that take 23 hours on a top-tier single-nozzle machine can be finished in a mind-blowing 4 hours on the U1.
To guarantee flawless alignment, the U1 features a built-in sensor array that automatically calibrates the X, Y, and Z offsets between the toolheads, keeping physical deviation strictly under 0.04 mm. It even runs on a customized, open-source Klipper and Fluidd firmware, giving power users ultimate control right out of the box—especially when paired with the highly optimized Snapmaker Orca slicer and their new RFID-enabled filaments.
(Expert Tip: While the U1's CoreXY frame is phenomenal for ABS/ASA when paired with a top cover for a full enclosure, be cautious about packing the build plate edge-to-edge with these highly-shrinkable materials, as extreme thermal contraction can still warp the magnetic PEI sheet.)
Appendix: Advanced CoreXY Troubleshooting Guide
If you are stepping up to a high-performance CoreXY machine, you need to know how to tune it. Here are three expert tips to keep your machine running flawlessly:
1. Solving PLA First-Layer Adhesion Failure
If your first layer isn't sticking, your Z-offset is likely too high, or your bed is dirty. Human skin oil is the invisible enemy of PEI sheets. A quick wipe with IPA isn't always enough; take the steel plate to the sink, wash it thoroughly with warm water and dish soap, dry it, and handle it only by the edges.
2. Achieving Perfect Surface Smoothing
CoreXY eliminates mechanical ringing, but you can push quality further. To get a perfect top surface, keep your layer heights between 0.12mm and 0.2mm, use 4 solid top layers, and turn on the "Ironing" feature in your slicer. This runs the hot nozzle over the final layer without extruding plastic, literally ironing out microscopic roughness.
3. Verifying X and Z Orthogonality
Because of the complex belt paths, you must ensure your axes are perfectly square. Print a simple calibration cube. Once finished, use a digital caliper to measure the two diagonal distances across the top of the cube (X to Y). If the two diagonal measurements are identical, your belts are perfectly tensioned, and your axes are fully orthogonal.