What File Type Do 3D Printers Use?
It can be frustrating when you first enter the world of 3D printing and are immediately hit with an alphabet soup of file extensions. You might be wondering if you should be downloading an STL, a 3MF, or a G-code file just to get your machine moving.
Every successful 3D print follows a simple three-step journey: you start with a 3D model file (the blueprint), run it through a slicer (the translator), and output the machine code that your printer actually understands.
Model Files vs. Print Files
Before diving into specific formats, we need to clear up the biggest point of confusion for beginners. There is a strict difference between a 3D model file and a 3D print file. A common misconception is that 3D printers read files like STLs directly.
In reality, a model file only dictates the geometric shape of an object. It simply tells the computer what the object looks like, acting as a digital blueprint. A print file, on the other hand, contains the actual physical instructions for the machine. It tells the printer exactly how to move its motors, heat its nozzle, and deposit material to build that shape. You cannot send a model file directly to a printer. It must always be translated into a print file first using specialized software.
Phase 1: Export Your 3D Model File
Whether you are designing a part from scratch in CAD software or downloading a premade design, your first step is to save that digital shape in a format that captures its 3D geometry. This creates your blueprint file, which holds the physical dimensions of your object but contains zero instructions on how to build it.
The Legacy Standard: STL
The STL file is the legacy standard of the 3D printing world. It represents your model as a basic surface mesh made of tiny triangles. While universally recognized, it lacks the ability to store color or material data.
The Modern Replacement: 3MF
The 3MF format is the modern upgrade for 3D printing blueprints. You get a smaller and error-free file that retains scale, color, and texture data. If you are curious about why the industry is making this switch, read our complete guide on 3MF vs. STL to understand the benefits.
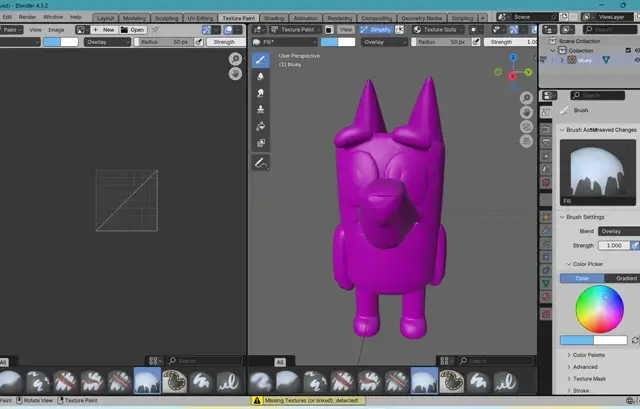
Best for Multi-Color and Textures: OBJ
If you are working with highly detailed multi-color models, exporting as an OBJ will provide the necessary texture maps to your slicing software.
The Engineering Grade: STEP
Engineers designing functional mechanical parts often export STEP files instead of meshes to retain mathematically perfect CAD geometry.
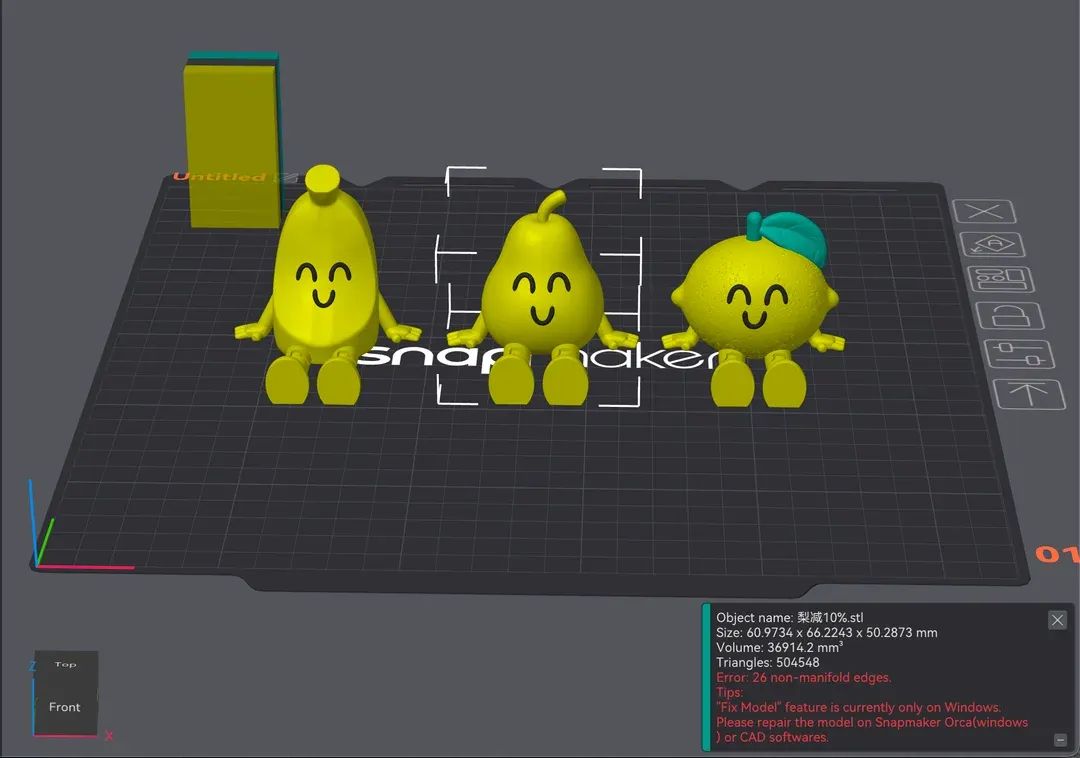
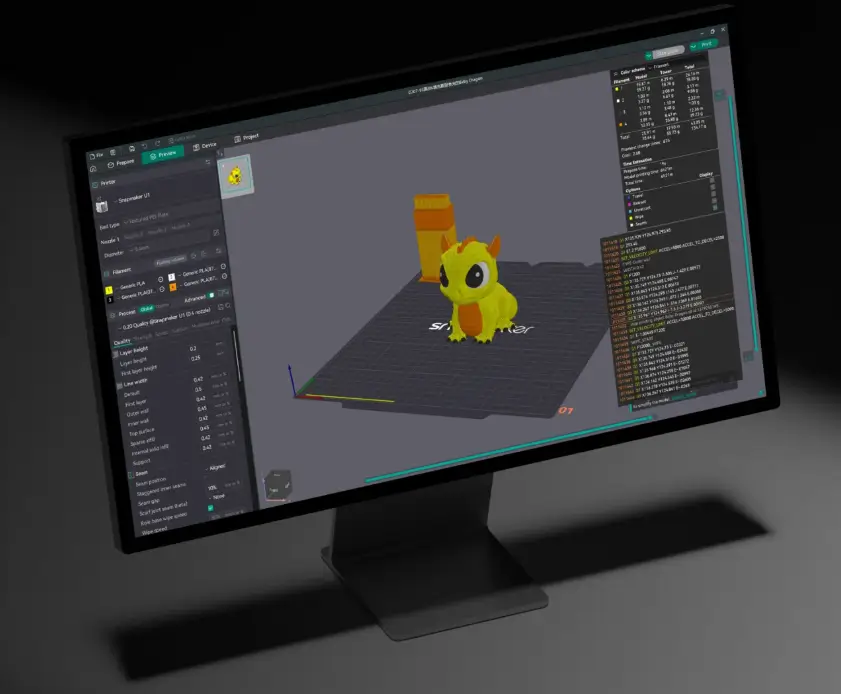
Phase 2: Slice the Blueprint into Instructions
Since you cannot send a blueprint directly to your printer, you must first import your 3D model file into slicing software. This program allows you to dictate exactly how the object should be built layer by layer. Here you will set crucial parameters like infill density, support structures, and print speed.
The software translates your static 3D blueprint into a highly optimized set of physical instructions tailored to your specific printer. The quality of your final result depends heavily on the power of this slicer. When performing this translation for complex or multi-material prints, using advanced slicing software like Snapmaker Orca dramatically improves the result. Built on the open-source Orca Slicer, it uses advanced path-planning algorithms to manage toolhead switching on machines like the Snapmaker U1. This ensures your translated file is optimized to save time, reduce filament waste, and guarantee a high-quality physical print.
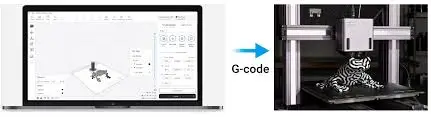
Phase 3: Send Machine Code to the Printer
Once the slicer finishes its job, you send the translated file directly to your 3D printer motherboard via Wi-Fi, LAN, or a USB drive. The printer then sequentially reads these instructions to physically manufacture the object.
FDM Printers: G-Code
For standard Fused Deposition Modeling printers, the final file type is G-code. The printer executes these line-by-line commands dictating exact X, Y, and Z coordinates along with nozzle temperatures and fan speeds. To dive deeper into how these commands work, check out our comprehensive guide on what G-code is and how to read it.
Do Resin Printers Use STL Files?
Resin printers do not use G-code coordinates or print STLs directly. Instead, the slicing software outputs proprietary masking files. The printer executes these files as a series of 2D image masks, telling the LCD screen exactly where to shine UV light to cure the liquid resin layer by layer.
FAQs on File Types of 3D Printers
Do all 3D printers use STL files?
No 3D printer uses an STL file directly. You must always run the STL through a slicer first to convert it into a machine code format like G-code or a resin masking file.
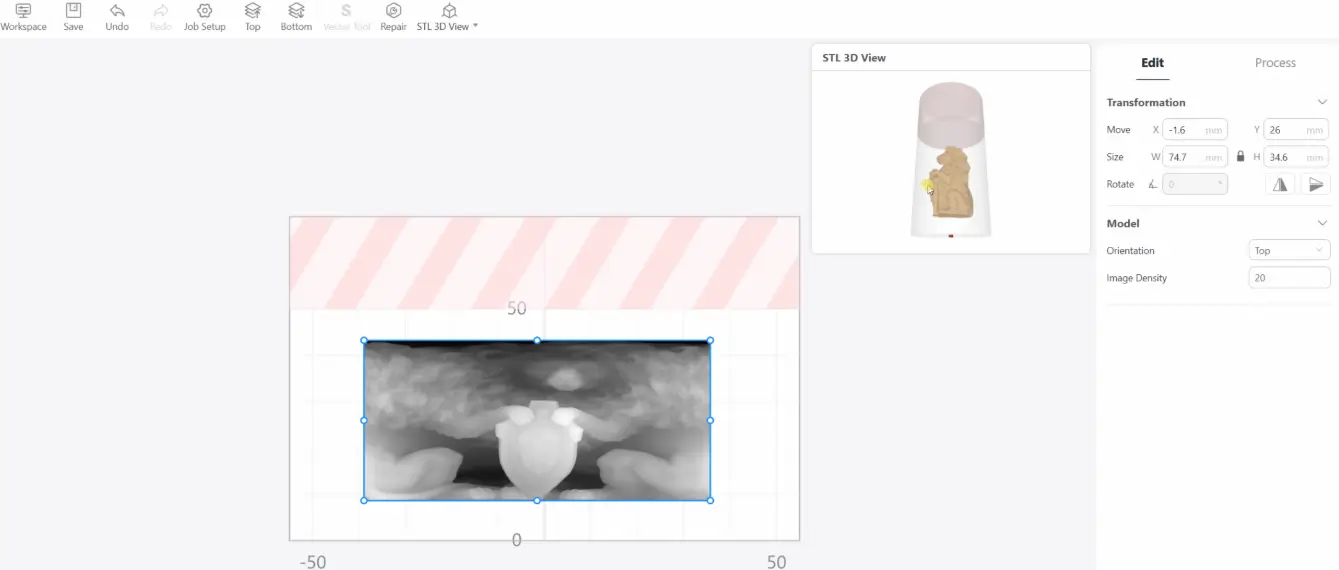
Can I convert a JPEG to an STL?
You cannot directly convert a flat 2D image like a JPEG into a fully dimensional 3D model. However, you can use specialized software to extrude the image into a 3D relief or a lithophane, which can then be saved as an STL.
Where can I find 3D printer files?
There are countless online repositories where creators share their digital blueprints. If you are looking for inspiration for your next project, explore our curated list of 17 awesome websites to download 3D models and start printing today.