Anatomy of a 3D Printer: The Ultimate Parts Diagram and Guide
When you first bring home a 3D printer, it can feel like you are looking at a complex web of wires, belts, and motors. It is incredibly common for beginners to experience a failed print—like a clogged nozzle or a shifted layer—and feel completely stuck simply because they don't know the vocabulary to search for a fix.
Understanding your 3D printer is the first step to mastering it. You don't just need a list of complex jargon; you need a clear visual map of how the motion, extrusion, and electronic systems work together in harmony. Knowing the parts of a 3D printer empowers you to troubleshoot efficiently, upgrade smartly, and recognize true machine quality.
This guide breaks down the essential anatomy of an FDM (Fused Deposition Modeling) 3D printer, translating technical engineering into clear, actionable knowledge.
The 3D Printer Diagram: A Visual Map
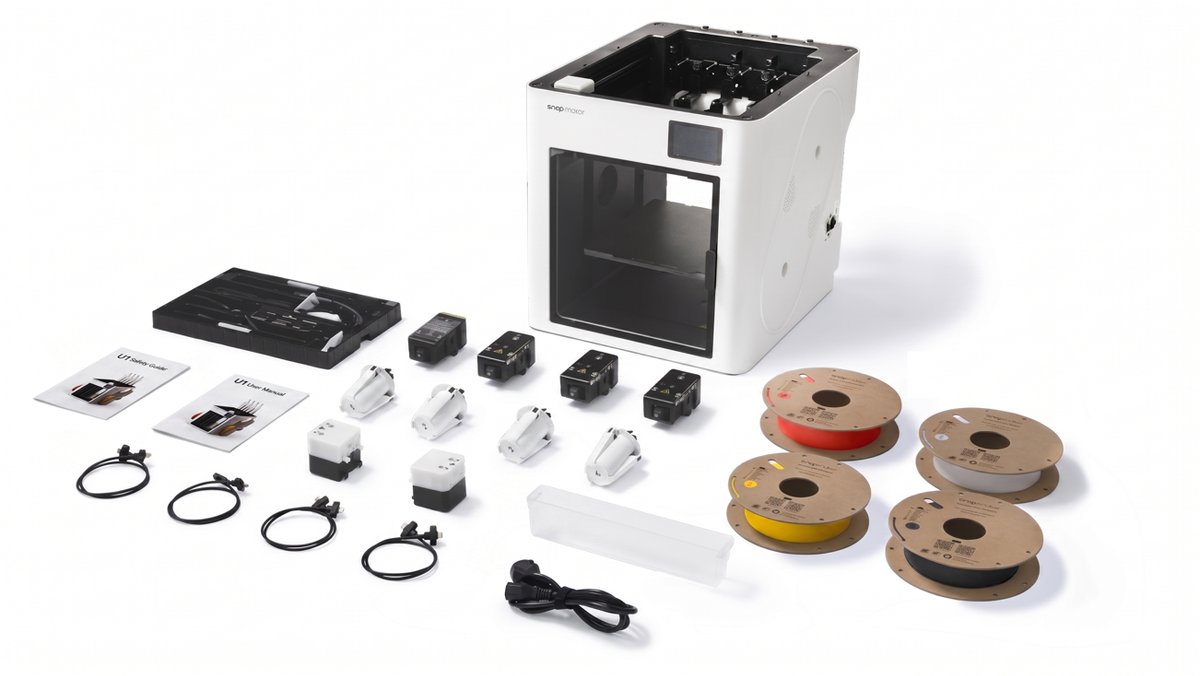
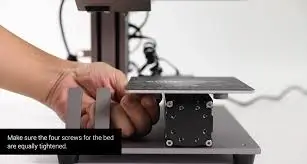
U1 Video Guide: Machine Unboxing & Assembly
Before diving into the specific mechanics, it helps to see how everything connects.
While printer designs vary—from basic "bedslinger" styles to enclosed professional machines—almost all of them rely on the following four core systems to turn digital models into physical objects.
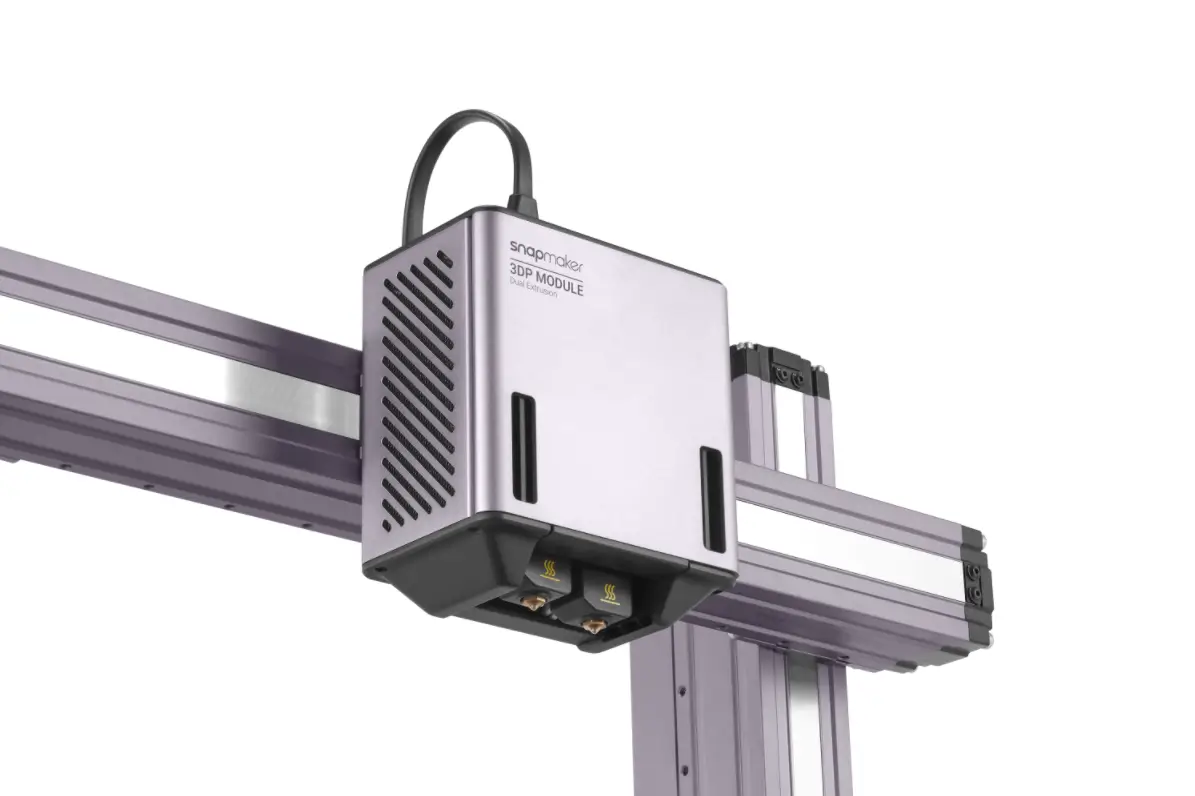
System 1: The Print Head & Extrusion
The extrusion system is responsible for pulling the raw plastic filament from the spool, melting it down, and pushing it out into the precise shape of your model.
- The Extruder: This is the "pusher." It uses a geared motor to grip the filament and feed it downward. If you want a deeper dive into how this specific mechanism works, check out our comprehensive guide: What is a 3D Printer Extruder?.
- The Hotend: This is the "melter." It contains a heater cartridge that brings the metal up to the required melting point of your specific material (anywhere from 200°C for PLA to over 280°C for advanced nylons).
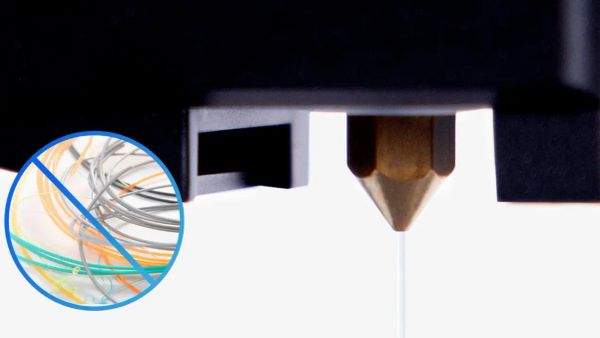
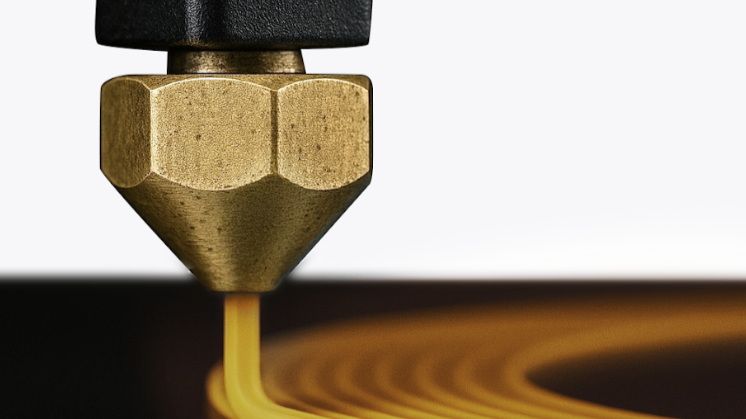
- The Nozzle: The final piece of the puzzle. The nozzle is the brass or steel tip with a tiny hole (usually 0.4mm) that shapes the melted plastic as it exits the print head.
The Evolution of Extrusion: On traditional 3D printers, changing colors or materials means manually pulling filament out of the extruder, feeding a new spool in, and running a "purge" cycle to clear the old color from the hotend—wasting significant time and material.
Modern, advanced systems have completely re-engineered this process. For example, the Snapmaker U1 utilizes the SnapSwap™ system. Instead of purging one nozzle, the U1 holds four pre-loaded, pre-heated toolheads. When a color change is needed, it simply swaps the entire toolhead in about five seconds. This eliminates the massive waste of purge towers and keeps the print moving with flawless precision.
System 2: The Motion Mechanics
If the extrusion system is the ink, the motion system is the robotic arm moving the pen. These components dictate how accurately and quickly the print head moves across the X (left/right), Y (front/back), and Z (up/down) axes.
- Stepper Motors: Unlike standard motors that spin continuously, stepper motors rotate in tiny, precise increments (steps). This allows the printer to position the print head with sub-millimeter accuracy.
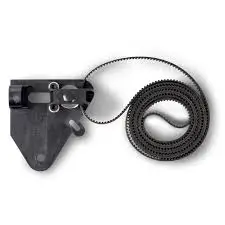
- Belts and Pulleys: In most machines, rubber belts transfer the rotational energy of the stepper motors to linear movement, sliding the print head along its rails.
- Guide Rails and Lead Screws: Guide rails keep the print head moving in a perfectly straight line, while threaded rods (lead screws) are typically used to slowly raise the gantry (the Z-axis) layer by layer.
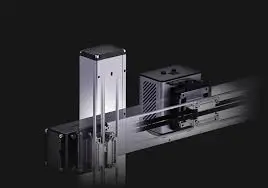
CoreXY vs. Cartesian: Basic printers (often called Cartesian "bedslingers") move the heavy print bed back and forth for the Y-axis. This heavy movement limits how fast the machine can print without causing vibrations that ruin the part. The Snapmaker U1 is built on a CoreXY motion system utilizing lightweight, rigid carbon fiber X-axis rails. Because the bed only moves down, and the lightweight toolhead moves extremely fast on the X and Y axes, it can achieve travel speeds of up to 500 mm/s without sacrificing dimensional accuracy.
System 3: The Foundation and Bed
The foundation is where the actual object is built. A flawless print requires a perfect first layer, making these components critical to your success.
- The Print Bed (Build Plate): The flat surface where the plastic is deposited. Modern beds often feature flexible PEI spring steel sheets, allowing you to easily pop parts off once they cool down.

- The Heated Bed: Most materials warp as they cool. A heated bed keeps the bottom layer of the plastic warm and expanded, ensuring it stays glued to the build plate for the duration of the print.
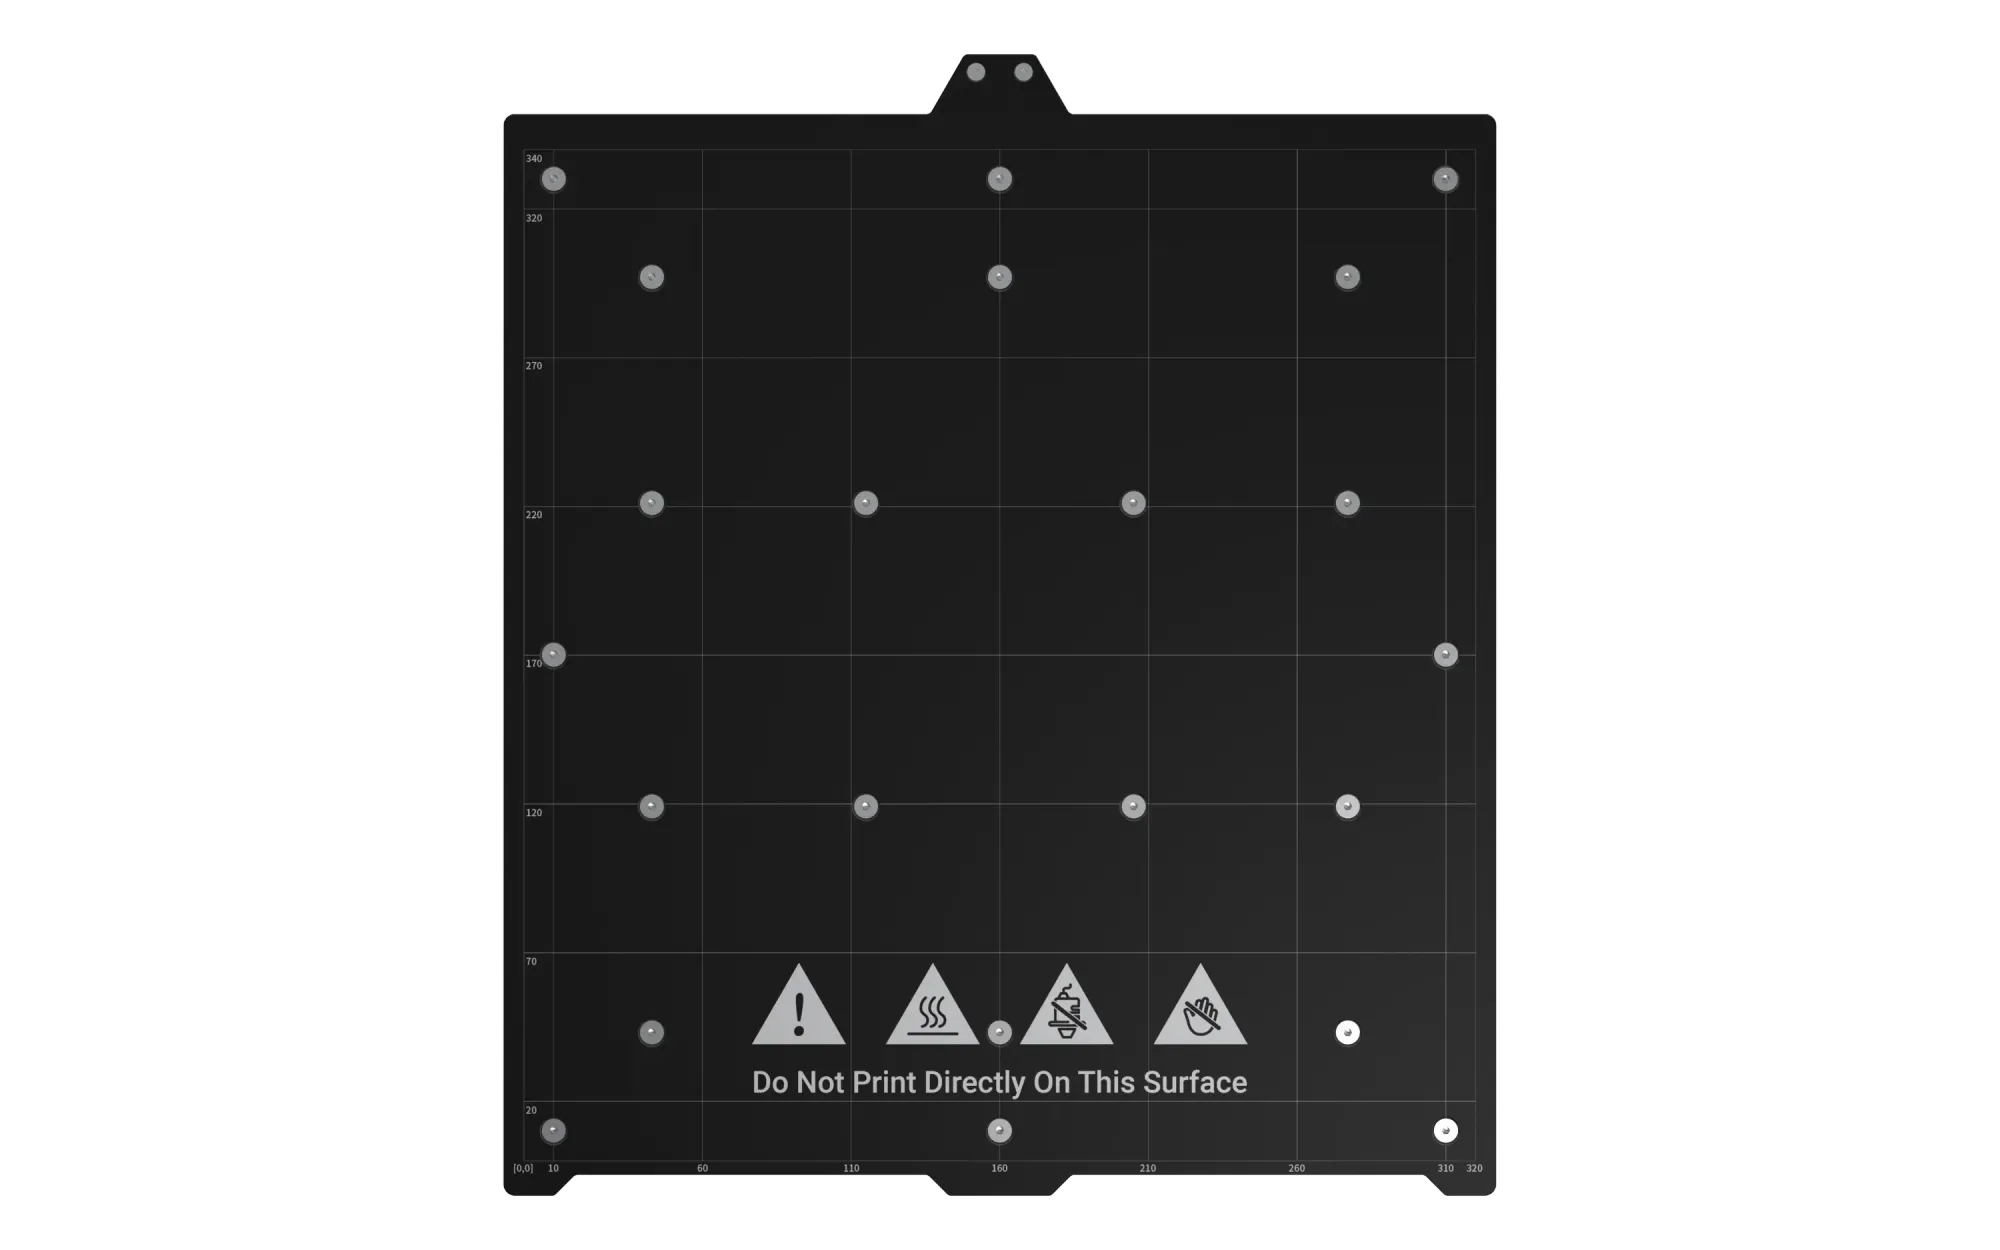
- Bed Leveling System: If the nozzle is too far from the bed, the plastic won't stick; too close, and it will clog. Advanced printers use Automatic Mesh Bed Leveling sensors to probe the bed in multiple spots, ensuring a perfectly flat, grippy first layer without manual knob-turning.
System 4: The Brains and Electronics
Behind the mechanical movement is a complex electronic nervous system reading data and executing commands.
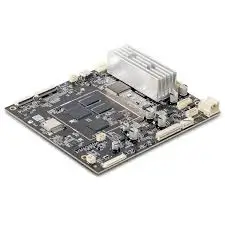
- The Motherboard: The central computer of the printer. It reads your G-code (the instructions from your slicer) and translates them into electrical signals for the motors and heaters.
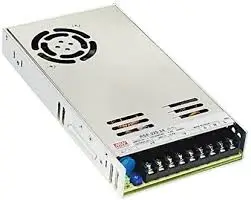
- Power Supply Unit (PSU): Converts your wall outlet's AC power into the steady DC power required by the motherboard, motors, and specifically, the high-demand heated bed.
- Smart Sensors: Modern printers are equipped with fail-safes. Filament Runout Sensors detect if your spool is empty and pause the print. Advanced machines like the U1 even include RFID Recognition to automatically detect the type and color of Snapmaker official filaments, without any input required from you.
Next Steps: Maintaining Your Machine
Now that you understand the anatomy of a 3D printer, you are no longer just a spectator; you are an operator. When a belt gets loose or a nozzle gets clogged, you know exactly where to look and what to call it.
To keep all of these parts moving in perfect harmony, routine care is essential. Learn exactly how to clean, tighten, and lubricate your machine in our comprehensive Guide to FDM 3D Printer Maintenance.
Frequently Asked Questions
What are the basic parts of a 3D printer?
The basic parts of an FDM 3D printer are divided into four main systems: The extrusion system (extruder, hotend, and nozzle), the motion system (stepper motors, belts, and rails), the foundation (print bed and heated build plate), and the electronics (motherboard, power supply, and sensors).
What is the head of a 3D printer called?
The entire assembly that moves around and melts the plastic is commonly called the "print head" or "toolhead." Specifically, the mechanical part that grips and pushes the filament is the extruder, and the heated metal block that melts the plastic is the hot end.
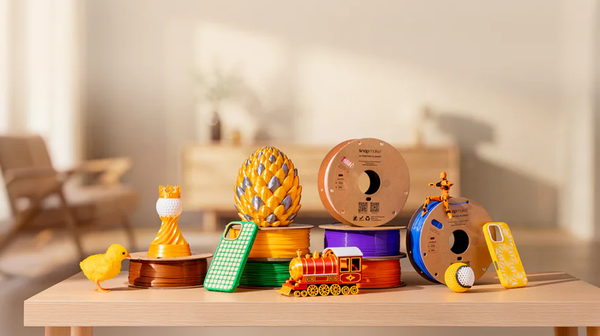
What is the stuff in a 3D printer called?
The material used by standard FDM 3D printers is called filament. It is a thermoplastic wire, typically 1.75mm in diameter, that comes wrapped around a spool. The most common types of filament for beginners are PLA (Polylactic Acid) and PETG.