3D Printer Nozzle 101: Types, Sizes, & Materials

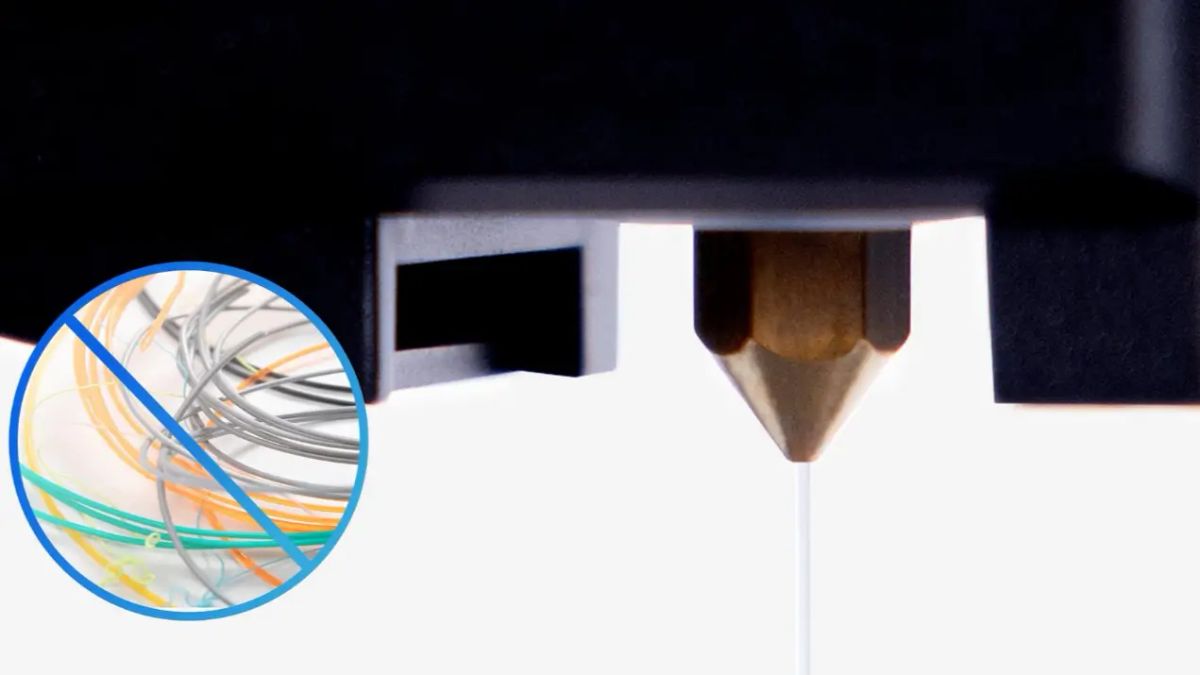
Let's get one thing straight right out of the gate: if you think upgrading your 3D printer nozzle size is just about picking a random diameter to print faster or smaller, you are setting yourself up for spectacular, plastic-spaghetti failures.
Quick Start Guide: For most hobbyists, start with a standard 0.4 mm brass nozzle unless you are printing specialized abrasive materials.
For years, the 3D printing community has treated the nozzle as a simple geometric hole—a dumb piece of hardware at the bottom of the toolhead. But modern additive manufacturing has evolved. Today, expert engineers recognize that finding the best nozzle size for 3D printing means understanding a complex micro-thermodynamic engine. It is where fluid dynamics, metallurgical limits, and raw kinematics violently intersect.
A common mistake when choosing a nozzle size is ignoring material compatibility. If you try to push a heavily abrasive carbon-fiber-reinforced polymer through a standard 0.2 mm brass nozzle, you aren't just going to get a clog; you are going to physically destroy the internal geometry of your hardware in a matter of hours.
To truly dial in your prints, you need to look beyond the basic definitions. In this ultimate guide, we are tearing down the physics of thermoplastic extrusion, decoding the exact 3D printer nozzle sizes you actually need, and exploring how next-generation hardware is rewriting the rules of what a nozzle can do.
Why Nozzle Size is Only One Piece of the Puzzle
Before we dive into the specific millimeter measurements, you need to reframe how you look at your hotend.
A nozzle doesn't just dictate how thick your plastic line is. Its core function is to act as the final mechanical interface that transfers thermal energy from the heater block into a solid polymer filament, forcing a phase change into a high-viscosity non-Newtonian fluid, all while the machine is hurling itself around on the X and Y axes.
Optimizing this process means balancing the physical aperture (the size) with the thermodynamic limits (the material) and the flow rate constraints (the internal geometry). Changing just one of these variables without adjusting the others in your slicer is the leading cause of under-extrusion, stringing, and brittle parts.
How to Choose the Right Size for Your Prints
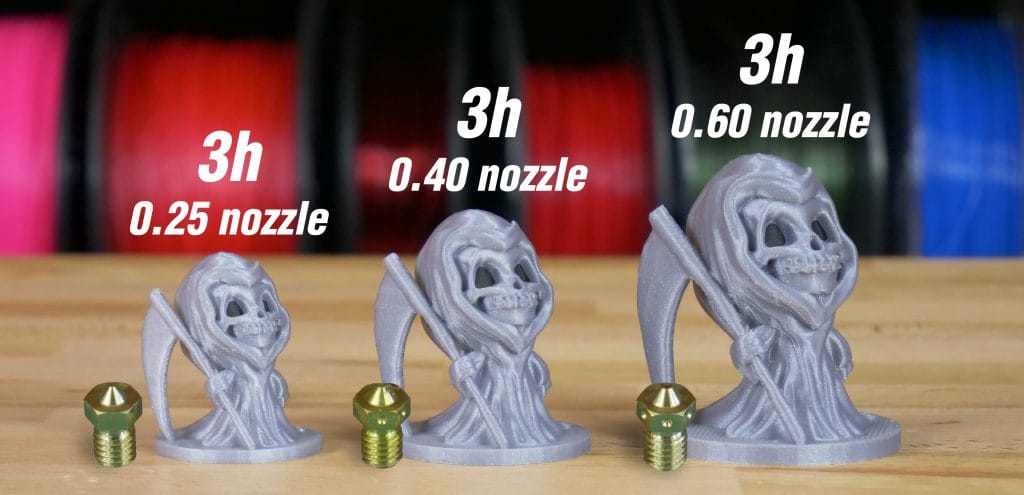
Knowing how to choose the right size for your prints is the first step to ensuring optimal print quality, strong layer adhesion, and a flawless surface finish. The diameter of your 3D printer nozzle strictly dictates your horizontal (XY) spatial resolution. It determines how sharp a 90-degree corner can be printed, or how much volumetric throughput your machine can physically deposit in a single pass.
Before diving into the specifics of each diameter, here is a quick cheat sheet correlating size, layer height physics, and ideal applications:
|
Nozzle Size |
Layer Height Range (25% - 80%) |
Recommended Filaments |
Typical Use |
|
0.20 mm - 0.25 mm |
0.05 mm – 0.15 mm |
PLA, ABS, PETG (Strictly NO composites) |
Extreme detail, DnD miniatures, intricate jewelry molds |
|
0.40 mm |
0.10 mm – 0.32 mm |
Most standard & flexible filaments |
General-purpose, standard prototypes, everyday printing |
|
0.60 mm |
0.15 mm – 0.48 mm |
Carbon fiber, wood-fill, glow-in-the-dark |
High-strength functional parts, fast iteration prototypes |
|
0.80 mm+ |
0.20 mm – 0.64 mm+ |
Standard filaments, heavily filled composites |
Massive structural prototypes, thick-walled engineering parts |
The 0.4 mm Standard: The Undisputed Workhorse
Walk into any print farm or hobbyist's garage, and the 0.4 mm nozzle is the default paradigm. But its origin isn't based on some highly calculated fluid dynamic optimization. It’s actually a legacy from the early open-source RepRap movement, simply because 5/32-inch drill bits were widely available at local hardware stores.
Despite its accidental birth, the 0.4 mm aperture provides a Goldilocks zone. It offers an incredible balance between acceptable print speeds, decent XY resolution, and a relatively low probability of particle clogs. It handles functional prototypes just as well as moderately detailed decorative models.
Why 0.6 mm is the New Functional Standard
If you are printing structural components, mechanical brackets, or anything that needs to survive in the real world, the industry is currently undergoing a massive paradigm shift toward the 0.6 mm nozzle.
A 0.6 mm aperture extrudes a significantly wider polymer path. In practical terms, to print a standard structural wall, a 0.6 mm nozzle only requires two perimeter passes, whereas a 0.4 mm nozzle requires three. This reduction in the physical kinematic path of the printhead directly translates to massive time savings—often cutting print times in half.
But it gets better. Empirical tests based on Charpy impact strength testing show that parts printed with a 0.6 mm nozzle can absorb up to 25.6% more impact energy before fracturing compared to the exact same model sliced for a 0.4 mm nozzle. The wider extrusion paths foster far superior layer-to-layer adhesion, building a much more robust internal mechanical structure. Furthermore, if you are dabbling in abrasive composites like wood-fill or carbon-fiber, the wider bore drastically mitigates the risk of clogging.
Micro Extrusion: The 0.15 mm to 0.25 mm Realm
When volumetric throughput takes a backseat to extreme topological fidelity, micro-nozzles step into the spotlight. If you are printing tabletop role-playing miniatures (like DnD figures where scale is crucial), intricate jewelry casting molds, or highly detailed typography resting on the XY plane, a 0.2 mm nozzle delivers unrivaled resolution. They also produce incredibly thin, wispy support structures that practically fall off the model without leaving physical scars.
However, micro-extrusion is a logistical nightmare. The incredibly narrow bore demands ultra-precise thermal management to prevent "heat creep" (where polymer softens too early in the heatbreak). You must drastically reduce your print speeds to maintain consistent back-pressure, and using any filament with composite particulates is strictly forbidden.
Macro Extrusion: The 0.8 mm to 1.2 mm Brutalists
On the opposite end of the spectrum, macro nozzles are designed for one thing: terrifyingly high volumetric throughput. Used strictly for massive, thick-walled engineering parts or ultra-fast structural prototyping where aesthetics don't matter, these nozzles lay down massive amounts of plastic in a single sweep.
The compromises are severe. Sharp geometric corners are forcibly smoothed out, fine internal details are obliterated, and support structures become so thick and rigid that removing them often damages the main part. More importantly, pushing plastic out of a 1.2 mm hole quickly hits the thermodynamic wall—standard heater cartridges simply cannot melt plastic fast enough to keep up, usually requiring a highly extended melt-zone upgrade.
How to Set Layer Height Based on Nozzle Size
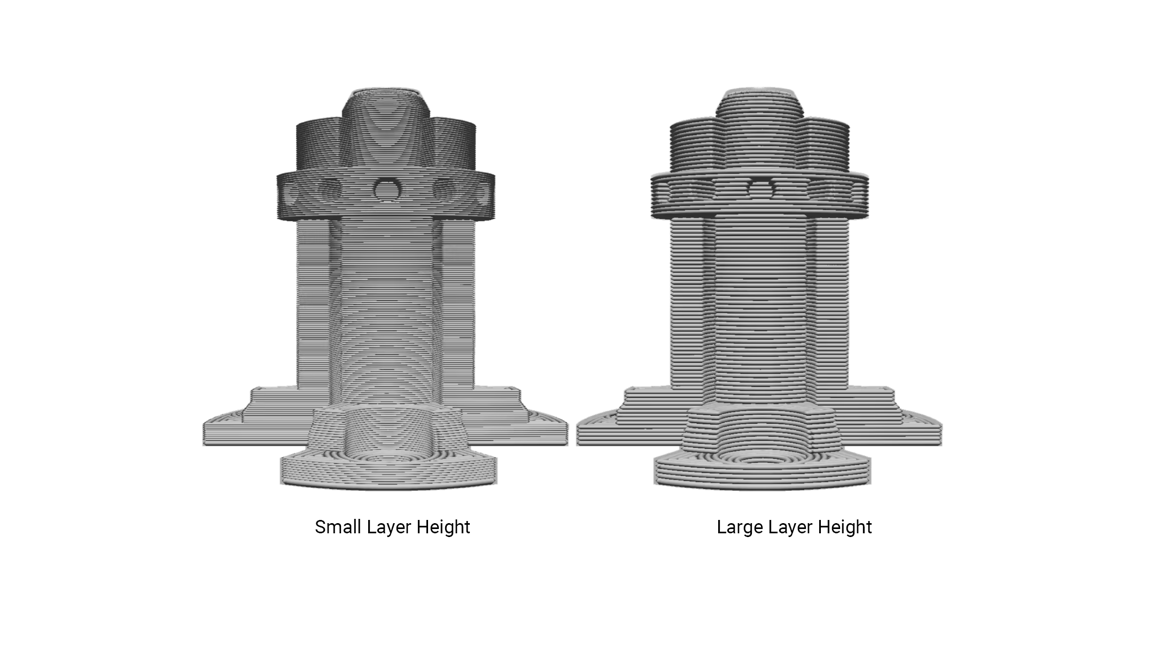
When figuring out how to set layer height based on nozzle size, it is crucial to avoid a prevalent misconception: directly equating nozzle diameter with overall spatial resolution.
Your nozzle diameter controls the XY resolution. Your vertical (Z) resolution—the visibility of layer lines—is entirely controlled by your "Layer Height" setting in the slicer.
However, fluid dynamics impose strict geometric constraints on this relationship. The golden rule of FDM extrusion is this: Your maximum layer height should never exceed 80% of your nozzle's internal diameter.
If you breach this critical threshold, the extruded polymer will retain a cylindrical shape rather than squishing down into the required flat, elliptical shape needed to bond with the layer beneath it. Therefore, a 0.4 mm nozzle has a strict, hard-capped theoretical maximum layer height of 0.32 mm. If you want to print at a 0.4 mm layer height to save time, you must physically upgrade to a 0.6 mm or 0.8 mm nozzle to ensure proper layer adhesion.
Conversely, the minimum safe layer height is generally 25% of the nozzle diameter (e.g., 0.10 mm for a 0.4 mm nozzle) to prevent the hot metal from excessively scraping and re-melting already deposited material.
Choosing the Right 3D Printer Nozzle Material
In professional-grade additive manufacturing, the metallurgical composition of your nozzle is often more critical than its geometric hole. The metal dictates thermal efficiency and absolute lifespan against abrasive polymers.
Here is how the core metallurgy stacks up in the workshop:
|
Nozzle Material |
Thermal Conductivity |
Abrasion Resistance |
Ideal Use Case |
|
Brass |
Excellent |
Poor |
Everyday printing with standard PLA, ABS, PETG |
|
Stainless Steel |
Moderate |
Moderate |
Food-safe models, medical aids, mild abrasives (wood-fill) |
|
Hardened Tool Steel |
Low (Needs Temp Boost) |
Outstanding |
Heavy-duty engineering composites (PA-CF, PC-GF) |
|
Exotic (Tungsten/Ruby) |
Excellent |
Extreme |
Industrial-grade, continuous abrasive manufacturing |
- Brass (The High-Thermal Baseline): Brass is the industry default for a reason. Its inherent high thermal conductivity ensures heat penetrates the filament core rapidly and evenly. It is perfect for non-abrasive polymers like PLA, ABS, and PETG. However, brass is incredibly soft. If you run a spool of glow-in-the-dark (Strontium Aluminate) or Carbon Fiber filament through it, the internal walls will suffer catastrophic erosion.
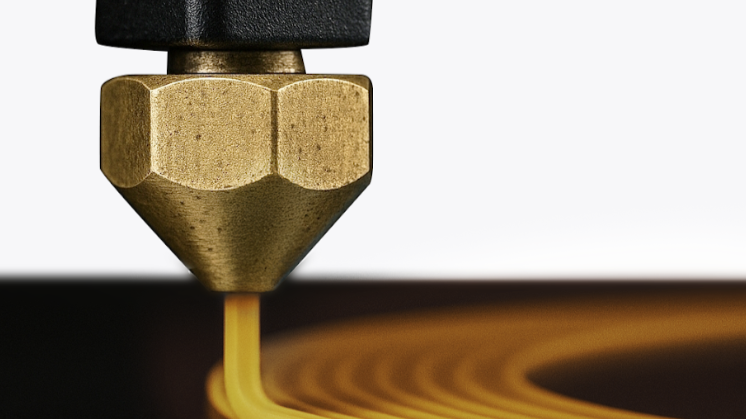
- Stainless Steel (The Clean Alternative): Stainless steel is slightly harder than brass, giving it a longer lifespan against mild abrasives. Crucially, it is non-toxic, making it a legal and biological requirement for food-safe molds or medical aids. It also has lower surface energy, meaning molten plastic is less likely to stick to the outside of the nozzle and ruin your print with burnt blobs.
- Hardened Tool Steel (The Industrial Tank): For engineers printing heavy-duty composites like PA-CF (Carbon Fiber Nylon) or PC-GF (Glass Fiber Polycarbonate), hardened steel is mandatory. It boasts extreme Rockwell hardness and will endure thousands of hours of violent particulate abrasion. But there is a massive catch: it is a terrible thermal conductor. If you swap to hardened steel, you must actively intervene in your slicer and bump your target print temperature by 5°C to 15°C to avoid layer delamination.
- Exotic Hybrids (Ruby & Tungsten Carbide): For the absolute elite, nozzles like the Olsson Ruby embed a synthetic sapphire crystal at the tip for ultimate scratch resistance while keeping a brass body for heat transfer. Tungsten Carbide offers the ultimate trinity: extreme hardness, high thermal conductivity, and low friction.
Understanding Volumetric Flow Rate (VFR) for 3D Printer Nozzles
To avoid under-extrusion and truly master high-speed 3D printing, you need to understand Volumetric Flow Rate (VFR) for 3D printer nozzles. Moving beyond simple linear speed (mm/s), VFR is measured in cubic millimeters per second (mm³/s) and represents the absolute thermodynamic limit of how fast your hotend can turn solid wire into liquid melt.
The governing equation is beautifully simple:
VFR = Speed (v) × Layer Height (h) × Extrusion Width (w)
Imagine telling a standard machine to print at a blistering 200 mm/s using a 0.4 mm line width and 0.2 mm layer height. That demands a VFR of 16 mm³/s. Now, imagine you upgrade to a 0.8 mm nozzle and a 0.4 mm layer height to print a massive mold, but you want to maintain that 200 mm/s speed. Your required VFR skyrockets to 64 mm³/s.
Most standard V6-style heater blocks cap out between 15 to 20 mm³/s. If you exceed this limit, your extruder gears will aggressively grind the filament, and nothing will come out of the nozzle because the plastic literally didn't have enough time to absorb heat.
To combat this, the industry introduced "Volcano" architectures (physically lengthening the melt zone) and Bi-Metal CHT (Core-Heated Technology) which splits the filament internally to increase surface area. High-end systems bypass this by equipping robust hotends capable of pushing 30+ mm³/s, ensuring they never starve the extrusion path at high speeds.
Next-Generation Extrusion: The Snapmaker U1 Ecosystem
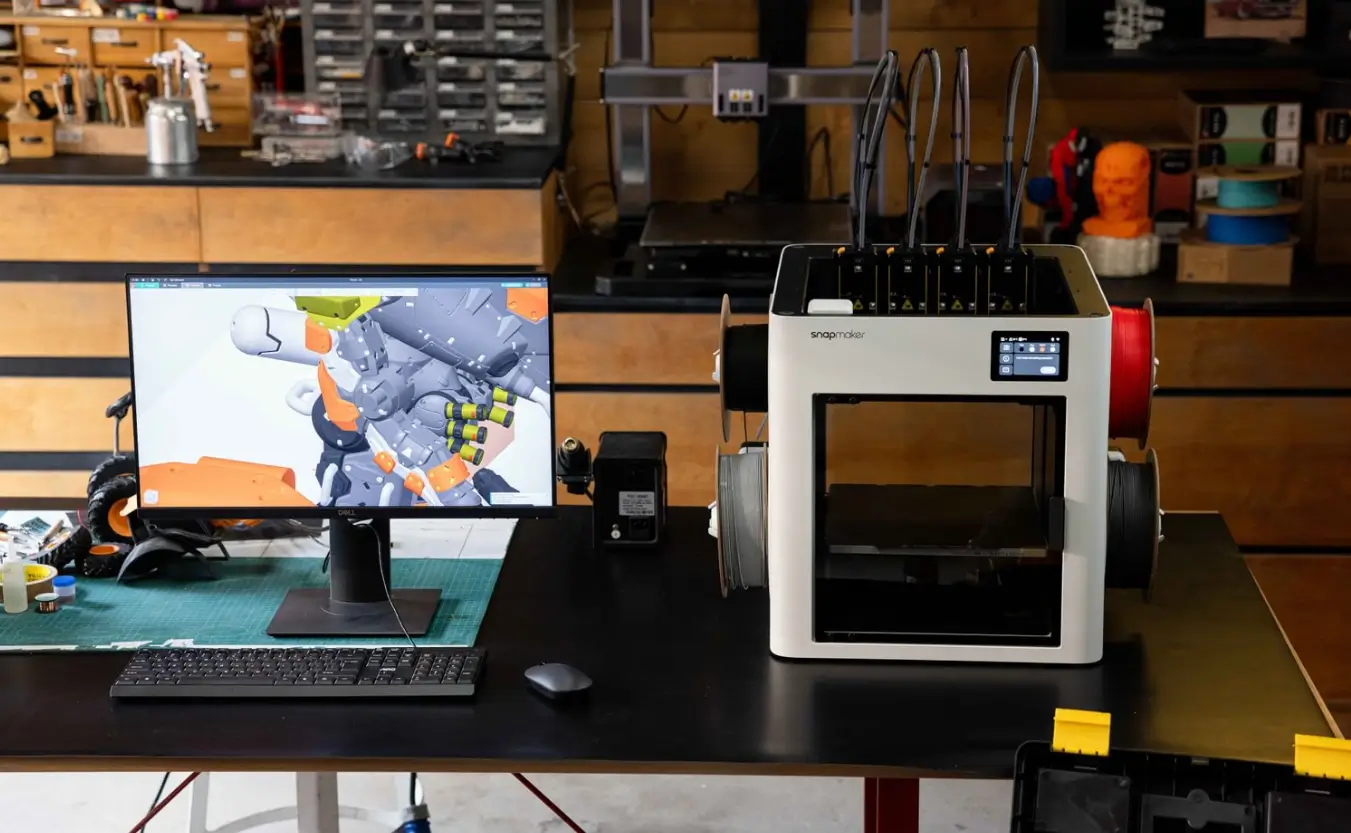
Looking at nozzles without considering the whole printer ecosystem ignores the future of the industry. Modern additive manufacturing is quickly moving toward multi-material ecosystems like the Snapmaker U1. Instead of forcing multiple materials through a single hotend—which creates wasteful purge towers—advanced machines utilize independent extruders.
Systems like the SnapSwap™ Toolhead allow you to seamlessly transition between a 0.4 mm stainless steel nozzle for flexible TPU and a 0.6 mm hardened steel nozzle for rigid carbon fiber in the exact same print. However, multi-nozzle setups require extreme precision; even a microscopic spec of plastic on the tip can corrupt the Z-offset math during automated bed probing. By solving these hardware alignments, next-generation printers deliver industrial-grade material symbiosis right on your desktop.
How to Adjust Nozzle Size and Flow in Your Slicer
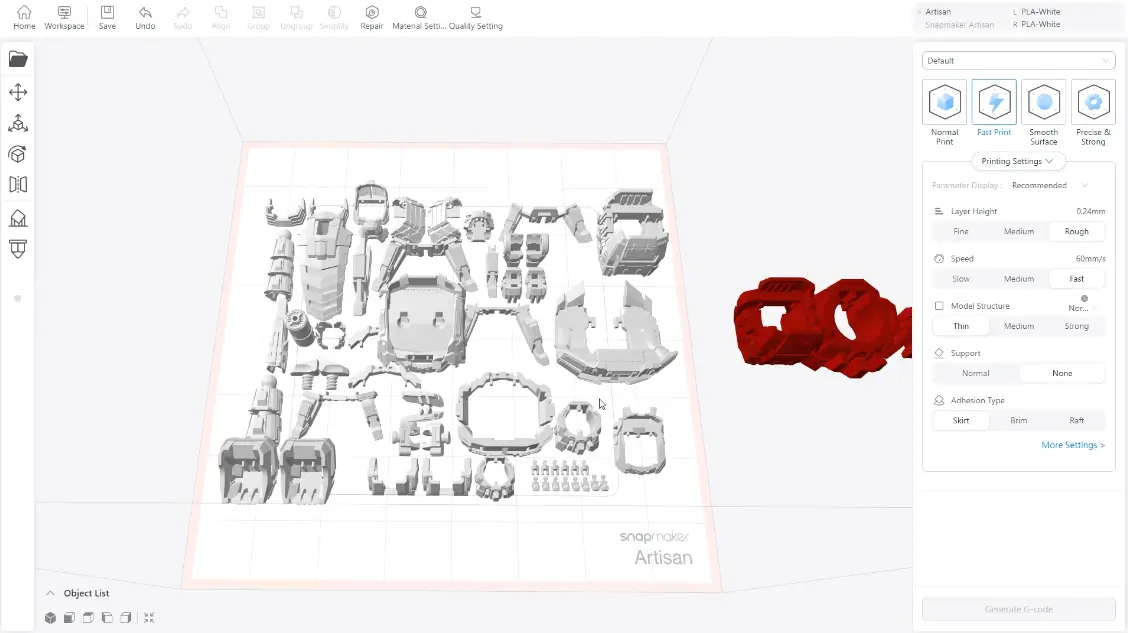
Premium hardware demands precise software execution. Learning how to adjust nozzle size and flow in your slicer is mandatory if you swap from a 0.4 mm to a 0.6 mm nozzle, or upgrade to a hardened steel bundle. You cannot fly blind.
Dive into your slicer—like Snapmaker Luban. You must explicitly redefine your nozzle diameter in the Material Parameters. If you notice uneven inner walls on your test benchy after a swap, you must calibrate the dynamic flow rate. If you upgraded to hardened steel, remember the thermodynamic penalty and manually override your temperatures by a few degrees.
Understanding your 3D printer nozzle size means respecting the physics of flow, the science of metallurgy, and the raw capability of your toolhead ecosystem. Stop treating it like a drill bit, and start treating it like the high-performance engine it is.
3D Printer Nozzle Size FAQ: Common Questions Answered
What size 3D printer nozzle should I actually use?
It depends entirely on your engineering priorities. If you want the ultimate "set it and forget it" workhorse that balances decent speed with good horizontal resolution, stick to the standard 0.4 mm. If you are printing structural parts, brackets, or anything requiring mechanical strength, upgrade to 0.6 mm—it cuts print times in half and noticeably boosts impact resistance. Reserve 0.2 mm strictly for extreme micro-details like tabletop miniatures, and 0.8 mm+ for massive, crude structural prototypes.
What is the best 3D printer nozzle size for beginners?
For beginners, the absolute best choice is the standard 0.4 mm brass nozzle. It offers the most forgiving balance of print speed, detail, and reliability. Most slicer default profiles and community troubleshooting guides are heavily optimized around this specific 3D printer nozzle size, making the learning curve much smoother.
Can I print fast with a 0.4 mm nozzle?
Yes, but your maximum print speed is ultimately limited by your hotend's Volumetric Flow Rate (VFR). While a 0.4 mm nozzle can technically move very quickly, pushing it past your hotend's melting capacity will immediately cause under-extrusion. For true high-speed printing on larger models, upgrading to a 0.6 mm nozzle is often a much more efficient strategy.
Can you use 1.75 mm filament in a 0.4 mm nozzle?
Yes, absolutely. This is the exact factory standard for almost all modern consumer 3D printers. Think of your hotend as a thermodynamic funnel. The 1.75 mm measurement is the diameter of the solid, cold plastic wire feeding into the top of the system. The 0.4 mm measurement is the microscopic exit hole at the bottom.
How small can I print with a 0.4 mm nozzle?
On the horizontal plane (XY resolution), the physical limit is exactly 0.4 mm—you cannot cleanly extrude a line thinner than the hole itself. However, your vertical resolution (the Z-axis, which dictates the smoothness of your layer lines) is controlled by your slicer. Using the standard 25% minimum rule for fluid dynamics, the finest vertical layer height you can reliably print with a 0.4 mm nozzle without grinding the molten plastic is 0.10 mm.
Which nozzle material lasts the longest?
Tungsten carbide and ruby-tipped nozzles offer the absolute longest lifespan, but for practical industrial use, hardened tool steel is the undisputed champion. It can withstand thousands of hours of printing highly abrasive filaments (like carbon fiber or glow-in-the-dark plastics) without losing its internal geometric tolerances.