3D Print Strength Test: How to Validate Your Functional Parts

You have just pulled a functional bracket off the print bed. It looks perfect, the dimensions are dialed in, and the material datasheet promises it can hold 50 kilograms. But when you bolt it to the wall, it snaps under a fraction of that weight.
It can be incredibly frustrating when a print fails in the real world. The truth is, a filament's technical specifications only tell half the story. Fused Deposition Modeling (FDM) inherently changes how a material behaves, creating microscopic weaknesses between layers. To know for sure if your part will survive real-world stress, you need to test it empirically.
This guide breaks down professional testing metrics and shows you how to run practical, DIY 3D print strength tests at home, allowing you to validate your designs and diagnose structural failures with confidence.
The Gap Between Theory and Reality
When you read a spool's label, you are looking at data gathered from injection-molded solid plastic, not a layered 3D print.
Because 3D printers build objects layer by layer, the resulting parts are anisotropic. This means their strength changes depending on the direction of the force applied. A print is almost always strongest across the horizontal XY plane (along the printed continuous lines) and weakest across the vertical Z-axis (where the individual layers bond together).
To bridge the gap between theoretical material strength and practical application, engineers rely on standardized physical testing to see exactly where, when, and how a printed part breaks.
The Big Three: Standardized Strength Metrics
Professional laboratories evaluate polymer performance using three primary mechanical tests. Understanding these metrics will help you determine exactly what kind of stress your specific part needs to survive:
- Tensile Strength (Pulling): This measures the maximum stress required to stretch a part until it yields or fractures. If you are printing weight-bearing hooks, wall mounts, or carabiners, high ultimate tensile strength (UTS) is your primary goal.
- Impact Strength (Sudden Force): Often measured via the Charpy or Izod tests, this evaluates how much instantaneous energy a material can absorb before shattering. If you are printing drone frames or tool handles, impact resistance is critical.
- Flexural Strength (Bending): This tests a material's ability to resist static bending deformation, simulating the stress placed on beams or structural supports.
How to Conduct DIY 3D Print Strength Tests
You do not need a multi-thousand-dollar industrial machine to get practical data. By downloading standardized test models and using common tools, you can run comparative tests to see which of your settings yields the most durable part.
The Tensile "Pull" Test (Carabiners and Hooks)
Instead of printing complex custom geometries, download a standardized carabiner or hook STL from community platforms.
- Print multiples: Print the same carabiner in different materials or with varying orientations.
- Create a rig: Secure the top of the carabiner to a fixed overhead anchor.
- Apply measured weight: Attach a digital luggage scale to the bottom of the carabiner and slowly pull downward. Alternatively, hang a sturdy bucket and slowly add water or free weights.
- Record the failure point: Note the exact weight on the scale the moment the print snaps.
The Impact Drop Test
To test sudden shock resistance without a laboratory pendulum, you can standardize a DIY drop test.
- Print a standardized block: Print a simple 20mm x 20mm cube with your chosen settings.
- Set a height and weight: Secure a metal weight (like a heavy hex nut or a small dumbbell).
- Drop and observe: Drop the weight onto the printed cube through a PVC pipe from a fixed height to ensure the impact zone and velocity are perfectly consistent every time.
- Evaluate the damage: Did the part crack cleanly along the layers, dent slightly, or shatter into pieces?
The Machine Precision Factor
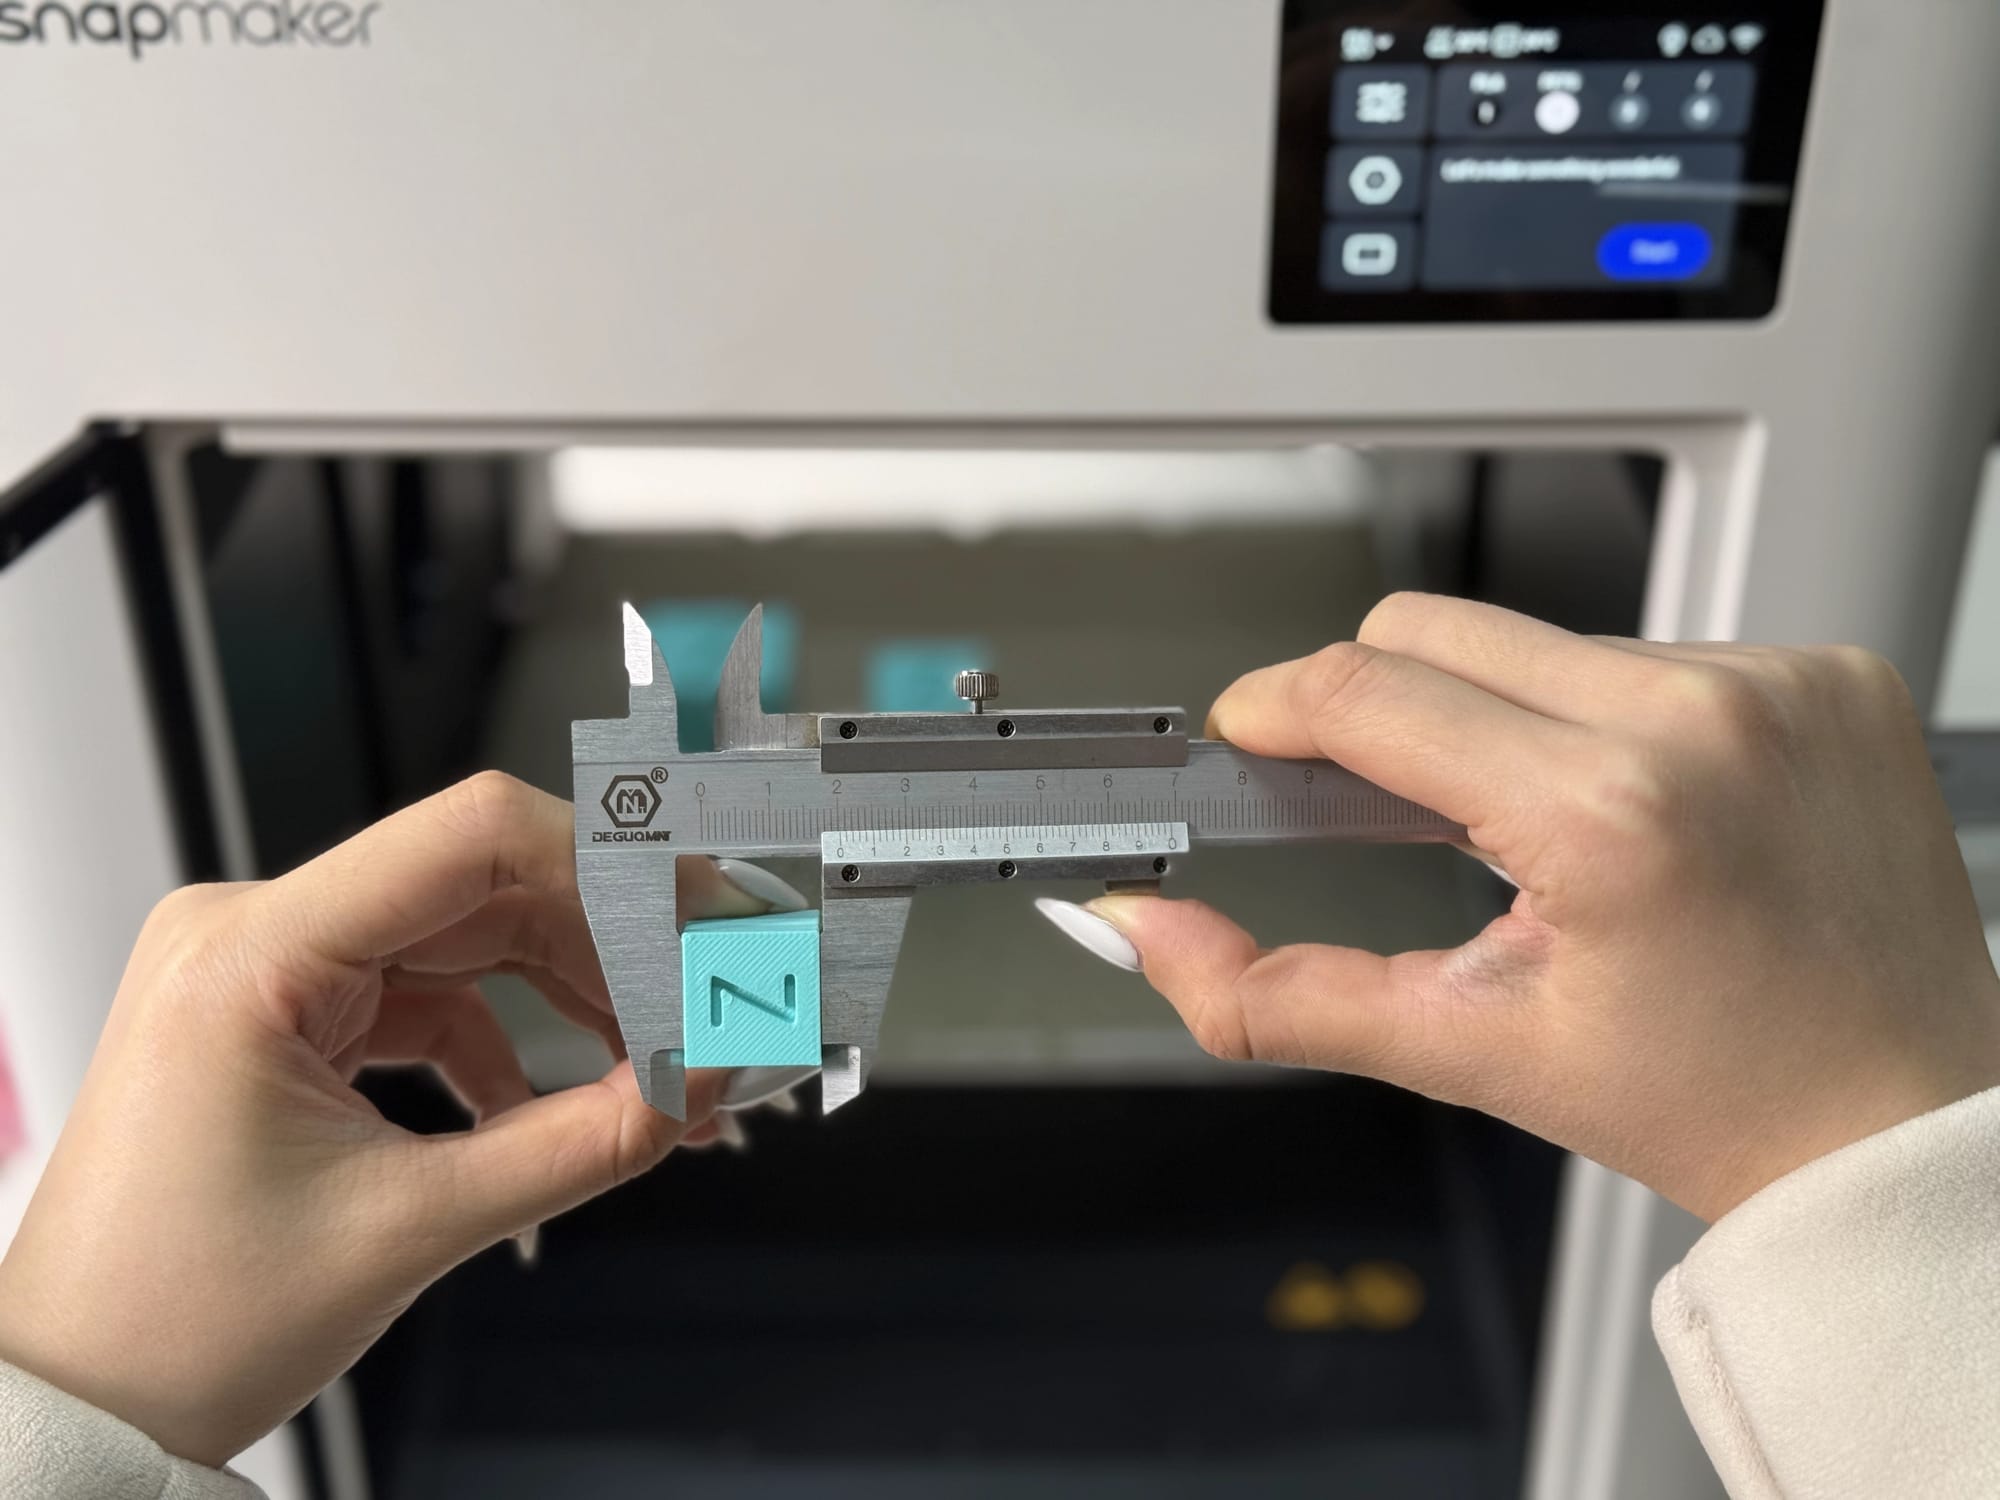
When conducting any test, you want to evaluate the strength of your design and material—not a random mechanical error. A microscopic layer shift or a moment of under-extrusion creates a structural weak point that will snap long before the material's actual yield limit.
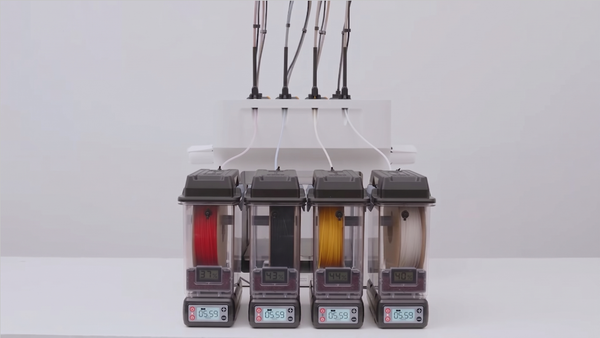
This is where hardware precision dictates part integrity. For example, a modern machine like the Snapmaker U1 utilizes Vibration Compensation (Input Shaping) and Pressure Advance to maintain consistent filament flow. By preemptively cancelling out resonant frequencies and adjusting extrusion timing during sharp corners, it eliminates surface artifacts and thinning walls—common culprits in impact failure.
Furthermore, if your functional part features complex geometries, the U1's SnapSwap™ multi-toolhead system allows you to instantly switch to dedicated support materials (like PVA). This ensures your overhangs are perfectly supported during printing without becoming structural liabilities when the supports are removed. When your machine guarantees a flawless, dimensionally accurate print, your strength tests yield true, actionable data.
Analyzing the Break (Why Did It Fail?)
Breaking the part is only step one; reading the fracture tells you how to fix it.
- Clean snap across the layer lines: This indicates poor Z-axis layer adhesion. The material itself might be strong, but the bonds between the layers failed.
- Shattered into many pieces: The material is too brittle for the applied stress (common with standard PLA under impact).
- Stretched and deformed before breaking: The material yielded elastically. This shows good layer adhesion and high toughness, but it may lack the required rigidity for your specific application.
Optimizing for the Next Test
Once you know how your part failed, you can implement specific solutions. If your test reveals a weakness, use these resources to dial in your next iteration:
- Did it fail at the layers? Adjusting your print orientation is the easiest fix. Read our guide on the 45-Degree Rule in 3D Printing to align your layers against the direction of force, and review our Enclosed vs. Open 3D Printer guide to understand how ambient temperature affects layer bonding.
- Did the walls crush under weight? Infill is rarely the answer to sheer strength. Learn how to bulk up your perimeters in our 3D Printer Wall Thickness breakdown, and optimize your internal geometry with our Guide to 3D Printing Infill.
- Do you need a fundamentally tougher material? If your geometry is perfect but the part is still failing, it is time to upgrade your filament. Compare standard options in our How Strong is 3D Printed Plastic? guide, or explore engineering-grade solutions in our Strongest 3D Printer Filament breakdown.
Continuous testing, analyzing, and iterating is the true secret to moving beyond aesthetic trinkets and manufacturing unbreakable, highly functional 3D printed objects.
Frequently Asked Questions
How do you test the strength of a 3D print?
The most practical way to test 3D print strength at home is by printing a standardized model, such as a carabiner, and applying a measurable force to it. By using a digital luggage scale or hanging measured weights until the part fractures, you can accurately record its tensile failure point.
Which 3D printing filament is the strongest?
While engineering-grade filaments like Polycarbonate (PC) or Nylon blended with Carbon Fiber (PA-CF) offer the highest ultimate tensile strength, PETG and ABS are generally considered the strongest and most durable baseline materials for standard consumer 3D printers due to their excellent impact resistance and flexibility.
Why do 3D prints break so easily?
3D prints typically break easily because of poor Z-axis layer adhesion. Due to the layer-by-layer nature of FDM printing, the bonds between the horizontal layers are structurally weaker than the extruded plastic itself. If force is applied parallel to these layer lines, the print is highly prone to snapping.