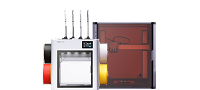
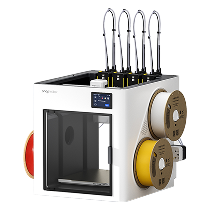
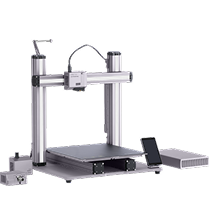
1.Snapmaker U1 3D Printer (Textured PEI Steel Sheet)× 1
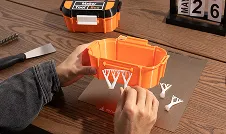
2.Tool and accessory box× 1
3.Toolhead with hot end× 4
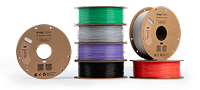
4.SnapSpeed PLA Filament× 4
5.Filament holder× 4
6.Safety Guidelines× 1
7.Quick Start Guide× 1
8.Filament feeder× 2
9.Waste collector× 1
10.Toolhead cable× 4
11.AC power cable× 1
notes:
[1]This data was obtained by printing with PLA filament and a 0.4 mm standard-flow nozzle, using a 0.2 mm layer height, 200 mm/s outer wall speed, and 250 mm/s infill speed. “Others” refers to 3D printers that use a filament changer to swap materials.
[2]This is a typical result from Snapmaker Lab tests and is for reference only.
[3] “Purging for Color Change” here refers specifically to the process of squeezing out the remaining material from the extrusion path during color or material changes. In the following operations, the U1 produces a small amount of scrap material that isn’t part of what we define as “Purging for Color Change”: (1) clearing leftover filament from the nozzle before each print job; (2) wiping the nozzle tip during a color change (i.e., building a prime/wiping tower); (3) performing flow rate calibration.
[4]Filament usage may vary with model size, color layout, and print settings. In Snapmaker Lab tests under similar conditions, the U1 used roughly 17% to 47% of the filament required by other single-head printers for the same multi-color prints.
[5]This data was measured using clean nozzles. Calibrating with an unclean nozzle could lead to less accurate results.
[6]Detection capabilities will be enabled in December 2025 through an OTA firmware update.
[7]This data was obtained using Snapmaker ABS filament, under a printing temperature of 280°C.
[8]In addition to the items shown, the tool and accessory box will also include thermal grease and white lithium grease. Packaging layout may change accordingly; image for reference only.