Turn Your Favorite Photo into a Color Lithophane with Snapmaker Lab
Turn a favorite photo into a color lithophane with Snapmaker Lab. Choose a display style, prepare your model, and bring it to life with light.

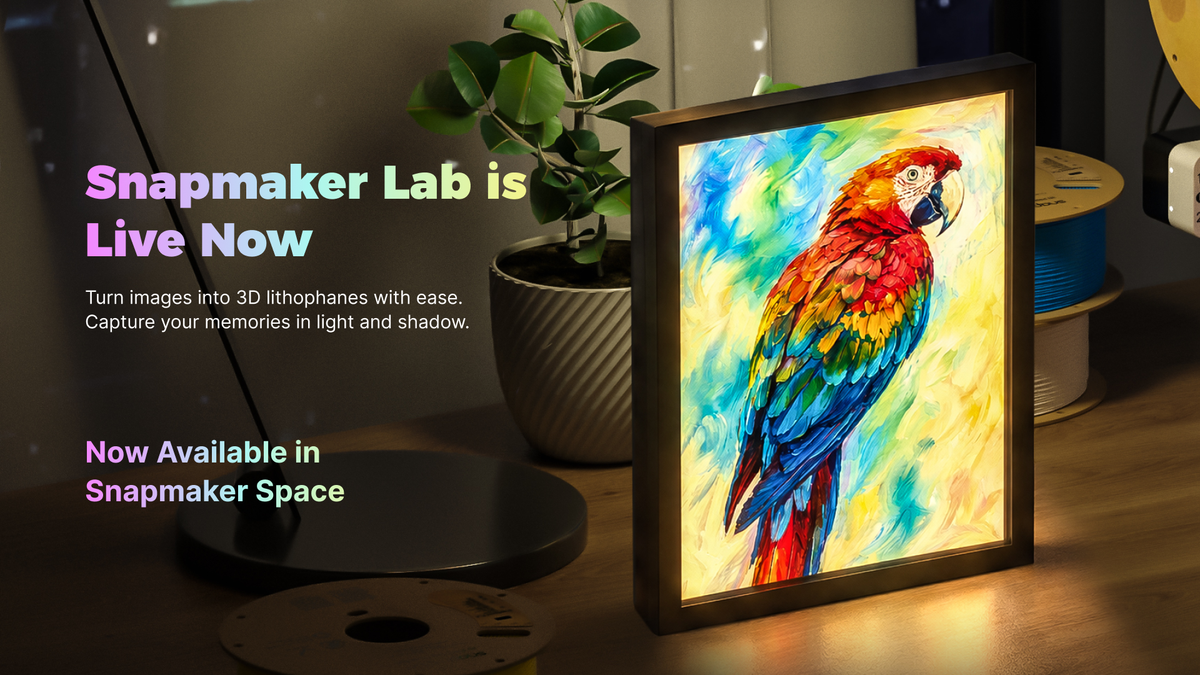
A favorite pet photo. A family celebration. A view you wish you could take home. With the Snapmaker Color Lithophane Generator, you can turn a photo or piece of artwork into a 3D-printable keepsake that reveals its colors when lit from behind.
The generator is now available in Snapmaker Lab within Snapmaker Space. No modeling experience is required to generate your model. Choose a picture, select a display style, and prepare a print for your Snapmaker U1.
One photo, three ways to display it
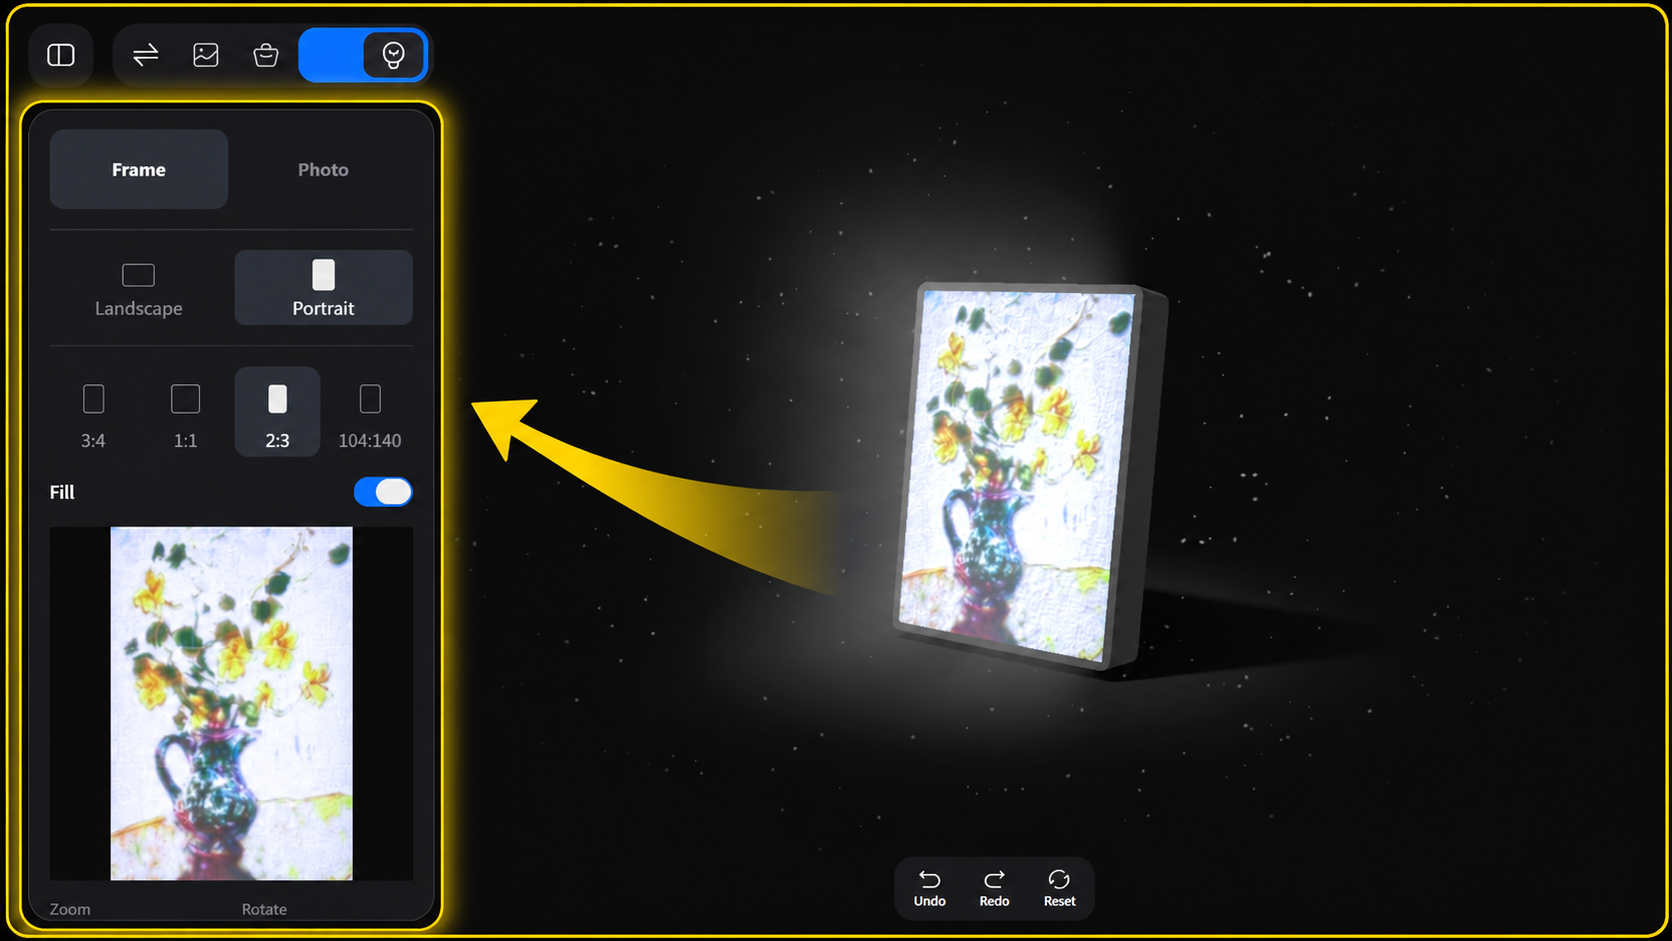
- Frame Style: Choose a frame design in portrait or landscape orientation for a photo you want to display.
- Light Box Style: Set your light box dimensions to create an illuminated tabletop piece.
- Color Lithophane Only: Generate a standalone panel for your own display or lighting setup.
A family portrait can become a personal gift. A pet photo can sit beside your desk. A travel photograph can bring a favorite place into your home.
From image to finished print
- Choose your image. Start with a clear subject, a simple background, and good contrast between light and dark areas. Busy backgrounds and very fine details can be harder to reproduce.
- Generate your model. Open Snapmaker Space, go to Snapmaker Lab, and select the Color Lithophane Generator. Choose your display mode and upload your image. Select the orientation and aspect ratio, then crop, zoom, or rotate your image to frame the subject. See the generator’s Guide for additional image-editing controls.
- Slice in Snapmaker Orca. Import the generated model. Snapmaker Orca maps the model colors to the corresponding filaments. Check the filament assignments and print settings before slicing.
- Print and add light. Print with your Snapmaker U1 and the Snapmaker CMYK Lithophane Filament Bundle, then assemble your display with the appropriate backlight.
What you need to bring it to light
For the supported workflow, use a Snapmaker U1 and the Snapmaker CMYK Lithophane Filament Bundle. Its transmission distance presets are tuned for lithophane printing. This is a different application from the CMYW Full Spectrum bundle.
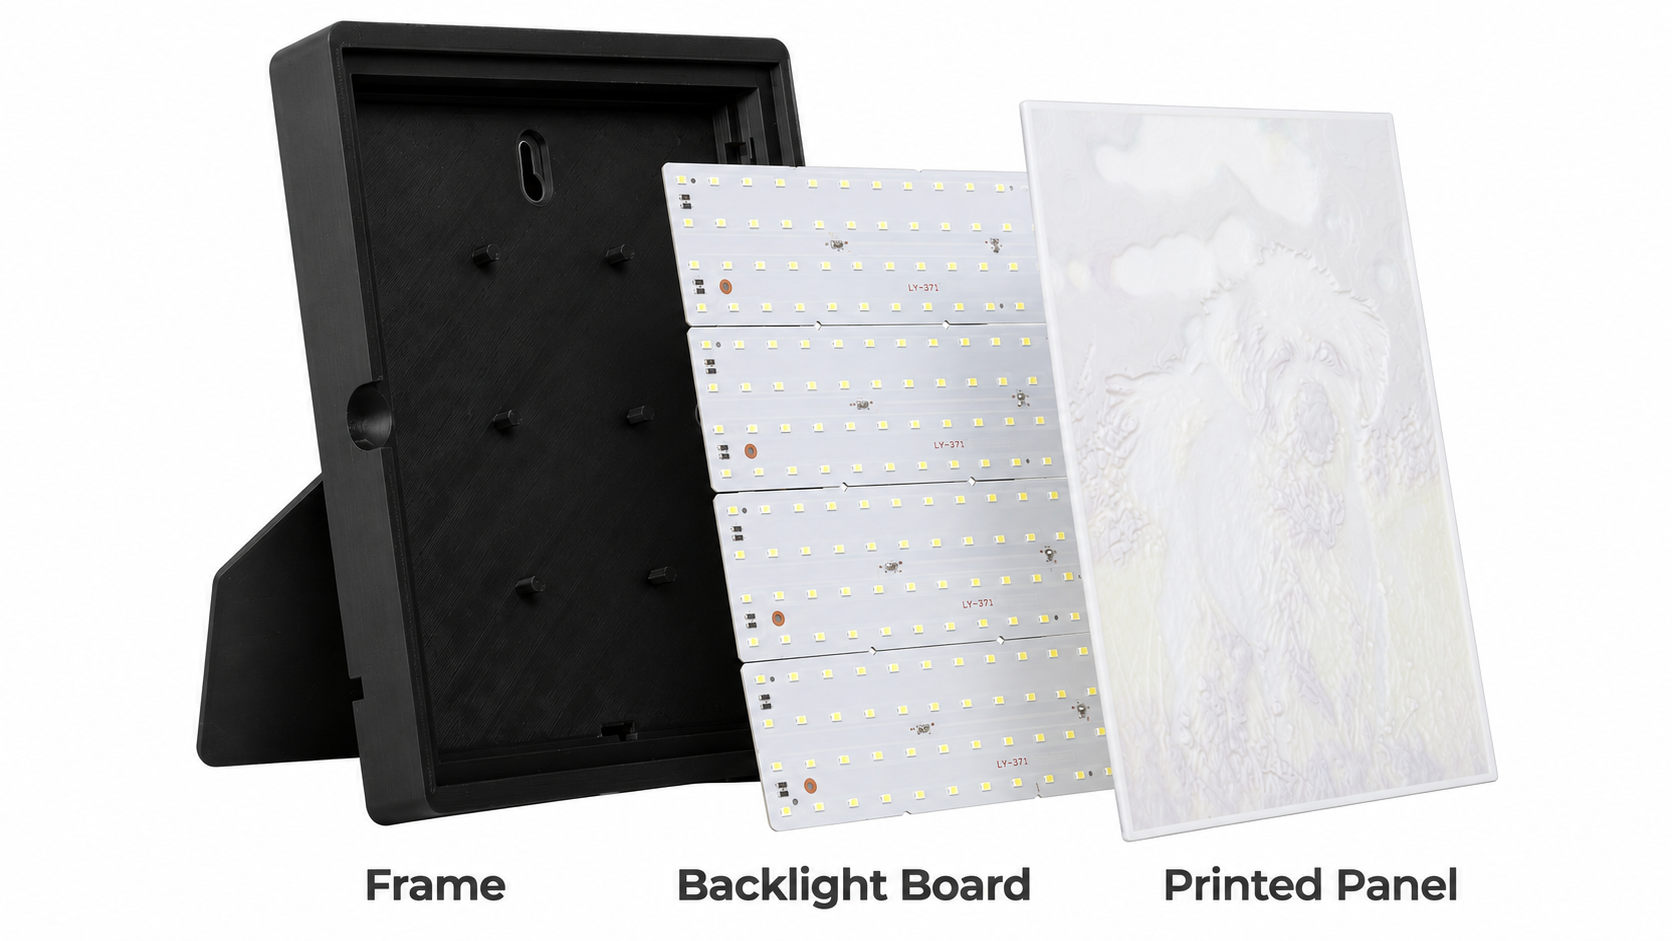
Lighting is part of the finished project. Frame Style uses a backlight board; Light Box Style uses an LED strip. Plan for the matching power supply and connections, too. The filament bundle does not include a frame, backlight, or power supply. Depending on your chosen style, you will print the housing or source the appropriate components separately.
Open the generator’s Guide and check Accessories for the recommended setup. See the backlight board and LED strip assembly guide for assembly information.
A few tips for your first project
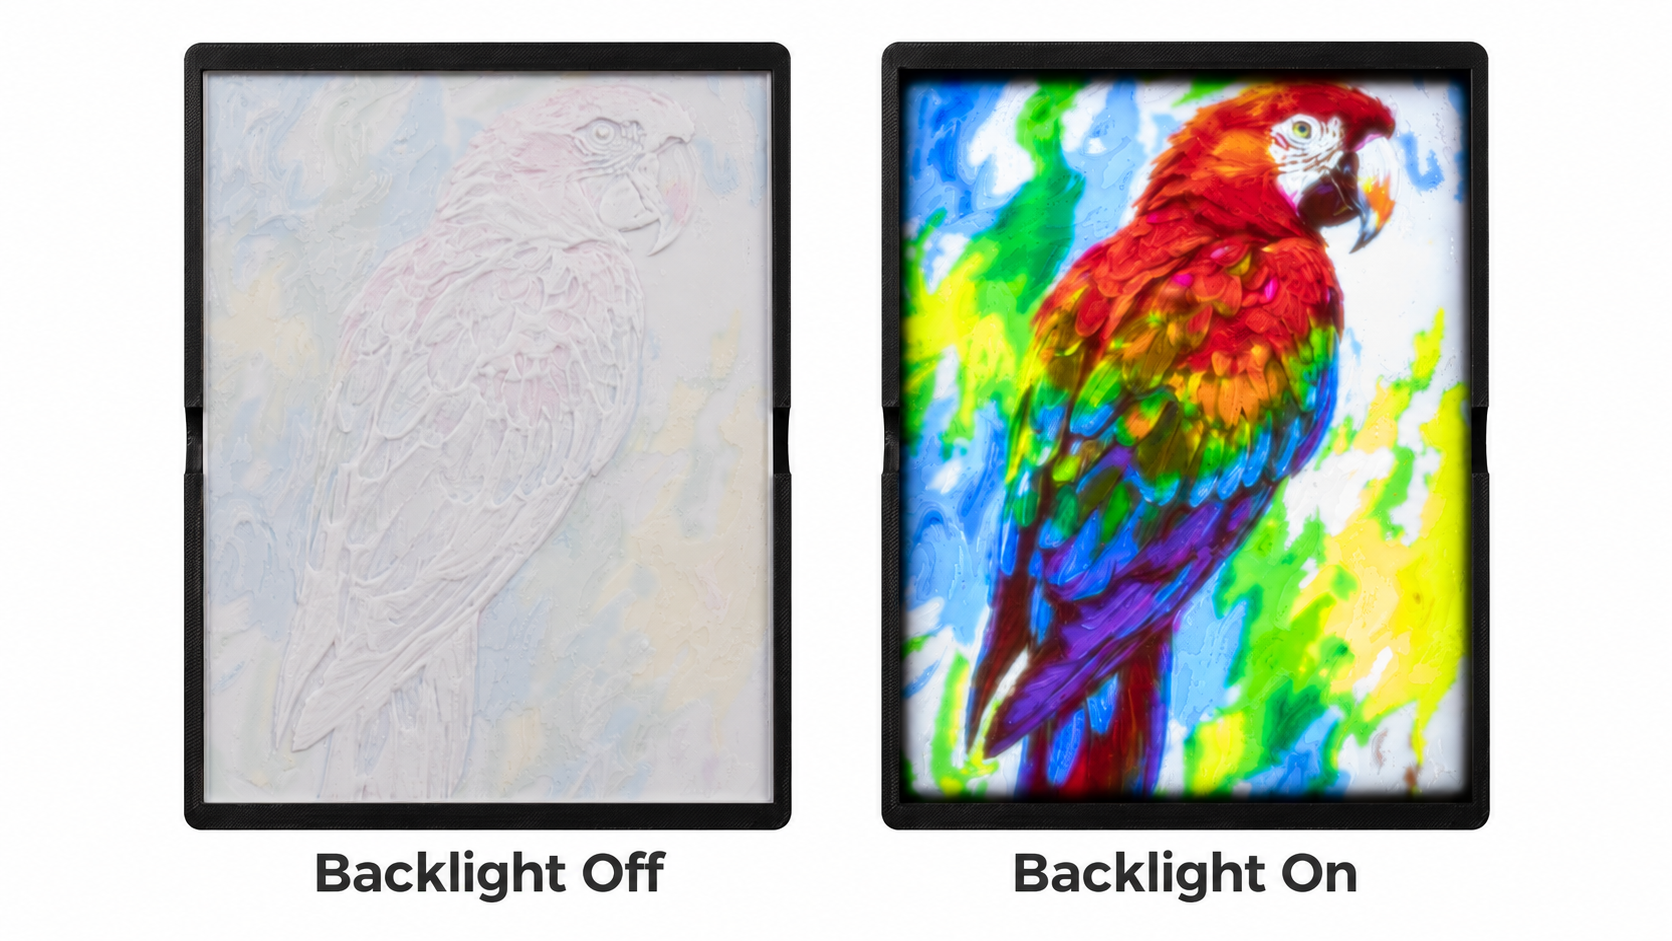
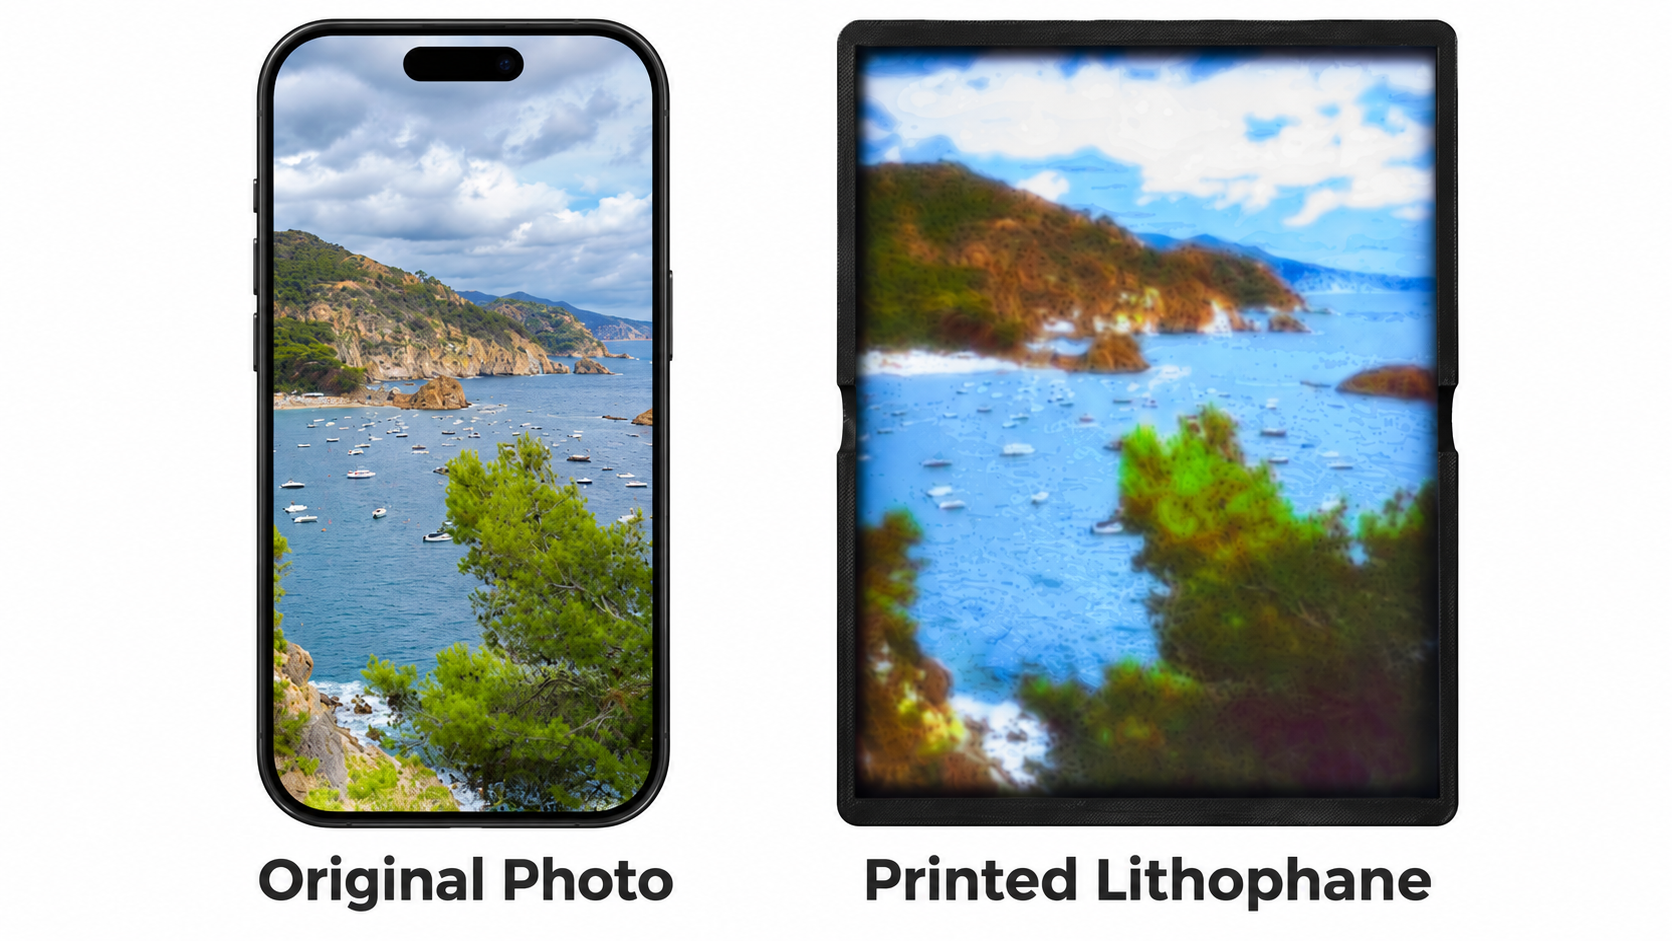
Backlighting is what reveals the image. Judge your finished panel with the intended light behind it. Printed colors and fine detail will differ from a screen image, and results depend on the source picture, filament, generator settings, slicing, and lighting. Model generation, slicing, printing, and assembly are separate steps.
Pick one photo you would love to see in a different light, then open Snapmaker Lab and start creating.
Cheers,
The Snapmaker Team