How to 3D Print Custom Guitar Picks with Snapmaker: A Beginner's Guide
Being a guitarist, have you ever dropped your favorite pick in the middle of a jam? Or desired a custom design tailored to your playing style? With a 3D printer like the Snapmaker U1, you can print guitar picks on the go.
3D-printed guitar picks are durable, eco-friendly, and save you money. From design to last strum, they are highly customizable to vibe with your music preference.
All set to strum your own handiwork? Here, we'll guide you through 3D printing guitar picks with Snapmaker. Let's begin.
Why 3D Print Guitar Picks? The Benefits for Musicians
3D-printed guitar picks can do just as well as traditional ones. Below are the benefits of using 3D printed guitar picks for music players.
Unmatched Customization for Unique Playstyles
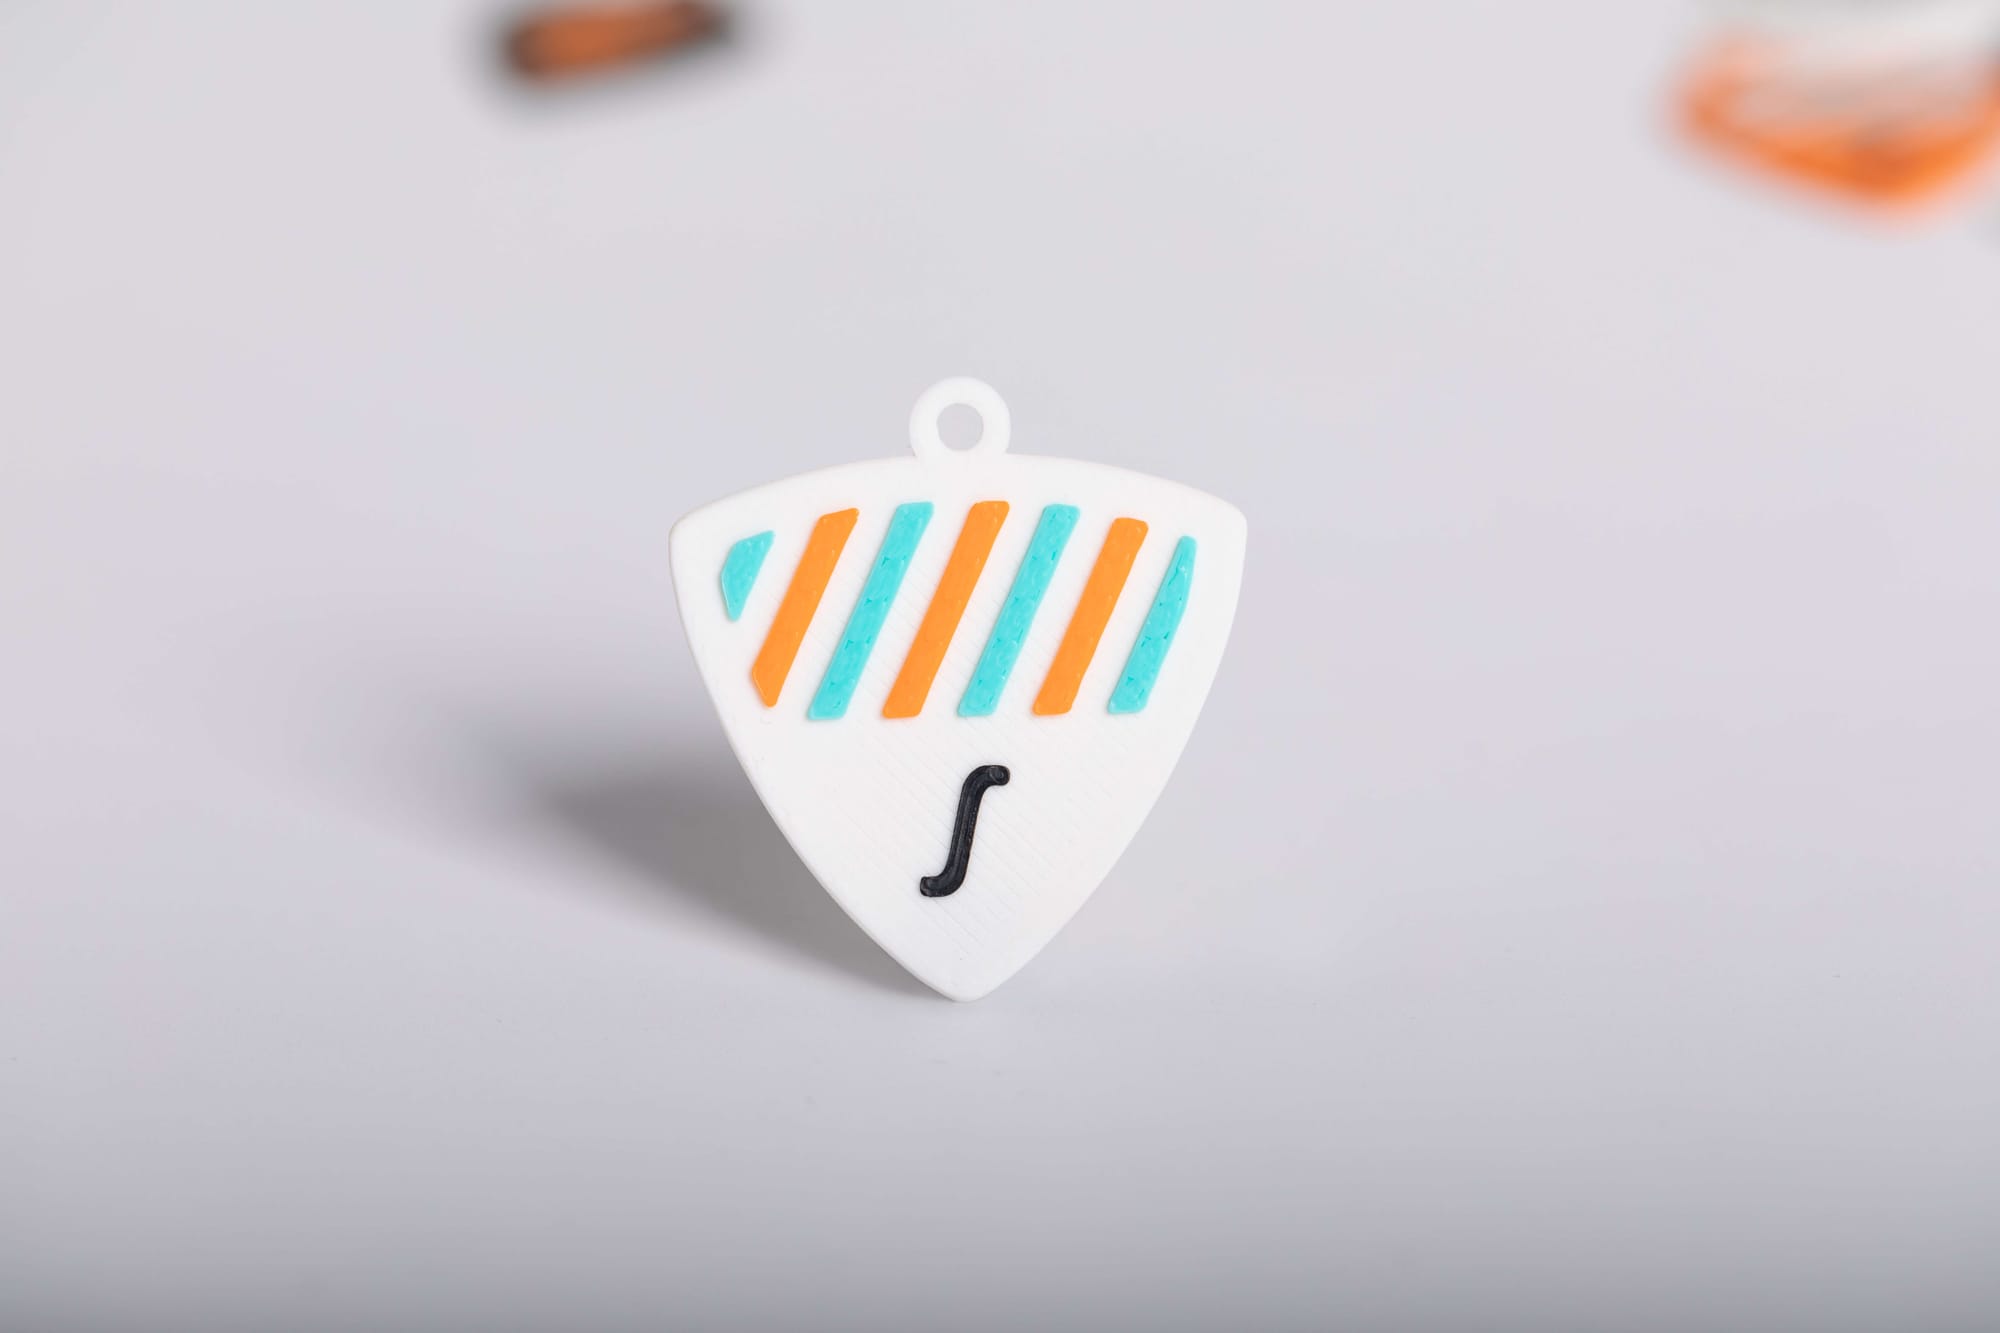
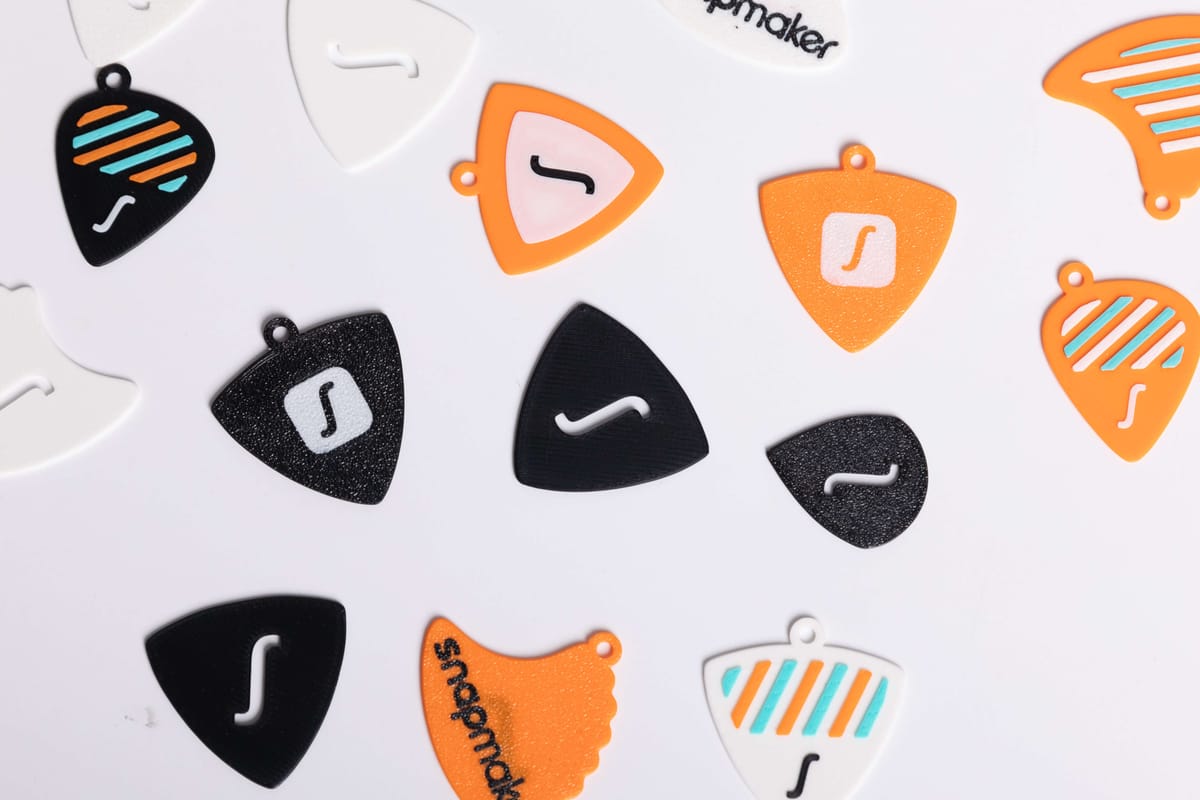
You can design your own pick with different colors, shapes, materials, and thickness. The infill patterns (like Concentric or Spiral), textured features (like crosshatch), and thumbpicks can enhance aesthetics and grip.
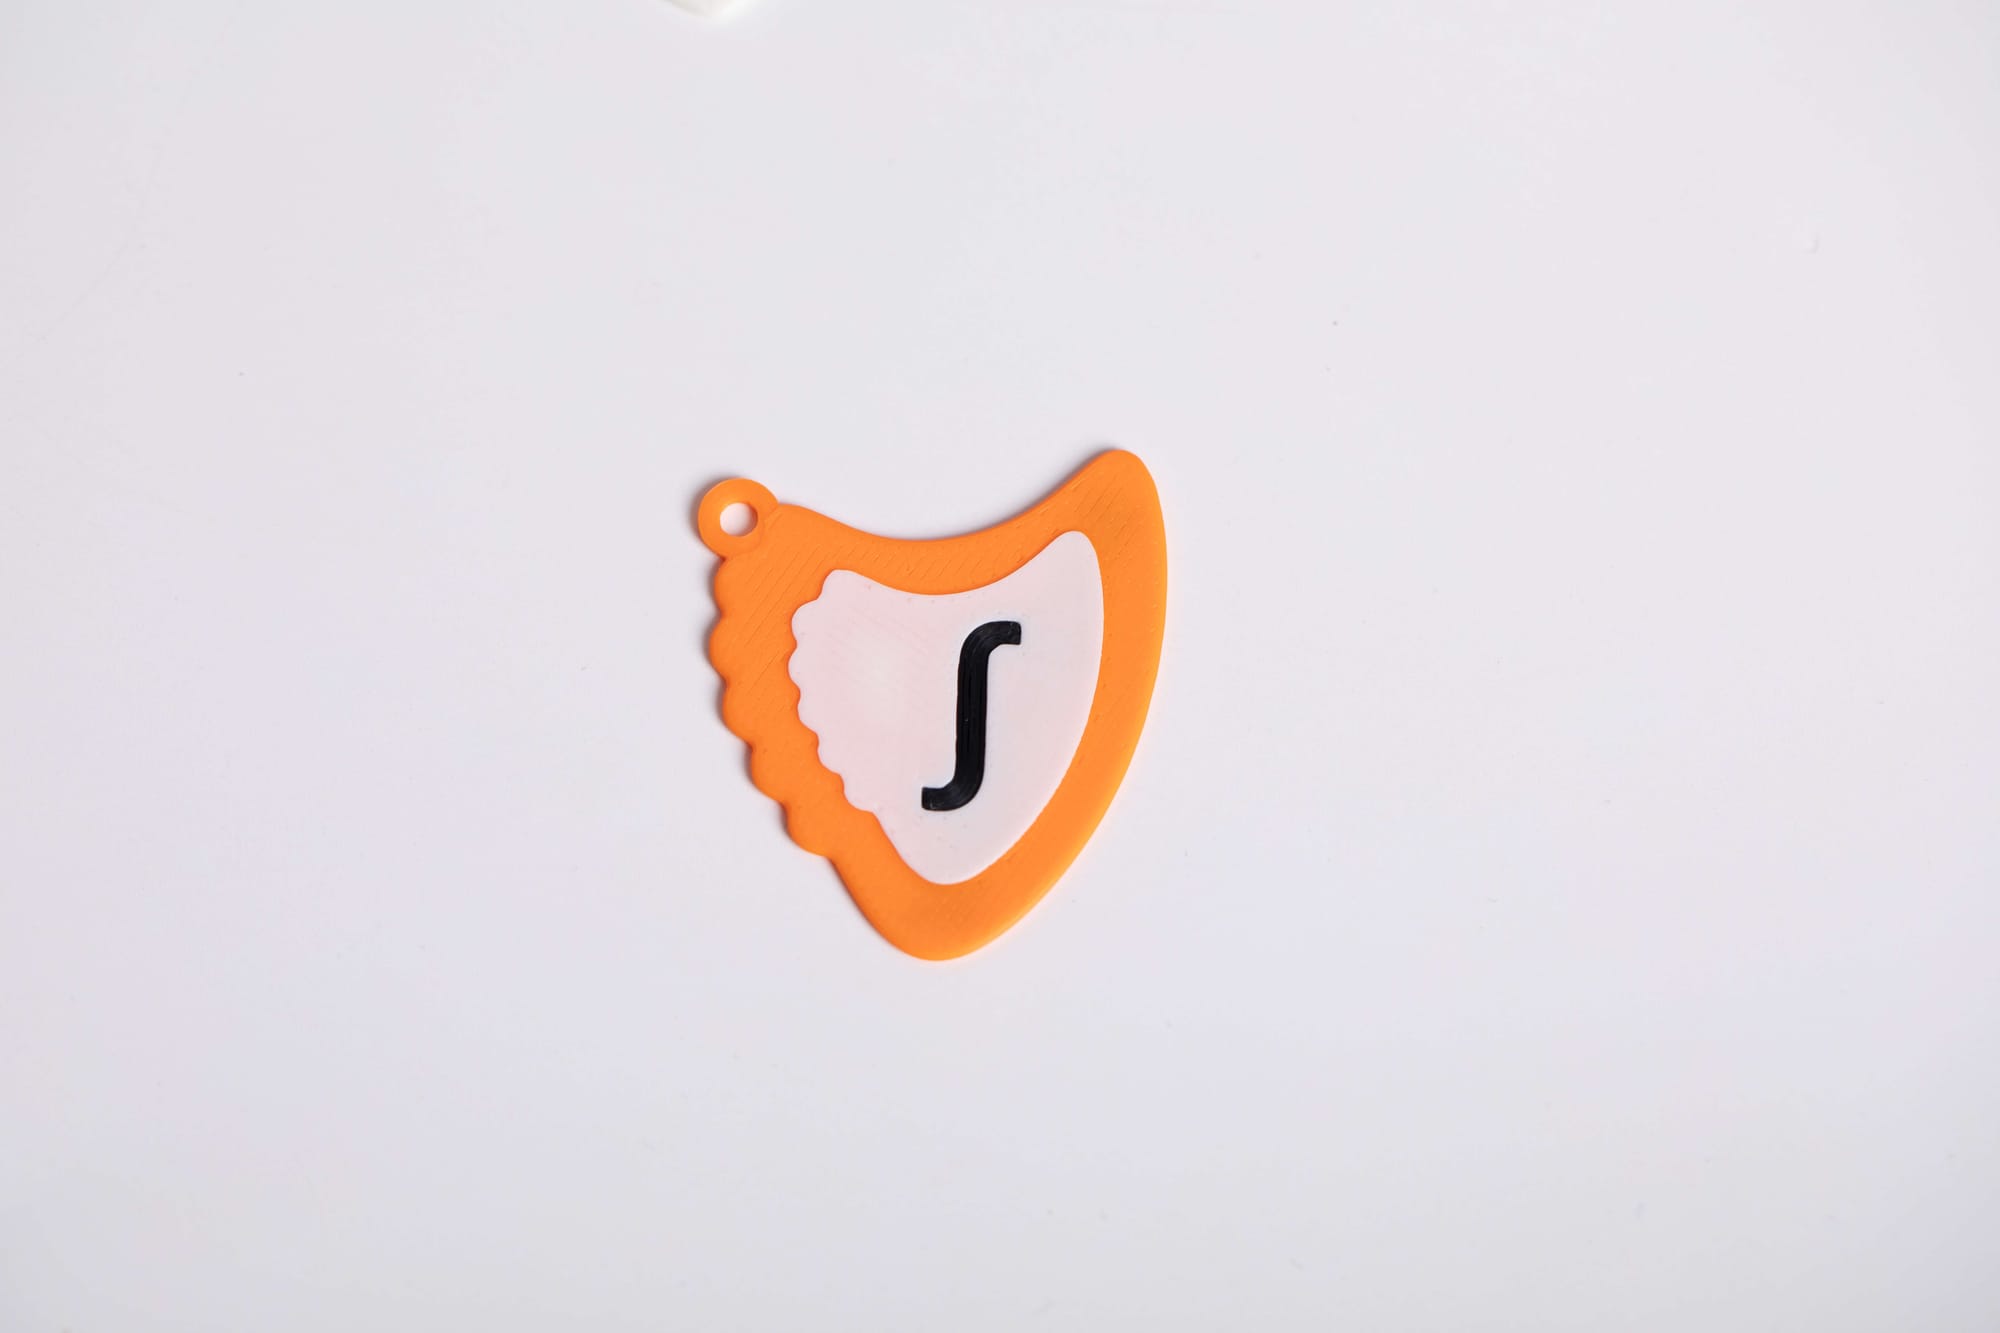
3D printing allows customizable cut-outs such as standard 351, teardrop, jazz, or sharkfin. It also allows embossing or debossing filaments to add a logo or initials for branding. You can also create a hole in the picks so they don't get lost.
Cost Savings Over Store-Bought Picks
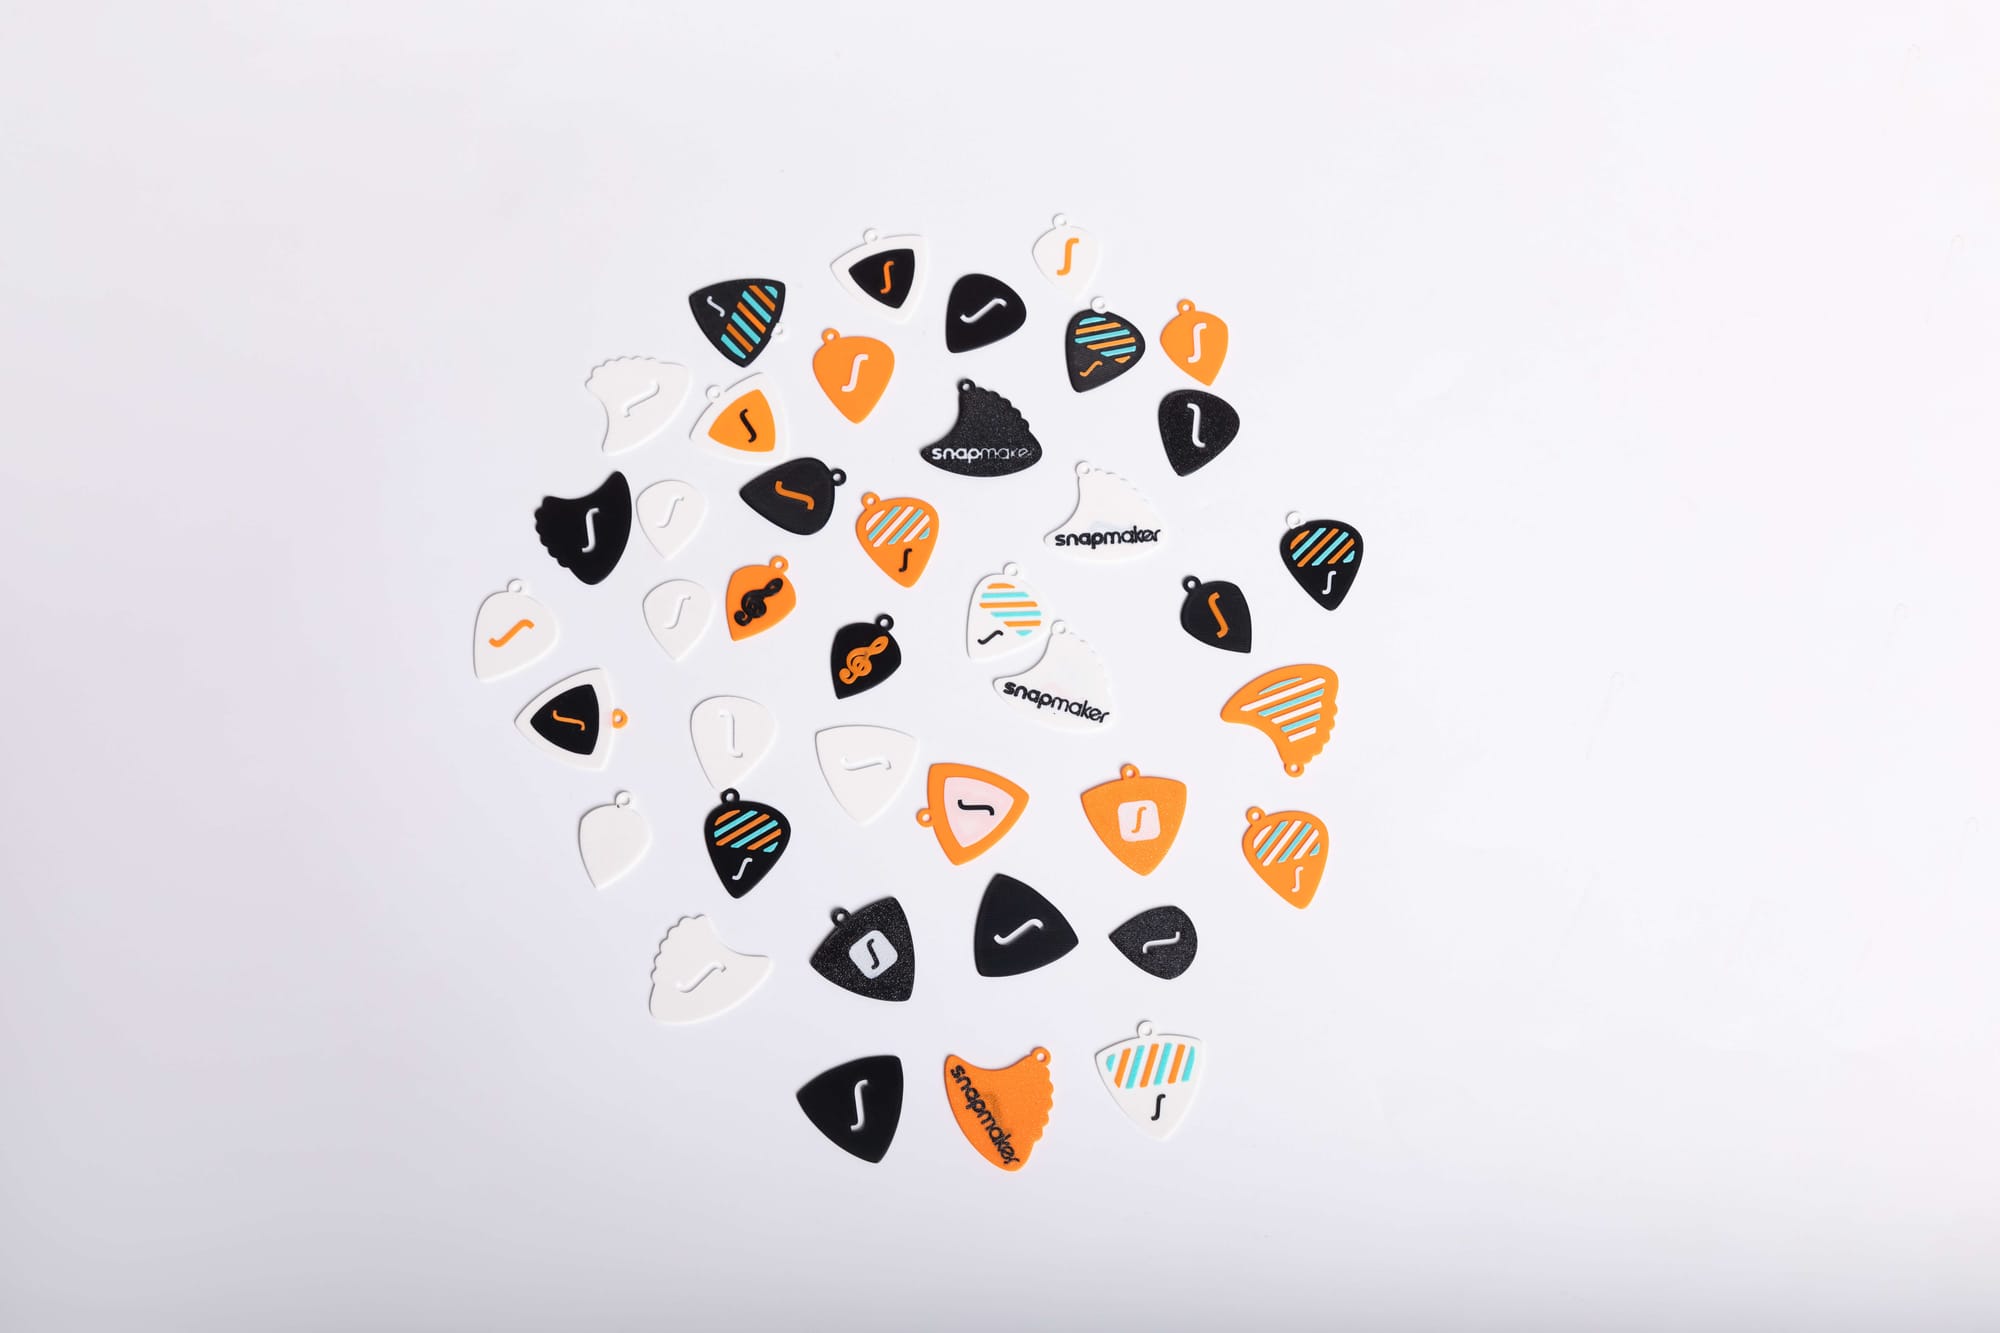
3D guitar picks can be printed in bulk in one session, saving you time and money. It is a more practical approach, especially when giving away picks on the shows. You can easily print more than 500 picks costing ~$0.05 each made from a 1 kg spool of PLA. On the contrary, a single high-end pick such as Dunlop Tortex would cost you $0.50–$5.
Material Variety for Tone and Feel
Different materials with different stiffness give unique pick feels. For example, PLA picks for rigid, bright tone, TPU for flexible, softer feel, and PETG for balanced tone.
Thick picks, such as ABS and PETG, are more durable with low breakage rates. The chosen material can also affect playability. Therefore, TPU is suitable for jazz players and ABS for heavy metal shredders.
Sustainability and Creative Control
Traditional picks use plastic, which often end up in landfills. At the same time, 3D printing has eco-friendly benefits. PLA, commonly used in 3D printing, is made of renewable resources.
DIY print makers are free to unlock their creativity. They can experiment with different prototypes and materials to perfect the print. Pick your style and add your personalized features the way you want.
Materials and Tools You'll Need
If you are designing DIY guitar picks, you will need the following things:
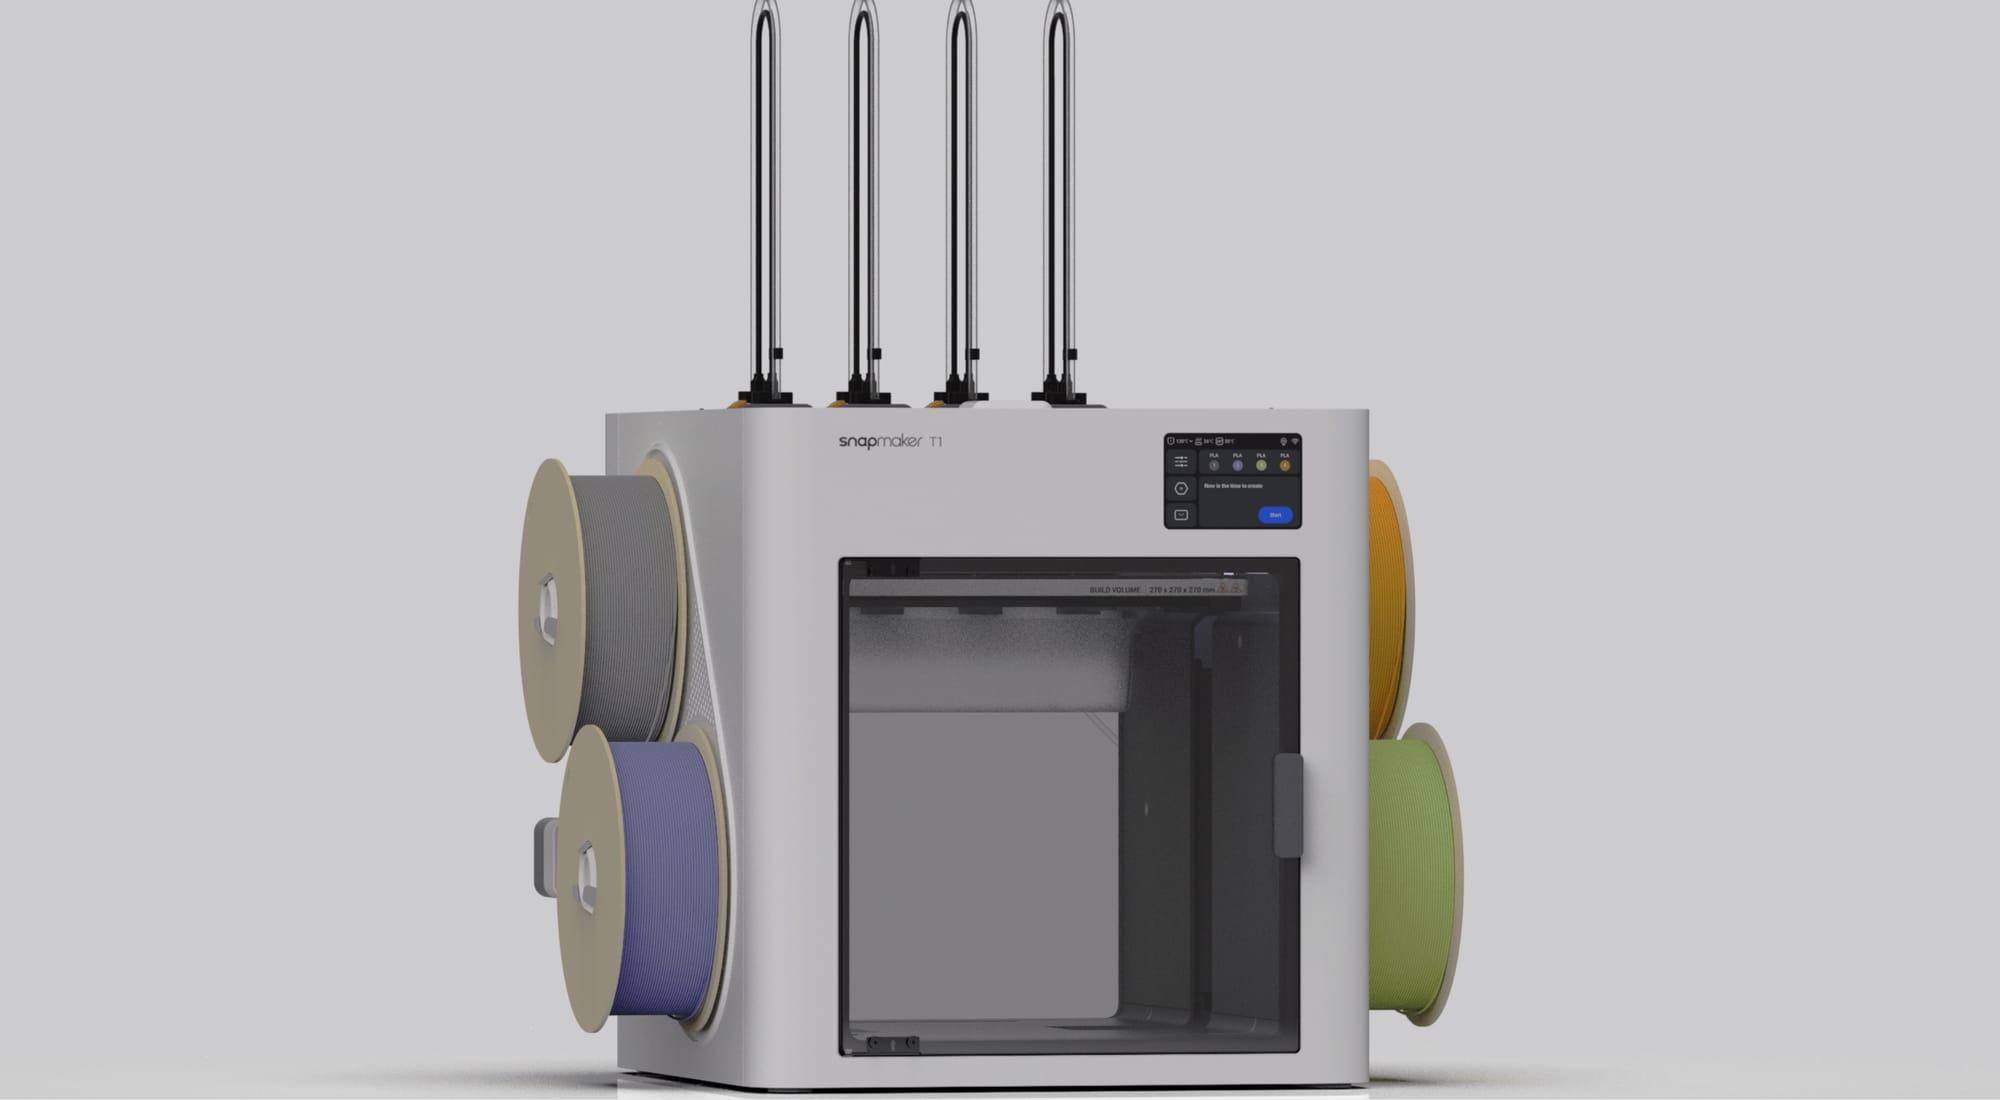
- 3D Printer: A high-speed printer that can generate multi-colored prints is needed. The Snapmaker U1 printer, is a good option if you desire versatility.
- Filaments: As described earlier, thickness matters for durability and playability. PLA filaments are affordable and easier to print.
- Software: It must be compatible with your selected 3D printer. For example, Snapmaker integrates Ocra software, which is a free, all-in-one tool for designing and slicing.
- Others: You may also need a caliper to measure thickness or sandpaper for a smooth finish.
Step-by-Step Guide: Designing and 3D Printing Guitar Picks
Printing 3D guitar picks is no longer a daunting task. Enhance visuals of your custom picks by designing and printing at home with the following easy steps.
Step 1: Designing Your Guitar Pick
Before slicing and printing, you need a 3D model of your guitar pick. You have a few options:
- Design from Scratch: Use CAD software to create a pick with custom dimensions, shapes, and features.
- Trace an Existing Pick: Take a photo of your favorite pick and trace its outline in a design program.
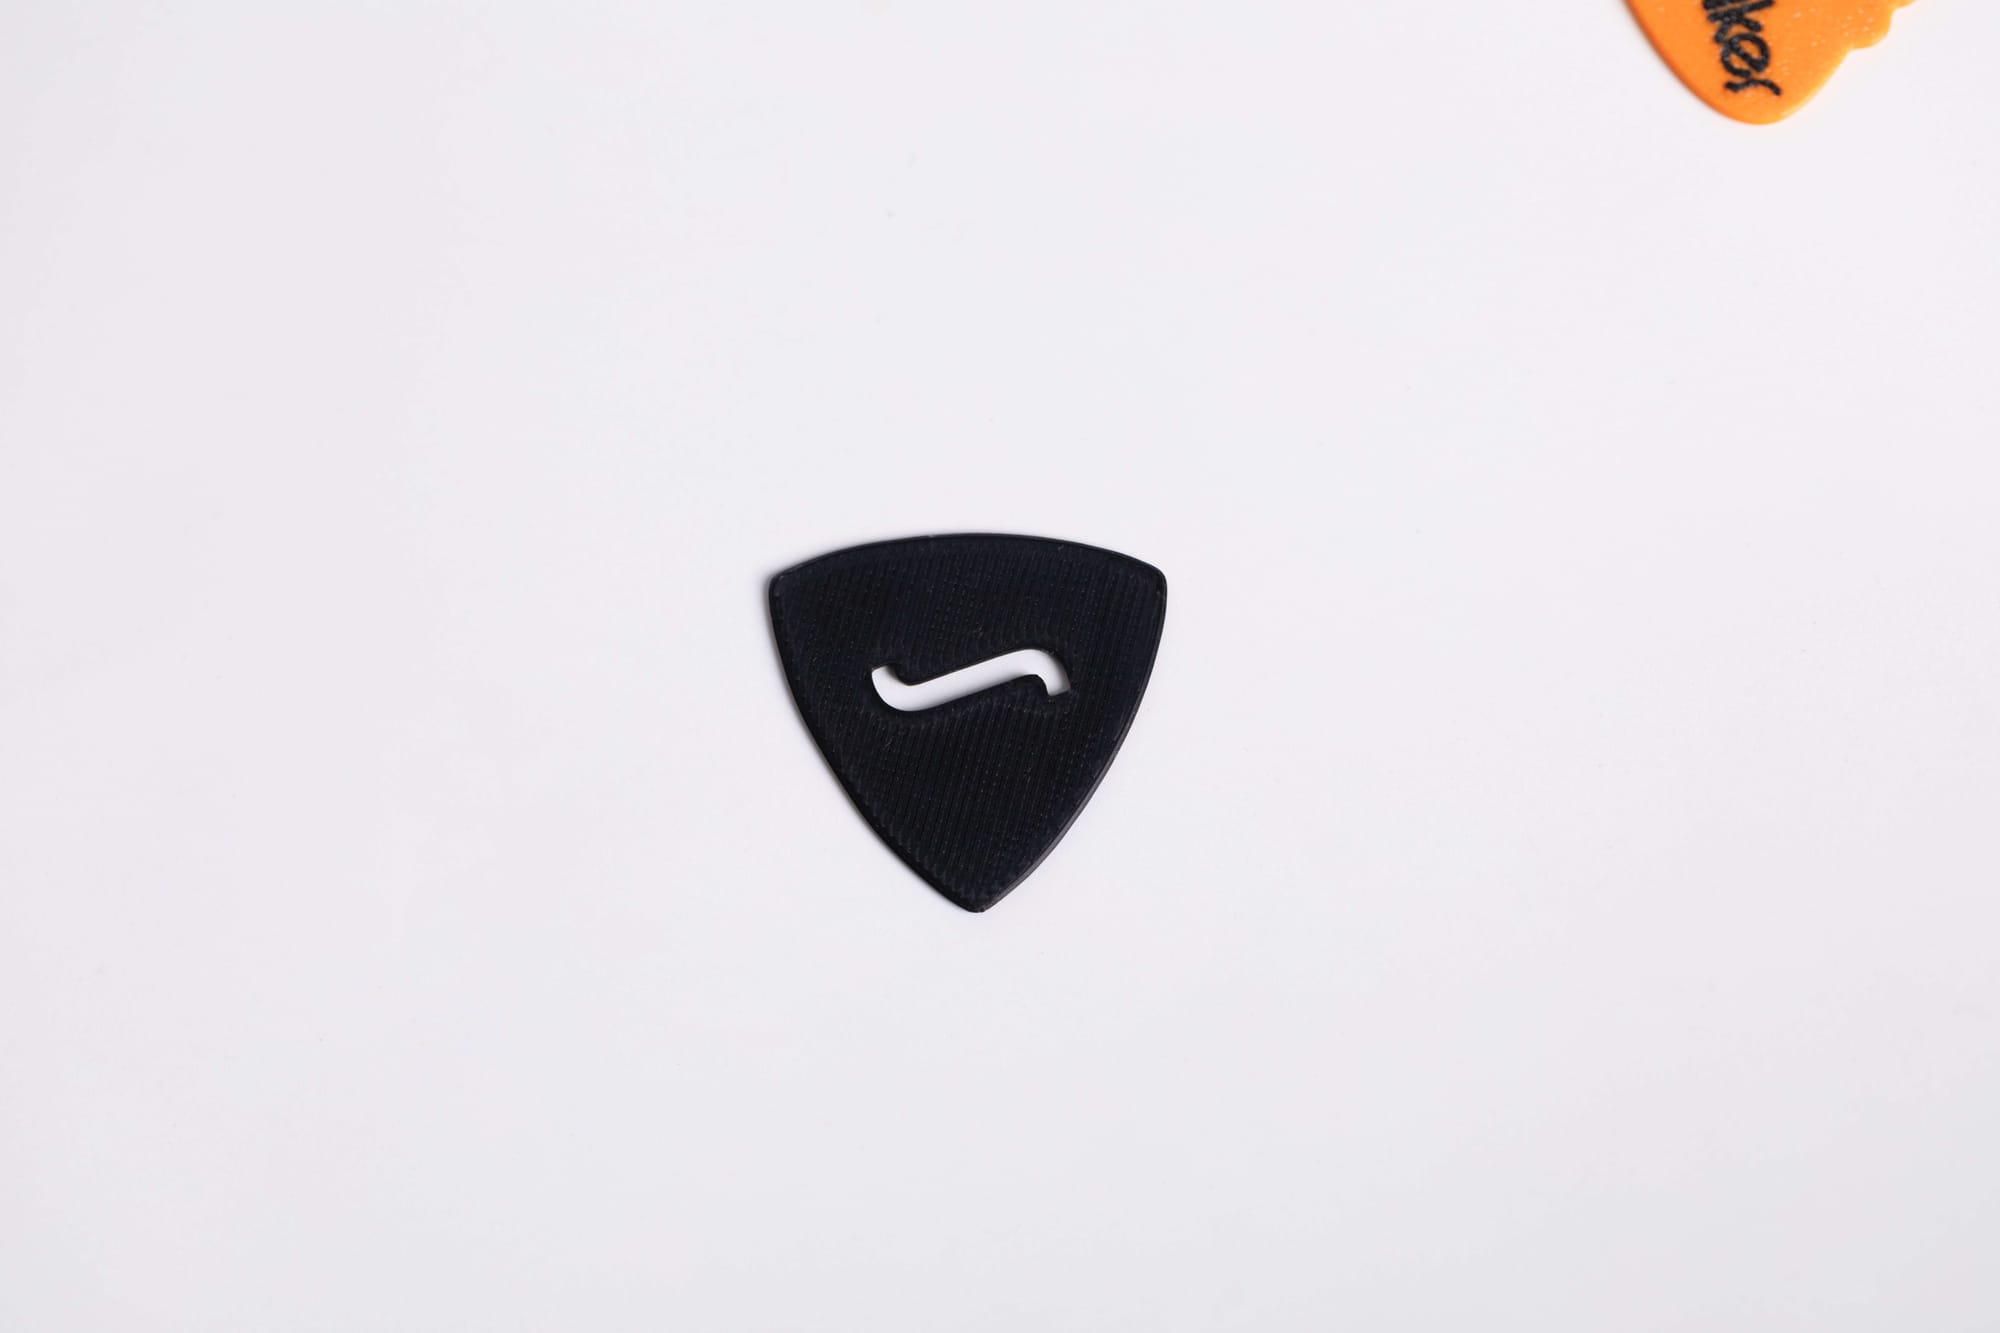
- Download a Model: Websites like Thingiverse and Printables offer countless free STL files for guitar picks. You can use them as-is or modify them. (Model credit for the pick shown in this guide goes to the Snapmaker team).
When designing, consider standard dimensions (Length: ~30mm, Width: ~25mm, Thickness: 0.5-2mm) and add functional features like grips (1mm ridges), a chamfered edge for a smoother attack, or even your initials for a personal touch.
Step 2: Preparing the Design in Snapmaker Orca Software

Once your design is ready, import the STL file into Snapmaker Orca. Position the pick flat on the build plate to ensure strong layer adhesion and a smooth finish.
For this project, we recommend using a high-quality PLA like Snapmaker SnapSpeed PLA or Matte PLA, which provide a great balance of rigidity and durability for guitar picks.
To get you started, here are the exact settings used by the Snapmaker team for a perfect batch of guitar picks. These settings are a great starting point, and you can adjust them based on your specific needs.
Official Snapmaker Slicer Settings for Guitar Picks:
- Material: Snapmaker SnapSpeed PLA / Matte PLA
- Layer Height: 0.08 mm (First Layer: 0.16 mm for better adhesion)
- Nozzle: 0.4 mm Stainless Steel
- Speed & Acceleration:
- Max Acceleration: 10000 mm/s²
- Infill Speed: 450 mm/s
- Outer Wall Speed: 200 mm/s
- Shells & Infill:
- Wall Loops: 2
- Top Shell Layers: 9
- Bottom Shell Layers: 3
- Infill Density: 15%
- Infill Pattern: Grid
Pro Tip: With the Snapmaker U1's spacious build plate, you can easily print a large batch of 15-20 picks at once. The total print time for a batch like this is around 2 hours. Use the preview function in Orca to check for any potential issues before you start printing.
Step 3: Setting Up Your Snapmaker U1
Now it's time to level the printer's bed before printing. Snapmaker U1 has an auto-leveling feature. It's better to print by laying it down on the bed, as there would be no load to cause layers to weaken. Connect with the Wi-Fi or insert a USB for offline printing.
Load the PLA filament into the SnapSwap™ system on the U1. It supports multi-color picks and quick filament modifications. Don't forget to clean the PEI-coated build plate with isopropyl alcohol.
If you are using ABS or PETG filaments, then use the U1's enclosure to prevent warping issues. Always make sure the room is adequately ventilated.
Step 4: Printing and Post-Processing
After loading the filament and adjusting the settings, start printing. A single pick would require 10-20 minutes, whereas a batch of 15 may take less than an hour to finish. You can view the real-time progress through the U1's camera.
Once the printing has finished, remove the pick when the bed has reached the room temperature. Smooth the edges of the pick with 400-600 grit sandpaper. Apply coatings for a shiny finish if needed.
The quality check post-processing is crucial for home 3D printers. The caliper thickness must be for ±0.1mm accuracy.
Step 5: Testing and Iterating
To perfect the final pick, keep experimenting with different styles and settings. Variations in thickness also matter. Thinner picks (0.4-0.6 mm) are for acoustic, lighter strumming. Whereas, thicker picks like 0.8-1.2 mm offer brighter sound in heavy strumming. Check for tone, grip, and durability. You can share designs and get user feedback on Snapmaker's community. Redesign to Reprint!
Conclusion
3D printing guitar picks is easy, fun, and infinitely customizable with Snapmaker. Guitarists and 3D print enthusiasts can endlessly explore to best suit their style. It wouldn't break if you use durable filaments.
Enjoyed what you read? Explore Snapmaker for more models and filaments. You can start creating your own 3D guitar picks today.