From Garden Shed to Maker Haven: Rüdiger's Snapmaker Journey
Hi fellow Snapmakers!
My name is Rüdiger, and I started my 3D printing journey seven years ago.
In 2021, when I built my shop in the garden shed, I had only about six square meters of space. And as I was also working with some semi-toxic materials in there, I explored the internet to find an enclosed 3D printer and came across Snapmaker 2.0 with enclosure, which could do more than just 3D printing. I immediately knew I had to try this machine. It was perfect for my little shed.
In the meantime, I had the opportunity to get a ticket to Formnext 2022 in Frankfurt, where I met the people of Snapmaker at their booth—especially Ziggy, who is a very interesting person, and we bonded immediately. The next winter was very cold. So, after that winter, I decided to move from the shed because it was too cold for reliable prints, and I wanted to do more than what was possible in an unheated shed. Luckily, my fiancée agreed that I could move into the basement of our house, where I expanded my space to 38 square meters. The basement had to be completely renovated.
After Formnext, I started to be more active in the Snapmaker Facebook forums. I was surprised when I saw that the Snapmaker team asked users to join Snapmaker at Formnext 2023. Since I had already planned to go to Formnext, I decided to respond that I was available—and luckily, they picked me because I'm a local to Frankfurt and the team already knew me.
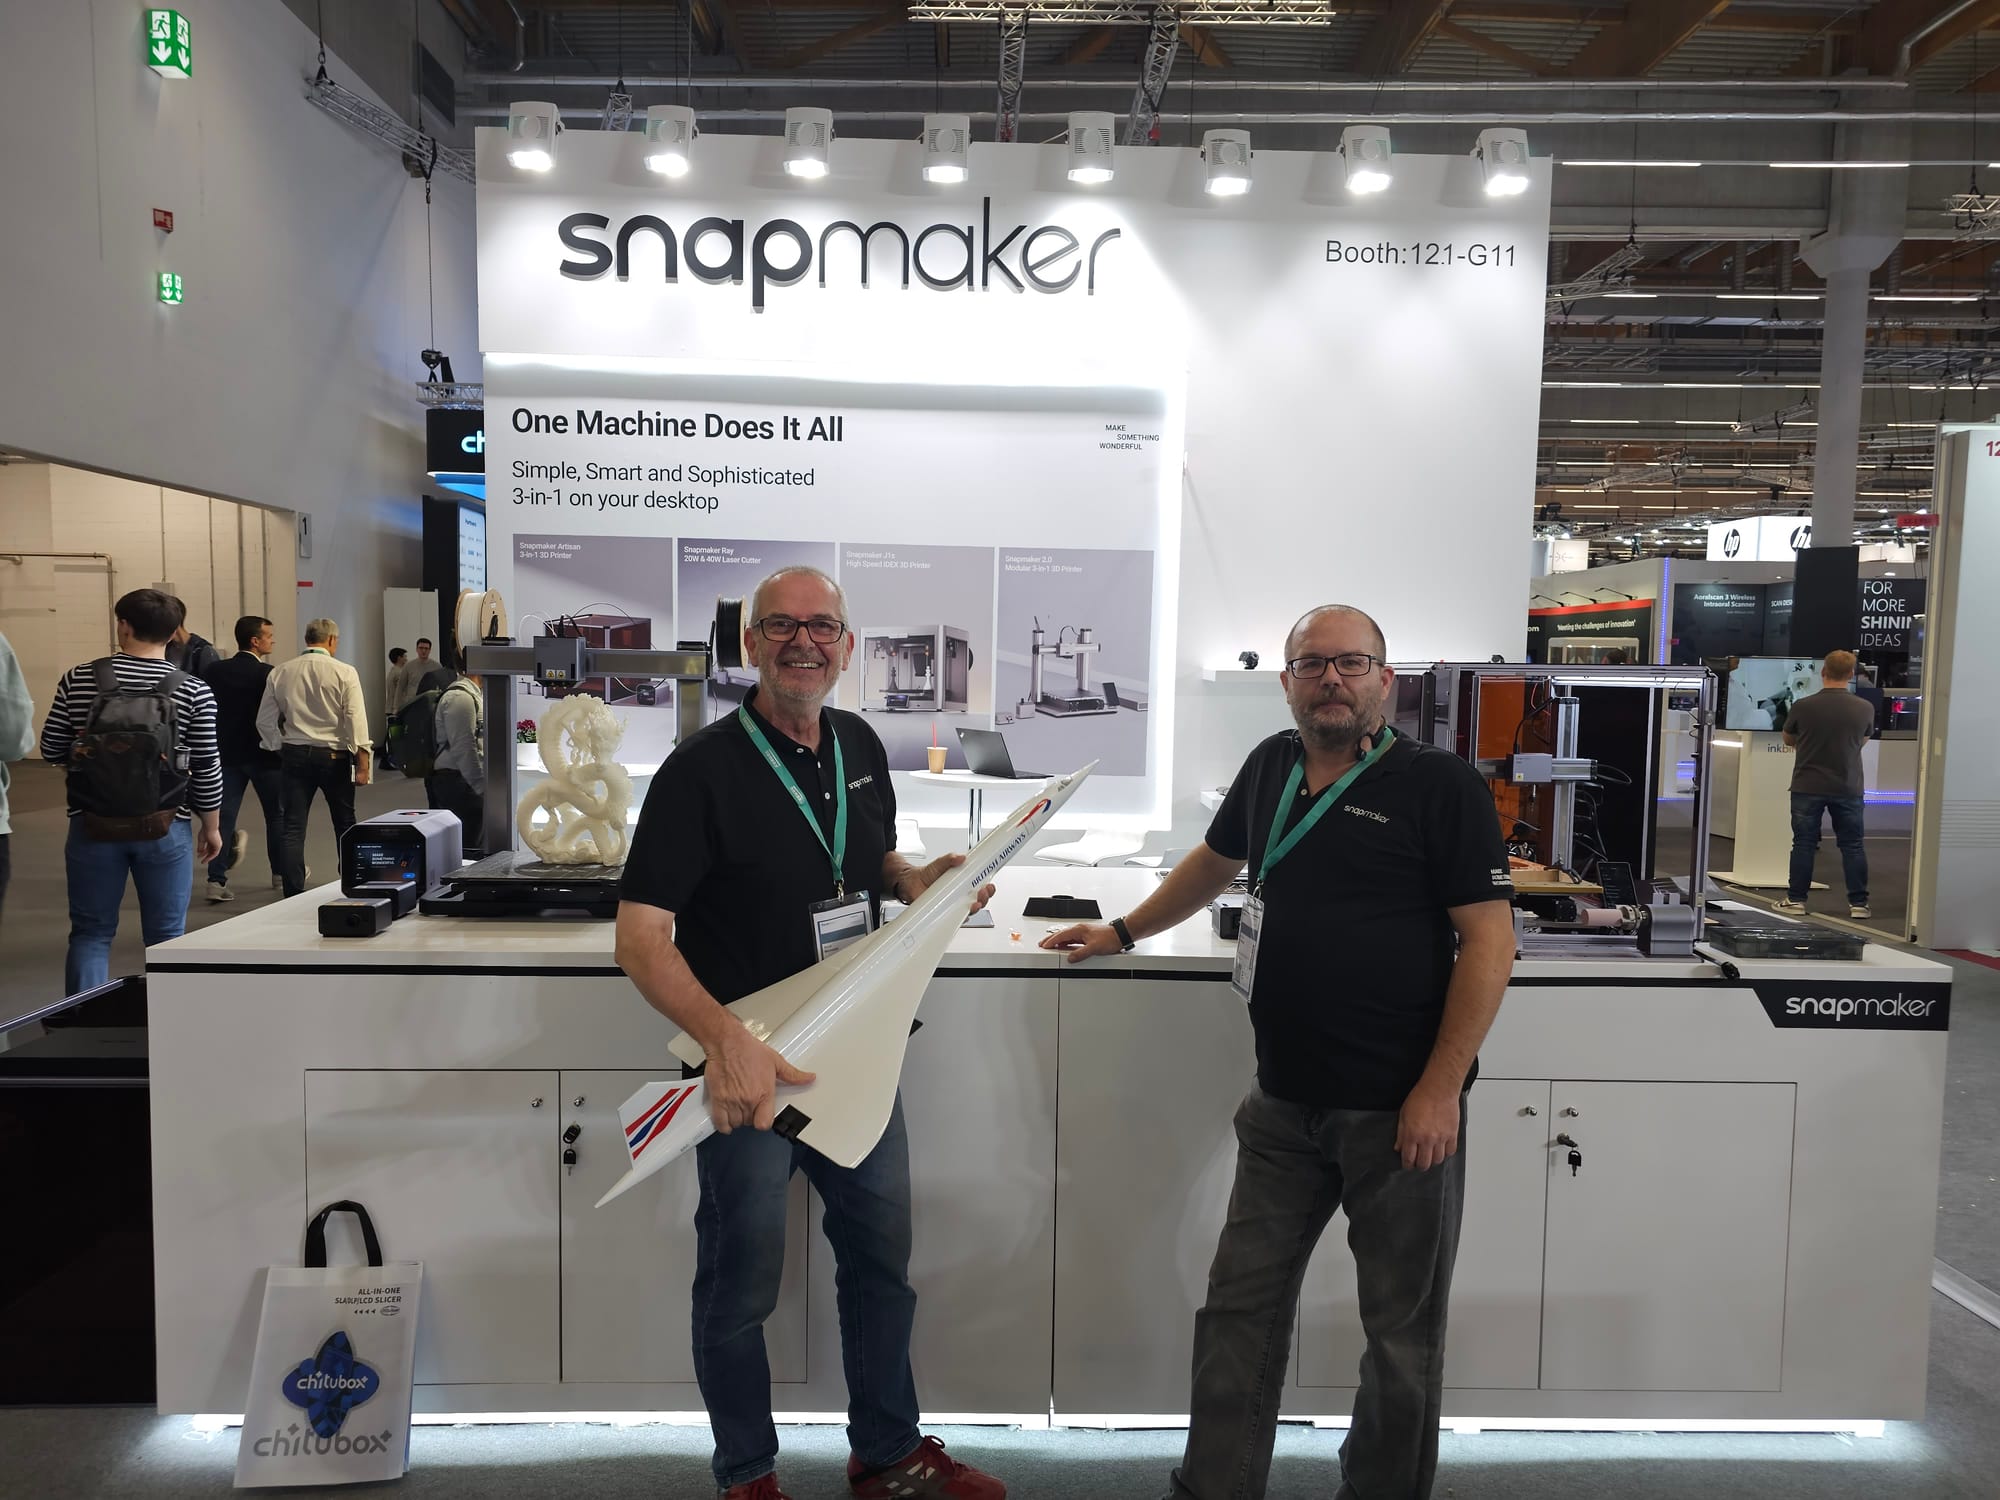
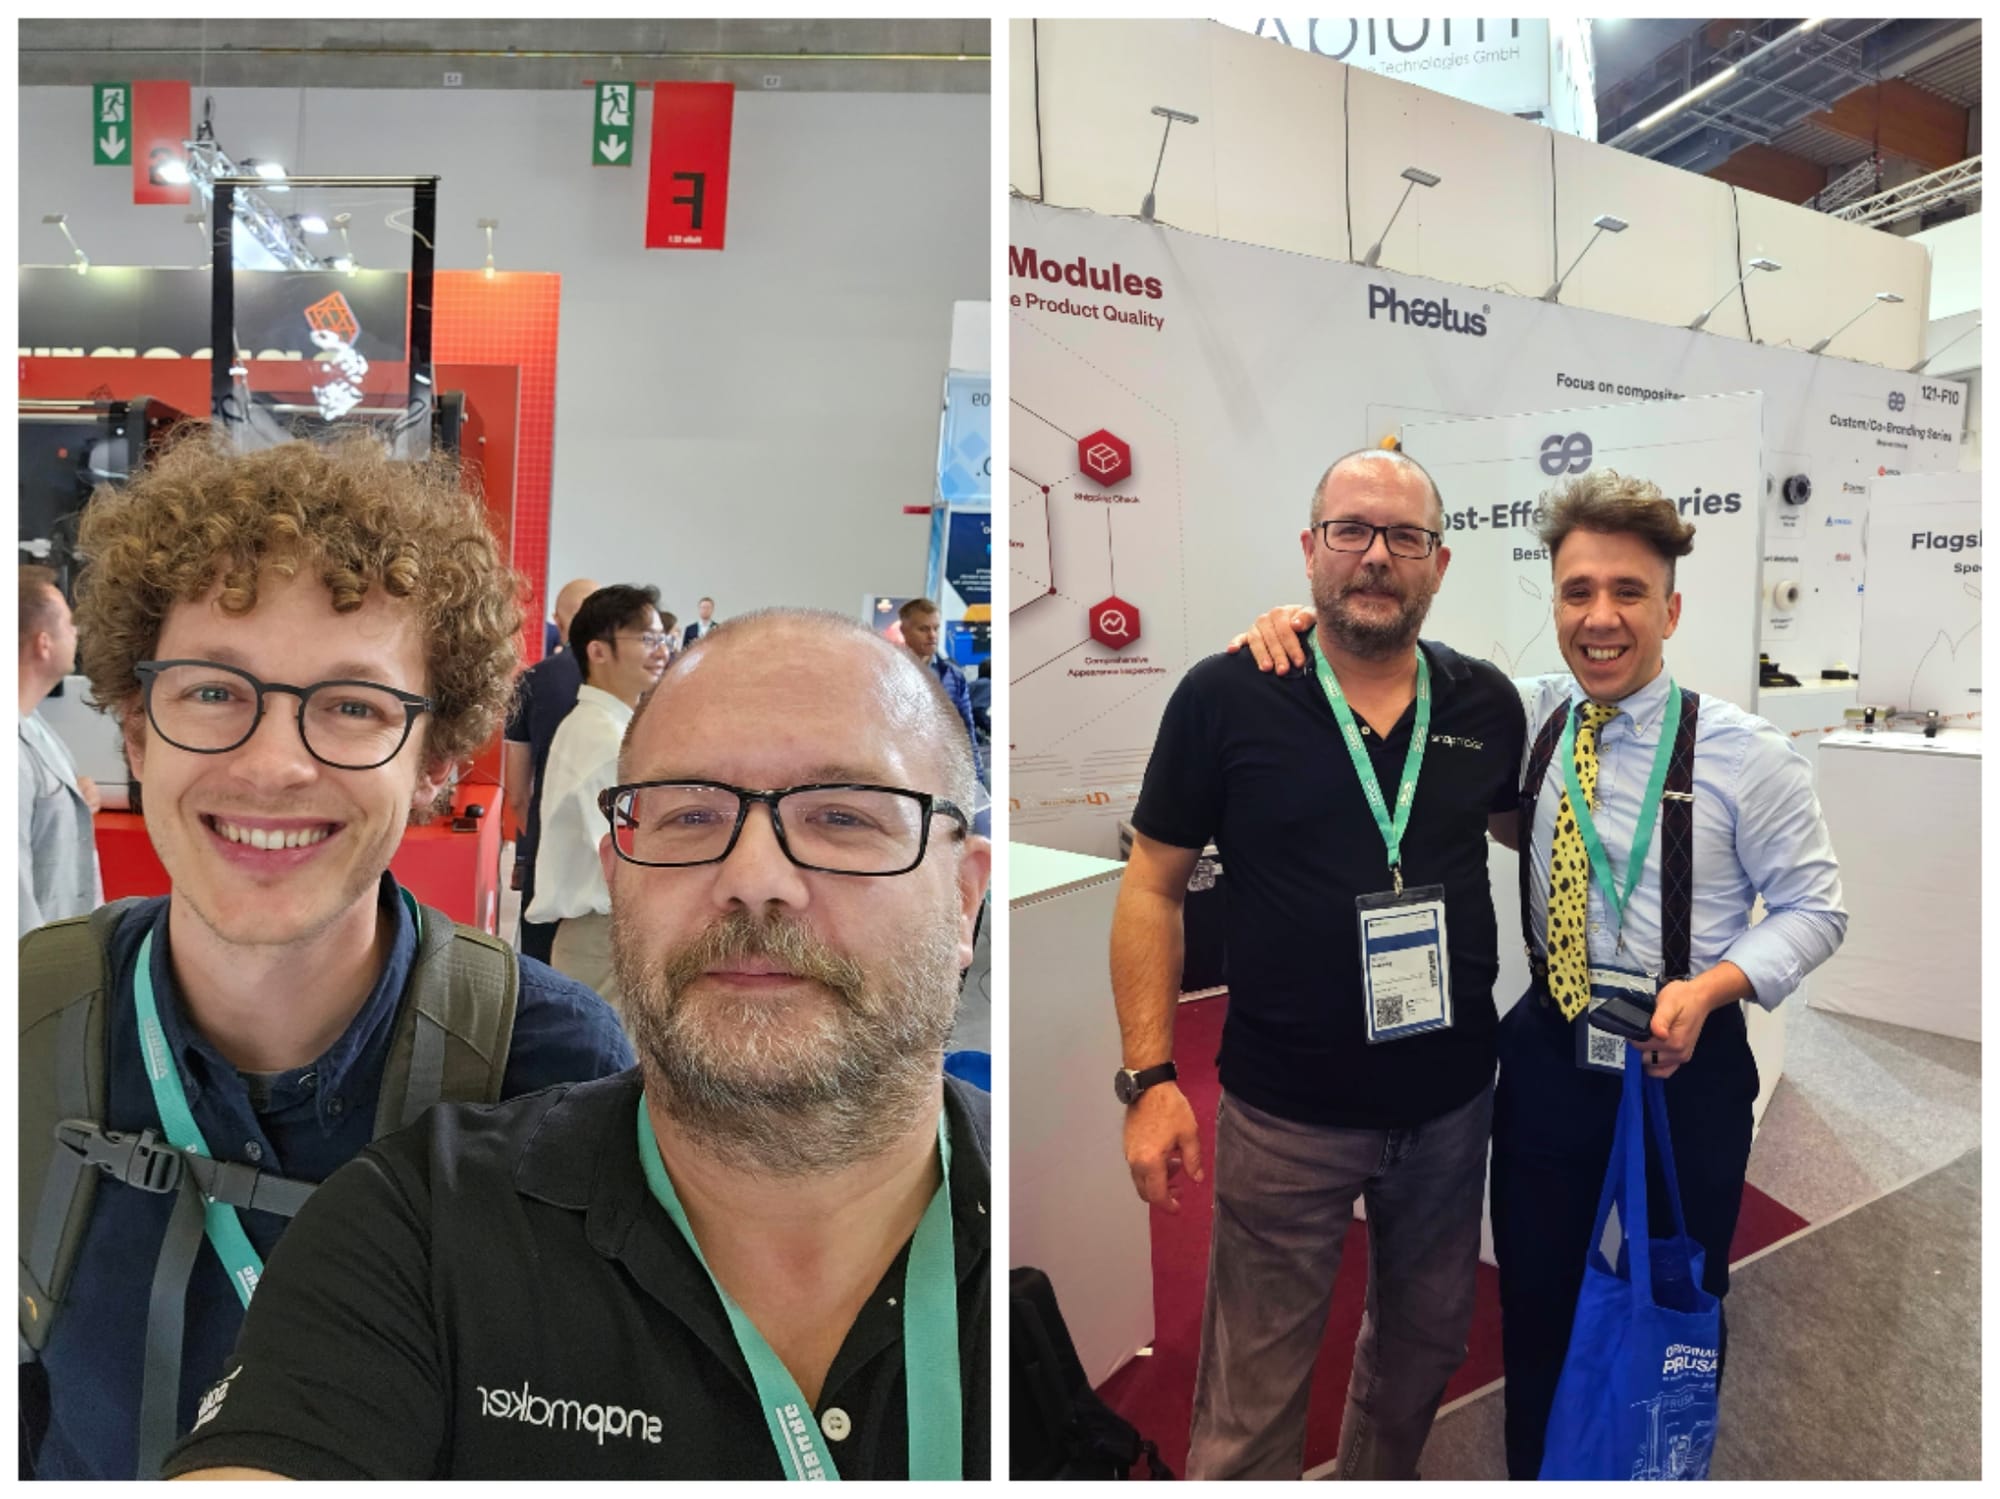
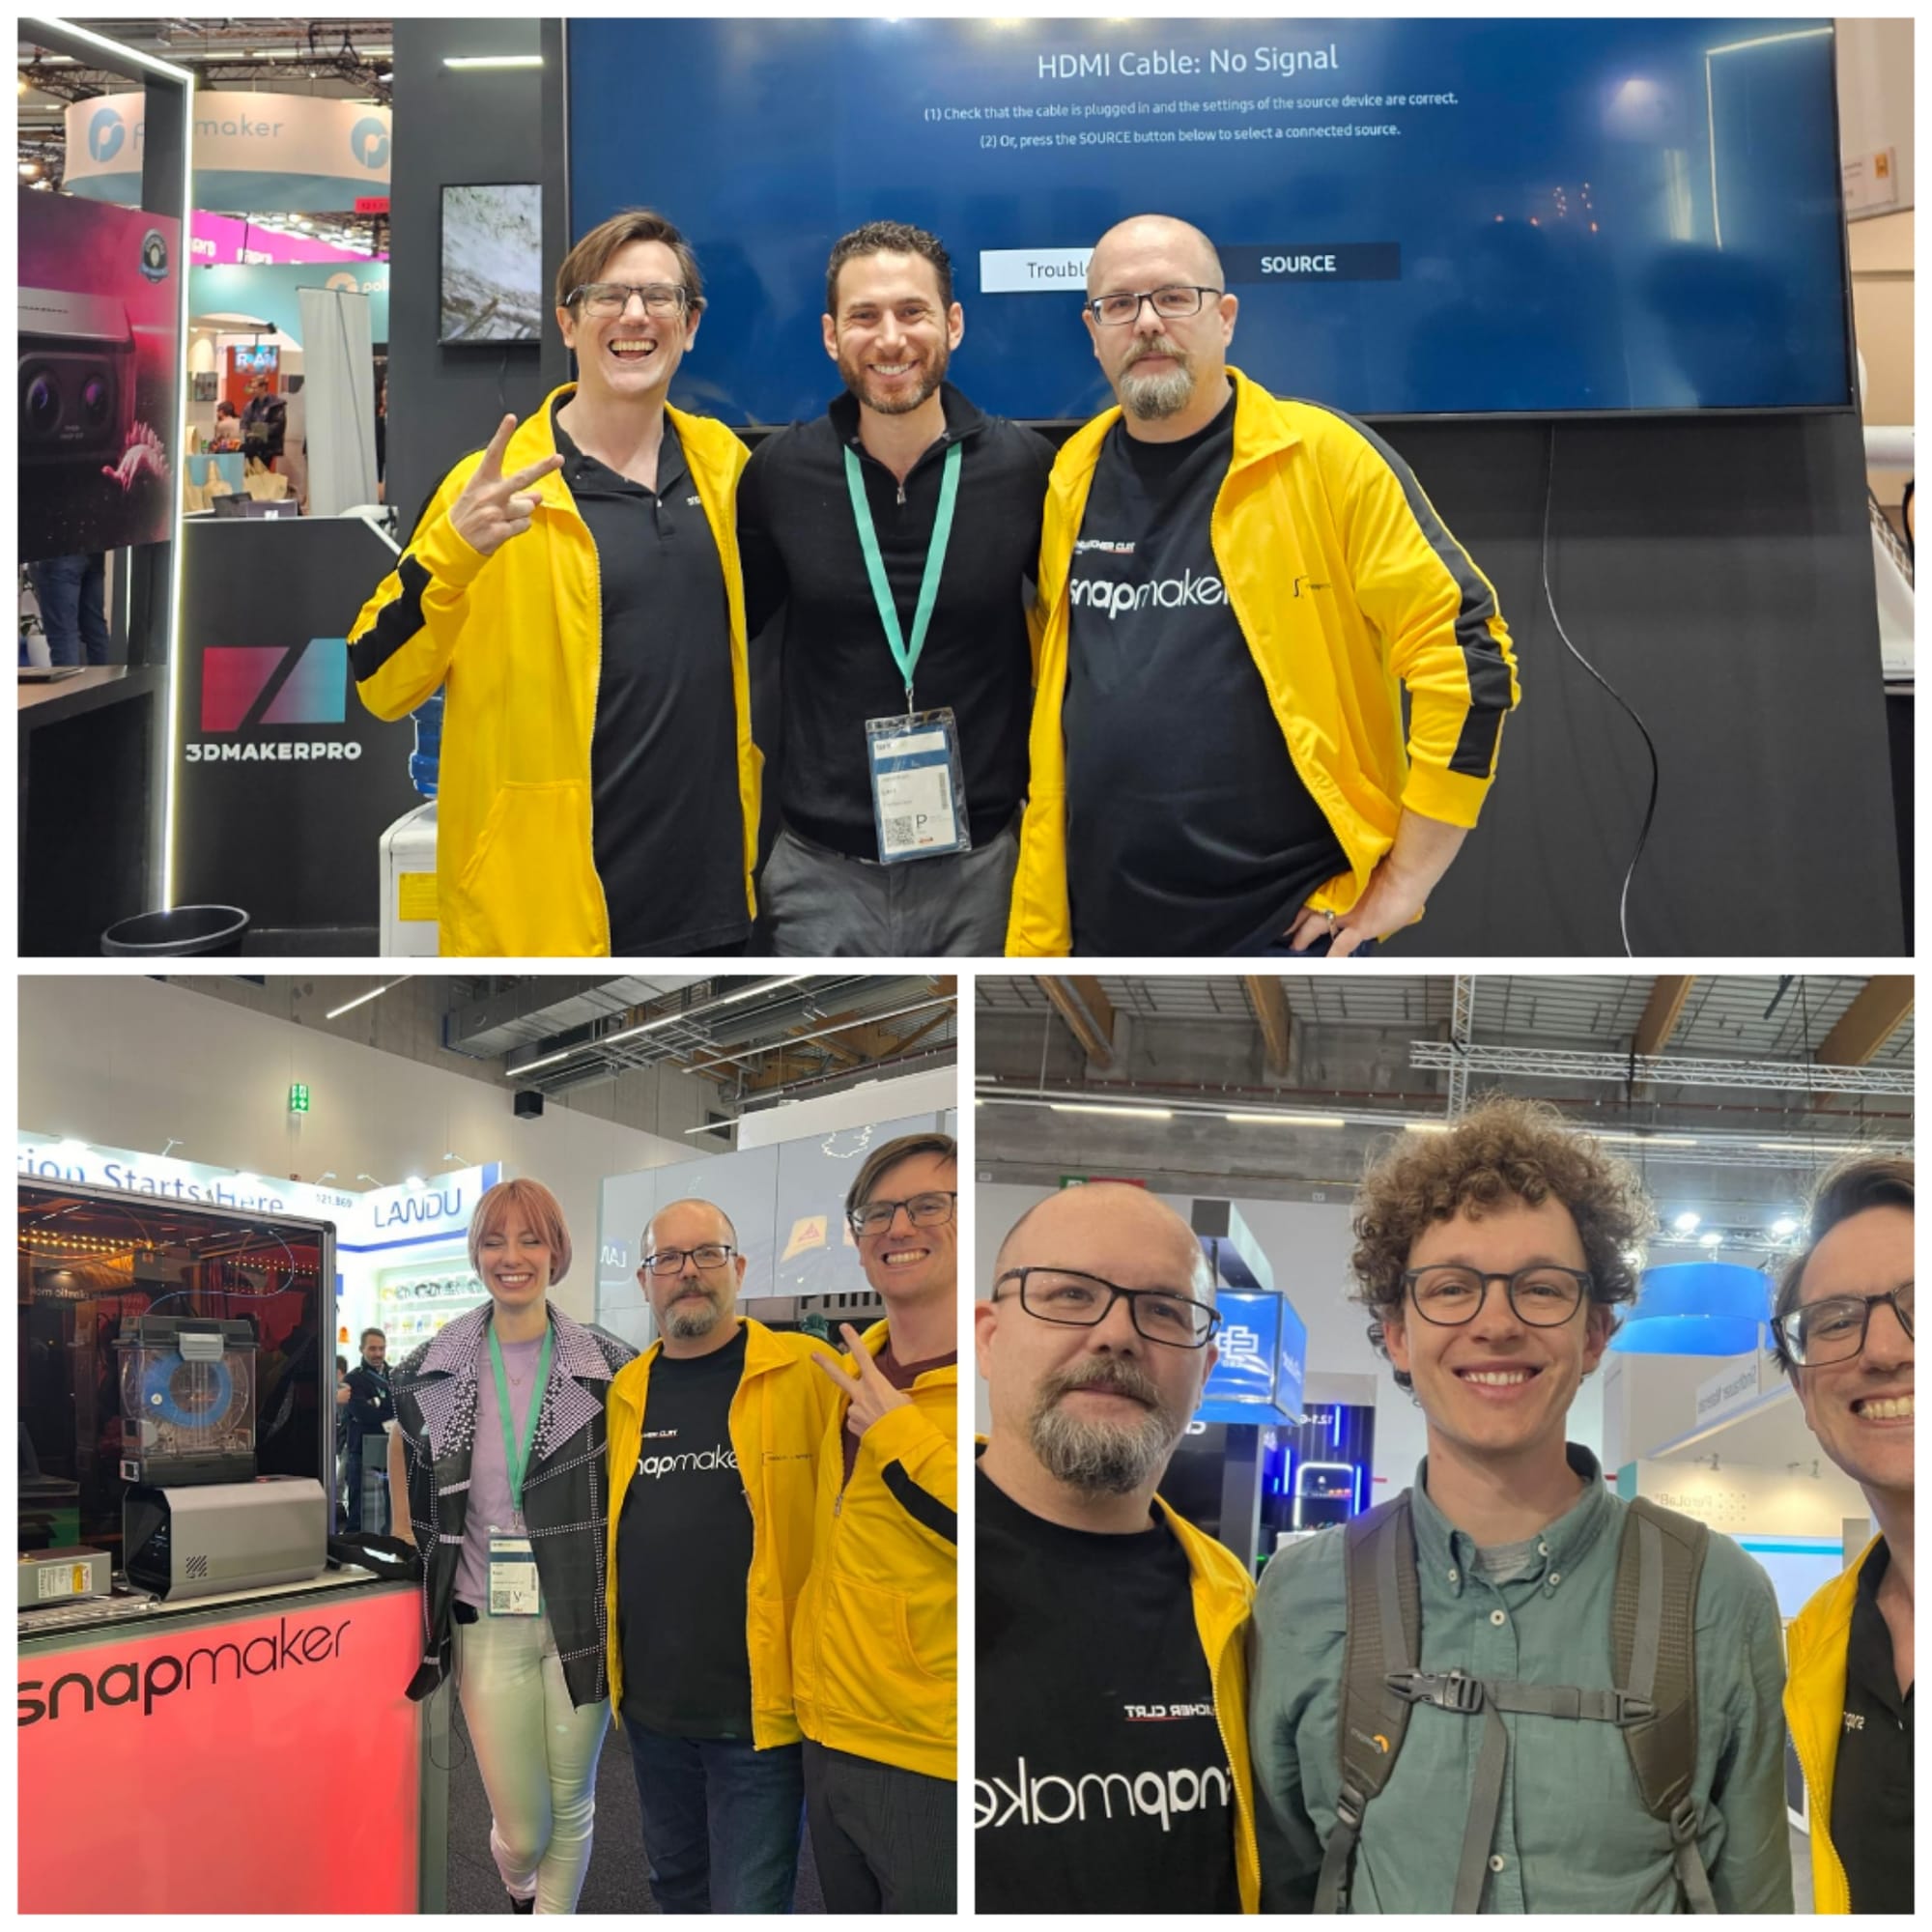
It was a fun week; we spoke with so many people, especially Snapmaker users, and I also met some celebrities from the 3D printing world like Stefan from CNC Kitchen and Joel Gomez from Integza.
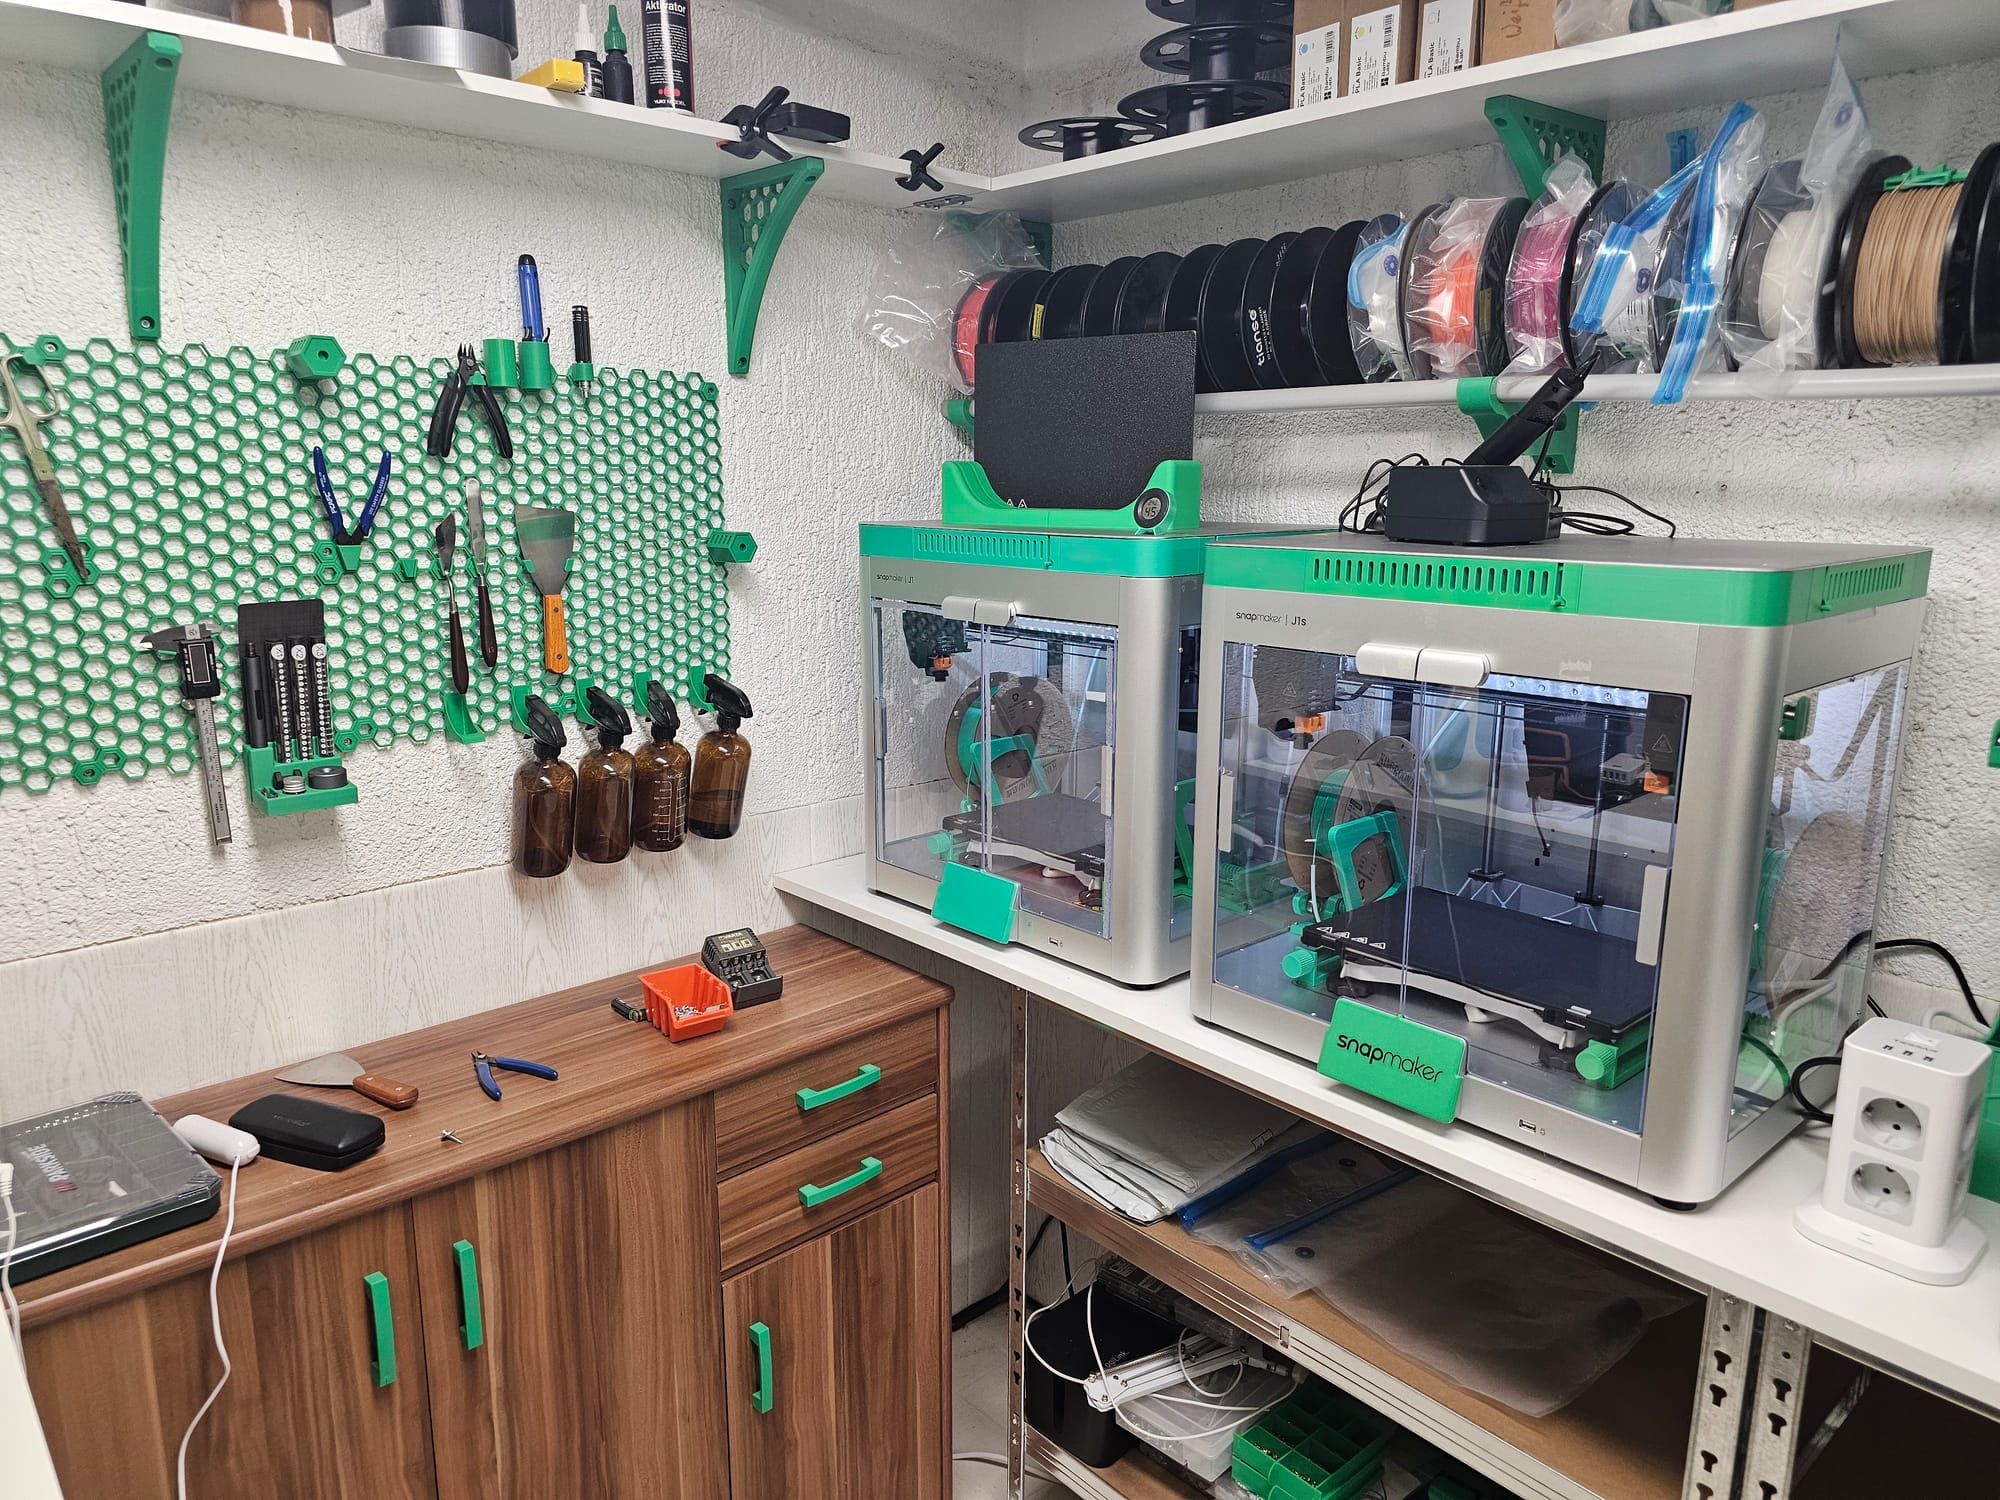
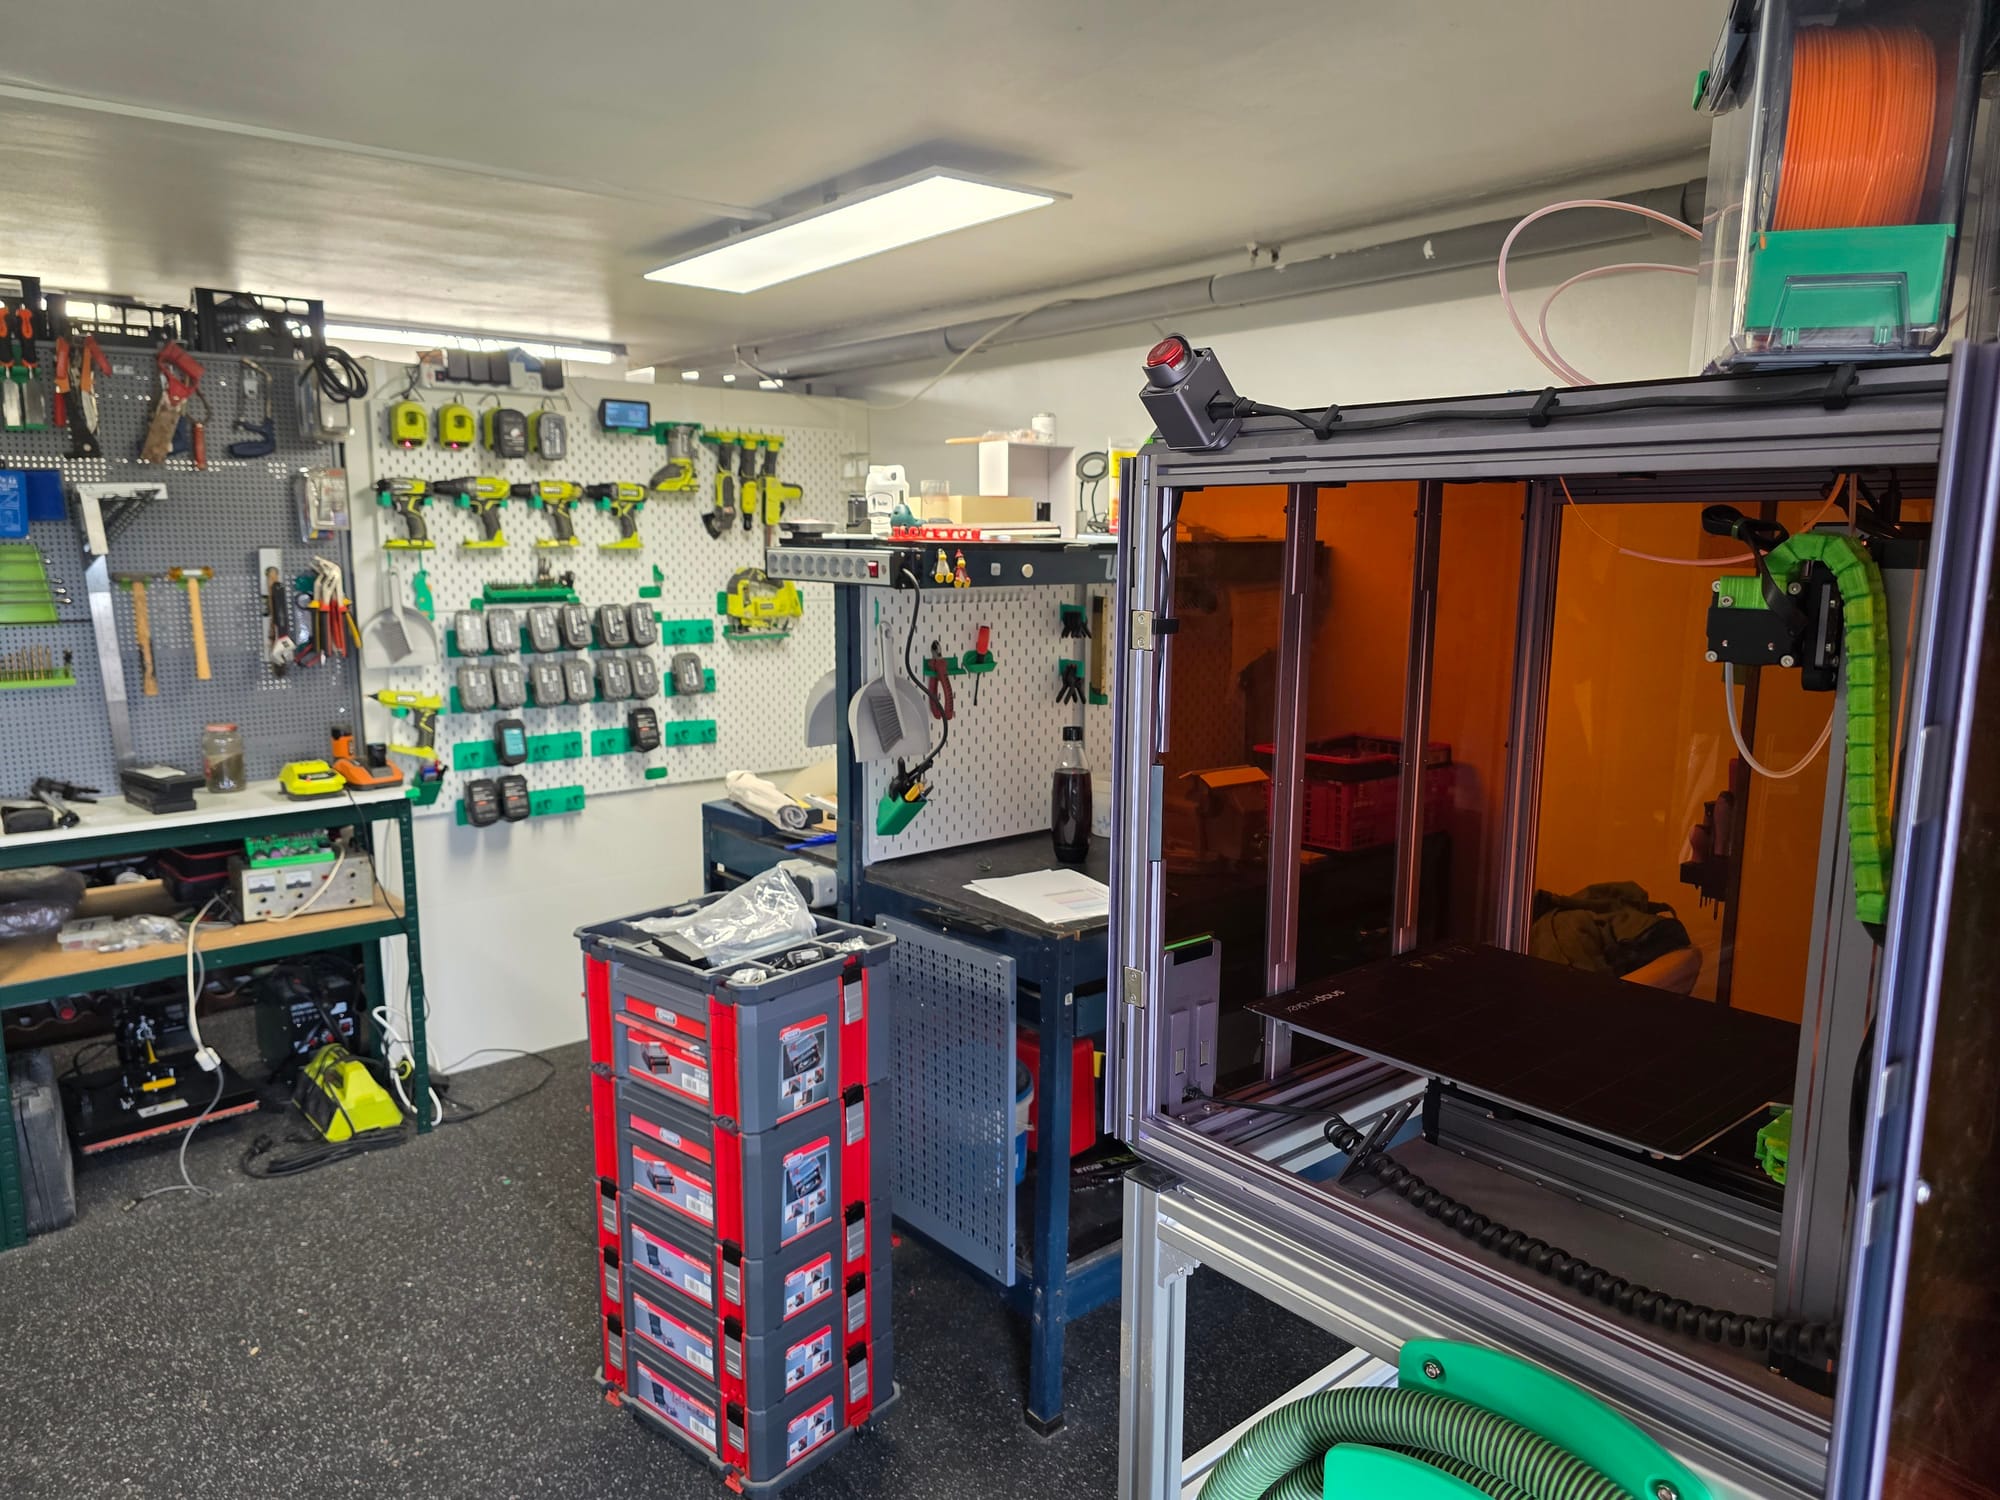
After Formnext, the basement was ready, so I could start working there. During the winter, I improved my CAD skills and immediately tested everything. As my space was no longer limited, I bought some more printers to try out everything. The greatest investment was the Snapmaker J1s, which is a workhorse—it can not only print in dual-color, but also dual-materials and even two pieces at a time!
Since spring 2024, I have also been a moderator for the Snapmaker Original/2.0 and the J1/J1s Facebook groups.
Around the same time, I founded a self-support group for people with depression where we use ergotherapy. For the well-being and healing of this group, it is especially important to complete a project. The Snapmaker machines help to finish a project much faster than usual. The group is thriving, and everybody loves the machines and wants to learn more about them and use them more.
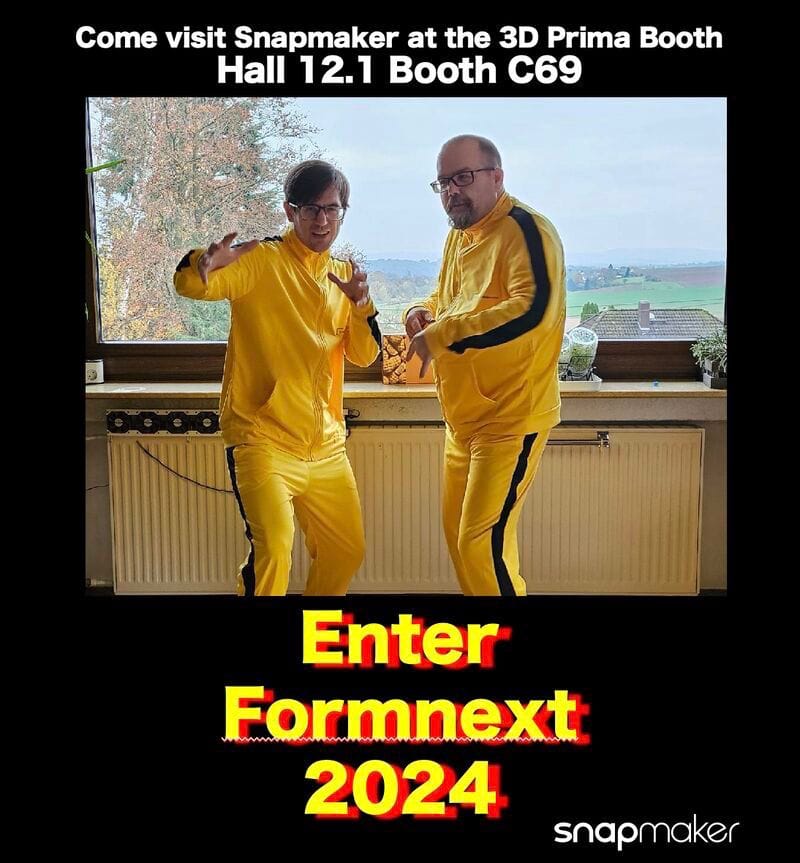
Of course, I agreed when Snapmaker asked me to be part of the team at Formnext 2024, where they were at the booth with 3D Prima. Together with Blayne, we had a great time meeting all the wonderful people who attended Formnext, and especially meeting great content creators from the 3D printing scene like The 3D Printing Nerd, CNC Kitchen, Variable Seams, mpoxDE, Make-O-Rama, The Next Layer, and many, many more.
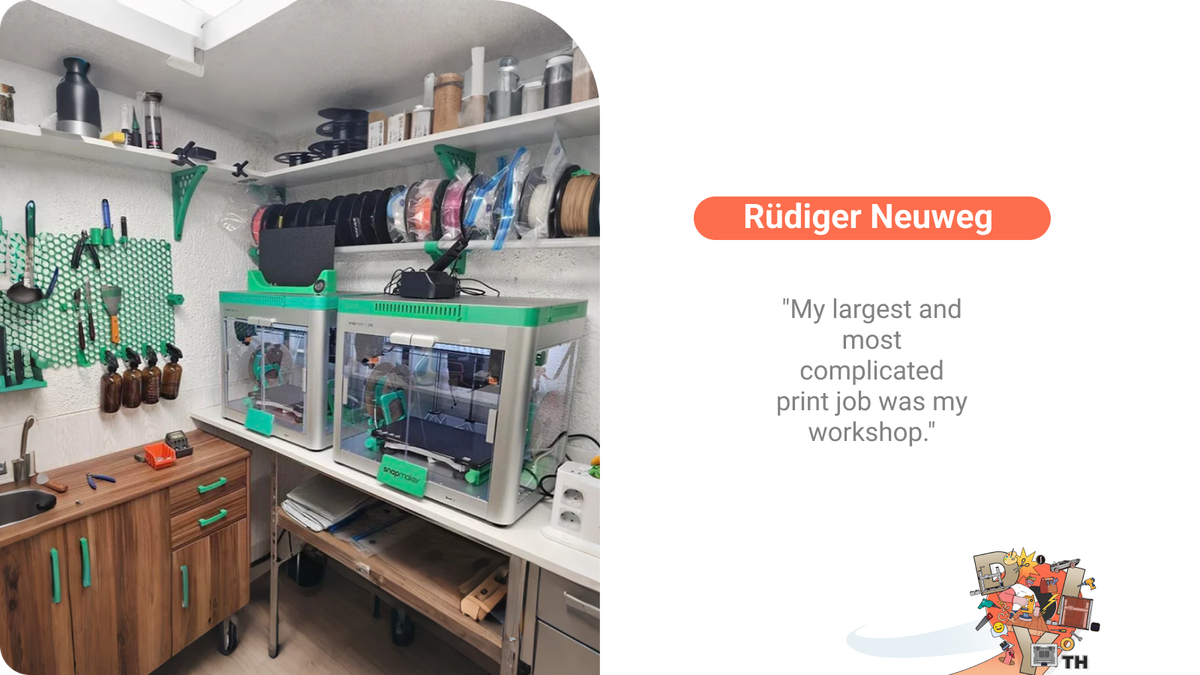
My largest and most complicated print job was my workshop. I printed over 150 drawers just for the three CD shelves (for 300 CDs) I converted into a small parts warehouse.
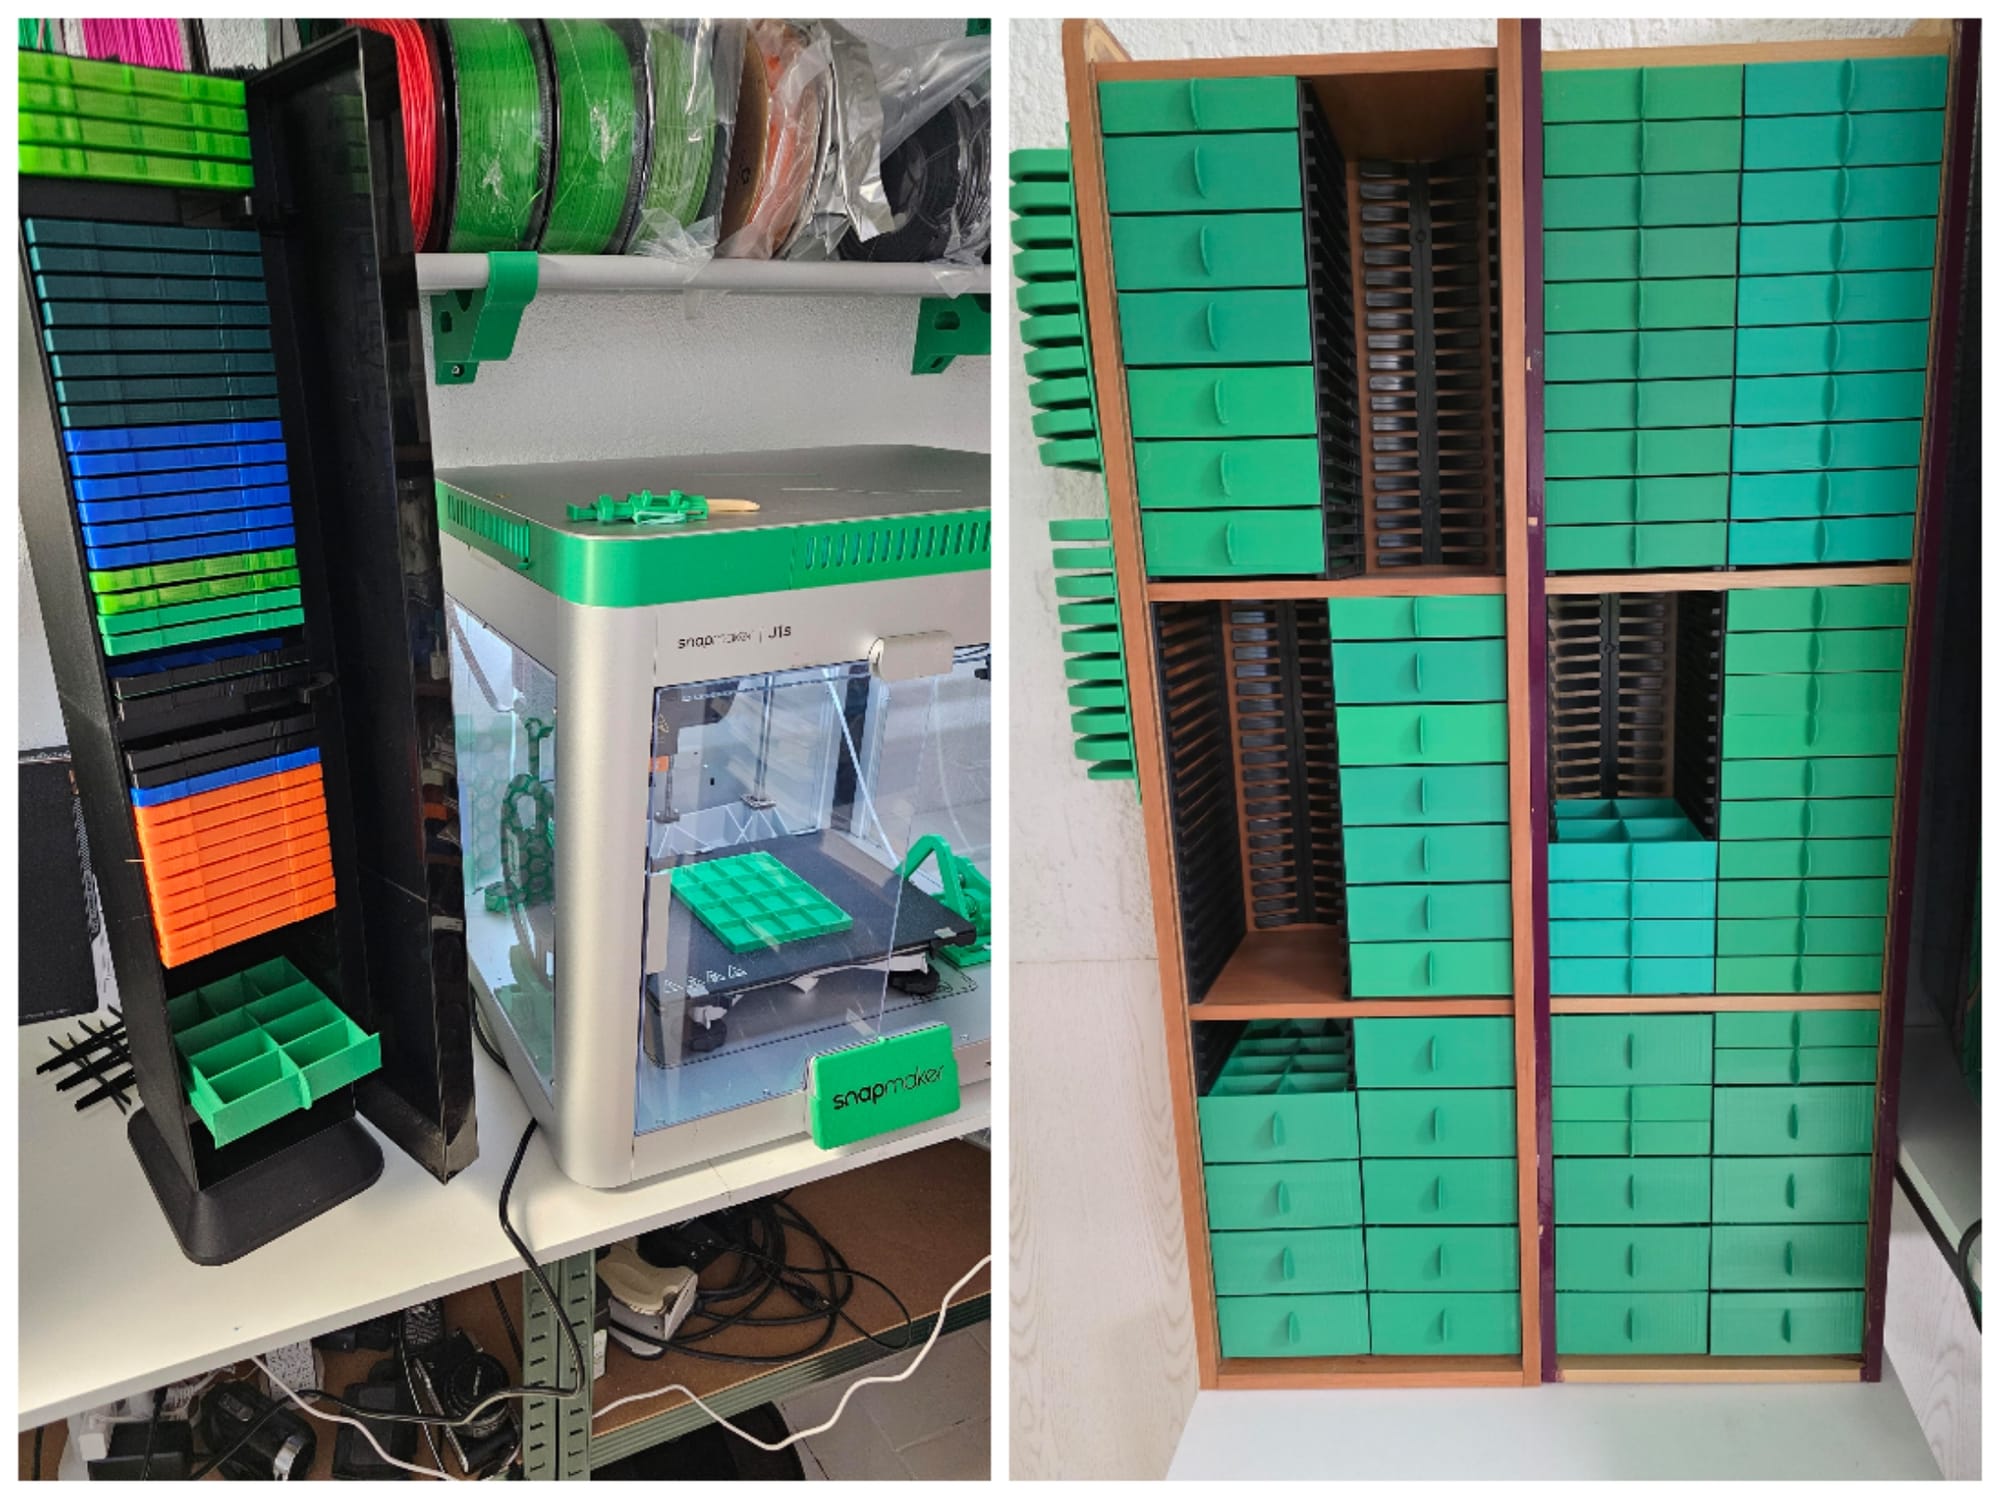
This wouldn't have been possible without my IDEX J1s. Using Copy Mode, I was able to print two of the slimmest drawers simultaneously in just under two hours. That's still 200 hours of printing time for all the slim drawers, but not 400 hours for a printer that can only print one at a time. Because I have two J1s, it only took 100 hours. The A350 was particularly useful for the larger parts. It was perfect for the shelf brackets and honeycomb walls in particular.
The brackets wouldn't have fit on a build plate of around 250x250 (like most printers from Bambu, Anycubic, and Prusa have). And by taking advantage of the A350's large build plate, far fewer connectors were needed.In the future, however, I will use it with the Multiboard system and Skadis, as they do have some advantages over the HWS.
I estimate that everything I printed for the workshop took me 1,500 printing hours and used over 60 kg of filament.
My single print with the largest build volume was a riser for our food dehydrator. It was so wide that I couldn't add a brim on the outside—I had to put it inside. Also, at 300 mm, I almost used the full height of the A350 in this print. If I run into any more super large projects like this, I will almost certainly upgrade to the Artisan!
Today I own four Snapmaker printers:
- The A350, paired with separately purchased new rails and new power supply, single and dual printheads, 1.6 W (450nm), 10W and 40W blue lasers (450–460nm), the 2W IR laser (1064nm), the 50W CNC module, and the rotary module.
- Two J1s machines, which I modded for more space with upgraded hotends.
- And—believe it or not—I bought a Snapmaker Original! (Which is great for educational purposes and for introducing 3D printing to my kids!)
Sure, I have machines from other brands too, but Snapmaker—with its quality and reliability—is my preference.
I wish Snapmaker all the best for their 9th anniversary. I hope they will continue building great machines for the community and keep improving the existing ones, both in hardware and software. And I hope we will see great new machines with new possibilities built by the Snapmaker team.
I'm happy to be a little part of their journey and hope that one day I will be able to visit Snapmaker headquarters to thank all those great makers and engineers for what they've given to the community—and to myself.
📸 Follow My Work
You can follow more of my projects on Instagram:
👉 @groomakes
— Rüdiger Neuweg