Educational 3D Printer Buying Guide: Choosing the Right Machine for School Labs

Managing a 3D printing lab across a school district requires balancing technical capability with classroom realities. When dozens of students need to complete design projects before a term deadline, print throughput, network security policies, and student safety immediately dictate which hardware will succeed and which will sit idle.
Selecting an educational 3D printer requires looking beyond standard spec sheets. For school administrators, CTE coordinators, and STEM teachers, the evaluation hinges on district safety guidelines, local IT network constraints, and how a machine's extrusion architecture matches the curriculum.
What Schools Should Consider Before Buying an Educational 3D Printer
Before comparing print resolution or extrusion speeds, educational procurement must pass three primary operational hurdles: physical safety, network infrastructure compliance, and ongoing teacher workload.
Student Safety and Enclosures
Thermal and mechanical hazards exist in every 3D printing environment. FDM hotends can exceed 250°C depending on the material and printer design, while heated build plates often operate at up to 100°C.
- Elementary & Middle Schools (K–8): Schools at this level often prefer fully enclosed printers because they provide additional protection against hot surfaces and moving components in student environments.
- High Schools & University Labs: While teacher-supervised environments may permit open-frame designs for basic PLA printing, enclosed units remain preferred for temperature stability and particle containment.
- The "Open-Frame" Consideration: Many high-performance desktop printers ship open-frame by default. If selecting an open-frame printer for a classroom, purchasing an optional top cover or enclosure lid is generally recommended to align with classroom safety expectations.
IT Network Constraints: Why Offline Slicing Matters
Network security policies in US school districts frequently create deployment friction. Some districts restrict unmanaged devices or external cloud connections, meaning a printer that relies entirely on cloud slicing may fail to operate on the school network.
To avoid stalled lessons, a classroom printer should support a complete offline workflow. Slicing models locally and transferring files via a USB thumb drive avoids data privacy issues, network firewall blocks, and complex IT approval processes.
Teacher Workload and Curriculum Support
A 3D printer should serve as a teaching tool, not an ongoing maintenance burden. Teachers managing 30 students per class period require hardware with reliable auto-bed leveling, intuitive touchscreens, and straightforward filament loading. Furthermore, hardware adoption is highly helpful when supported by structured, standards-aligned curriculum resources, such as NGSS or CTE pathway lesson plans.
How Many 3D Printers Does a Classroom Need?
A common question from department heads is how to calculate hardware quantities for large student cohorts—such as a 200-student STEM program.
There is no universal mathematical formula, and schools rarely purchase equipment simply by dividing student headcount by print speed. The number of printers needed depends on project scope, class size, print duration, and whether students work individually or in teams.
- Introductory K-8 Programs: A school might effectively manage 200 students using 4 to 6 basic single-nozzle printers by assigning group projects, capping maximum model dimensions, and scheduling prints across an entire semester.
- High School CTE & University Labs: A departmental lab might deploy a fleet combining entry-level printers for initial drafting with one or two advanced multi-material machines dedicated exclusively to final capstone prototypes.
Comparing FDM 3D Printer Architectures for School Labs
When evaluating FDM (Fused Deposition Modeling) hardware, school labs generally choose between three primary extrusion architectures.
Standard Single-Nozzle FDM Printers
- Mechanism: Extrudes a single plastic filament through one heated nozzle.
- Classroom Utility: Affordable, mechanically simple, and highly reliable for basic monochrome models. They are ideal for introductory drafting but cannot print multi-color designs or soluble support structures without manual pausing.
Shared-Nozzle Multi-Material Systems (MMU/AMS)
- Mechanism: Feeds multiple filaments through a shared extrusion path before printing through a single nozzle.
- Classroom Utility: Enables multi-color printing on a single build plate. However, because the single melt chamber must flush out the old color before extruding a new one, these systems can generate significant purge waste, especially for prints with frequent color transitions.
Multi-Head Tool Changer Systems
- Mechanism: Houses multiple independent toolheads that park off the main carriage. The printer physically switches toolheads when changing materials.
- Classroom Utility: By maintaining dedicated melt zones for each filament, tool changers greatly reduce or avoid most purge waste associated with shared-nozzle systems. This architecture also minimizes cross-contamination between materials, allowing the safe combination of rigid plastics with flexible or dissolvable filaments. Read more: Tool Changer 3D Printers Buyer's Guide.
Alternative Technologies: SLA and SLS
While desktop FDM covers the vast majority of school needs, advanced labs sometimes evaluate alternative printing methods.
- SLA (Stereolithography): SLA-based resin printers use UV light to cure liquid photopolymer resin. While SLA offers high surface detail, liquid resin requires isopropyl alcohol (IPA) wash stations, UV curing units, nitrile gloves, and dedicated chemical ventilation systems. For general classroom environments, the chemical safety requirements often exceed standard lab capabilities.
- SLS (Selective Laser Sintering): SLS systems sinter powder beds to create highly durable, complex geometries without support structures. However, the high capital cost, powder handling requirements, and footprint restrict SLS primarily to advanced university engineering departments.
When Printing Different Materials Together Makes Sense
While basic coursework relies on single-color PLA, advanced STEM pathways and engineering capstones benefit directly from multi-material printing capabilities.
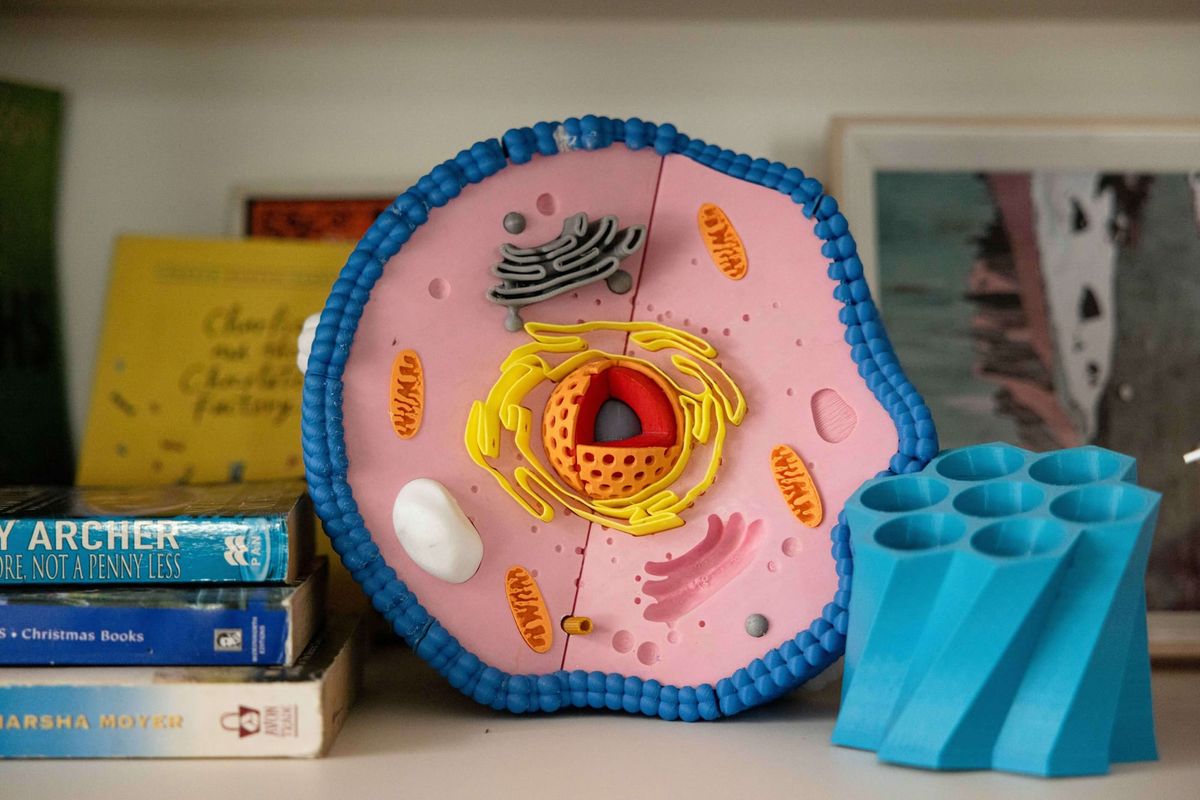
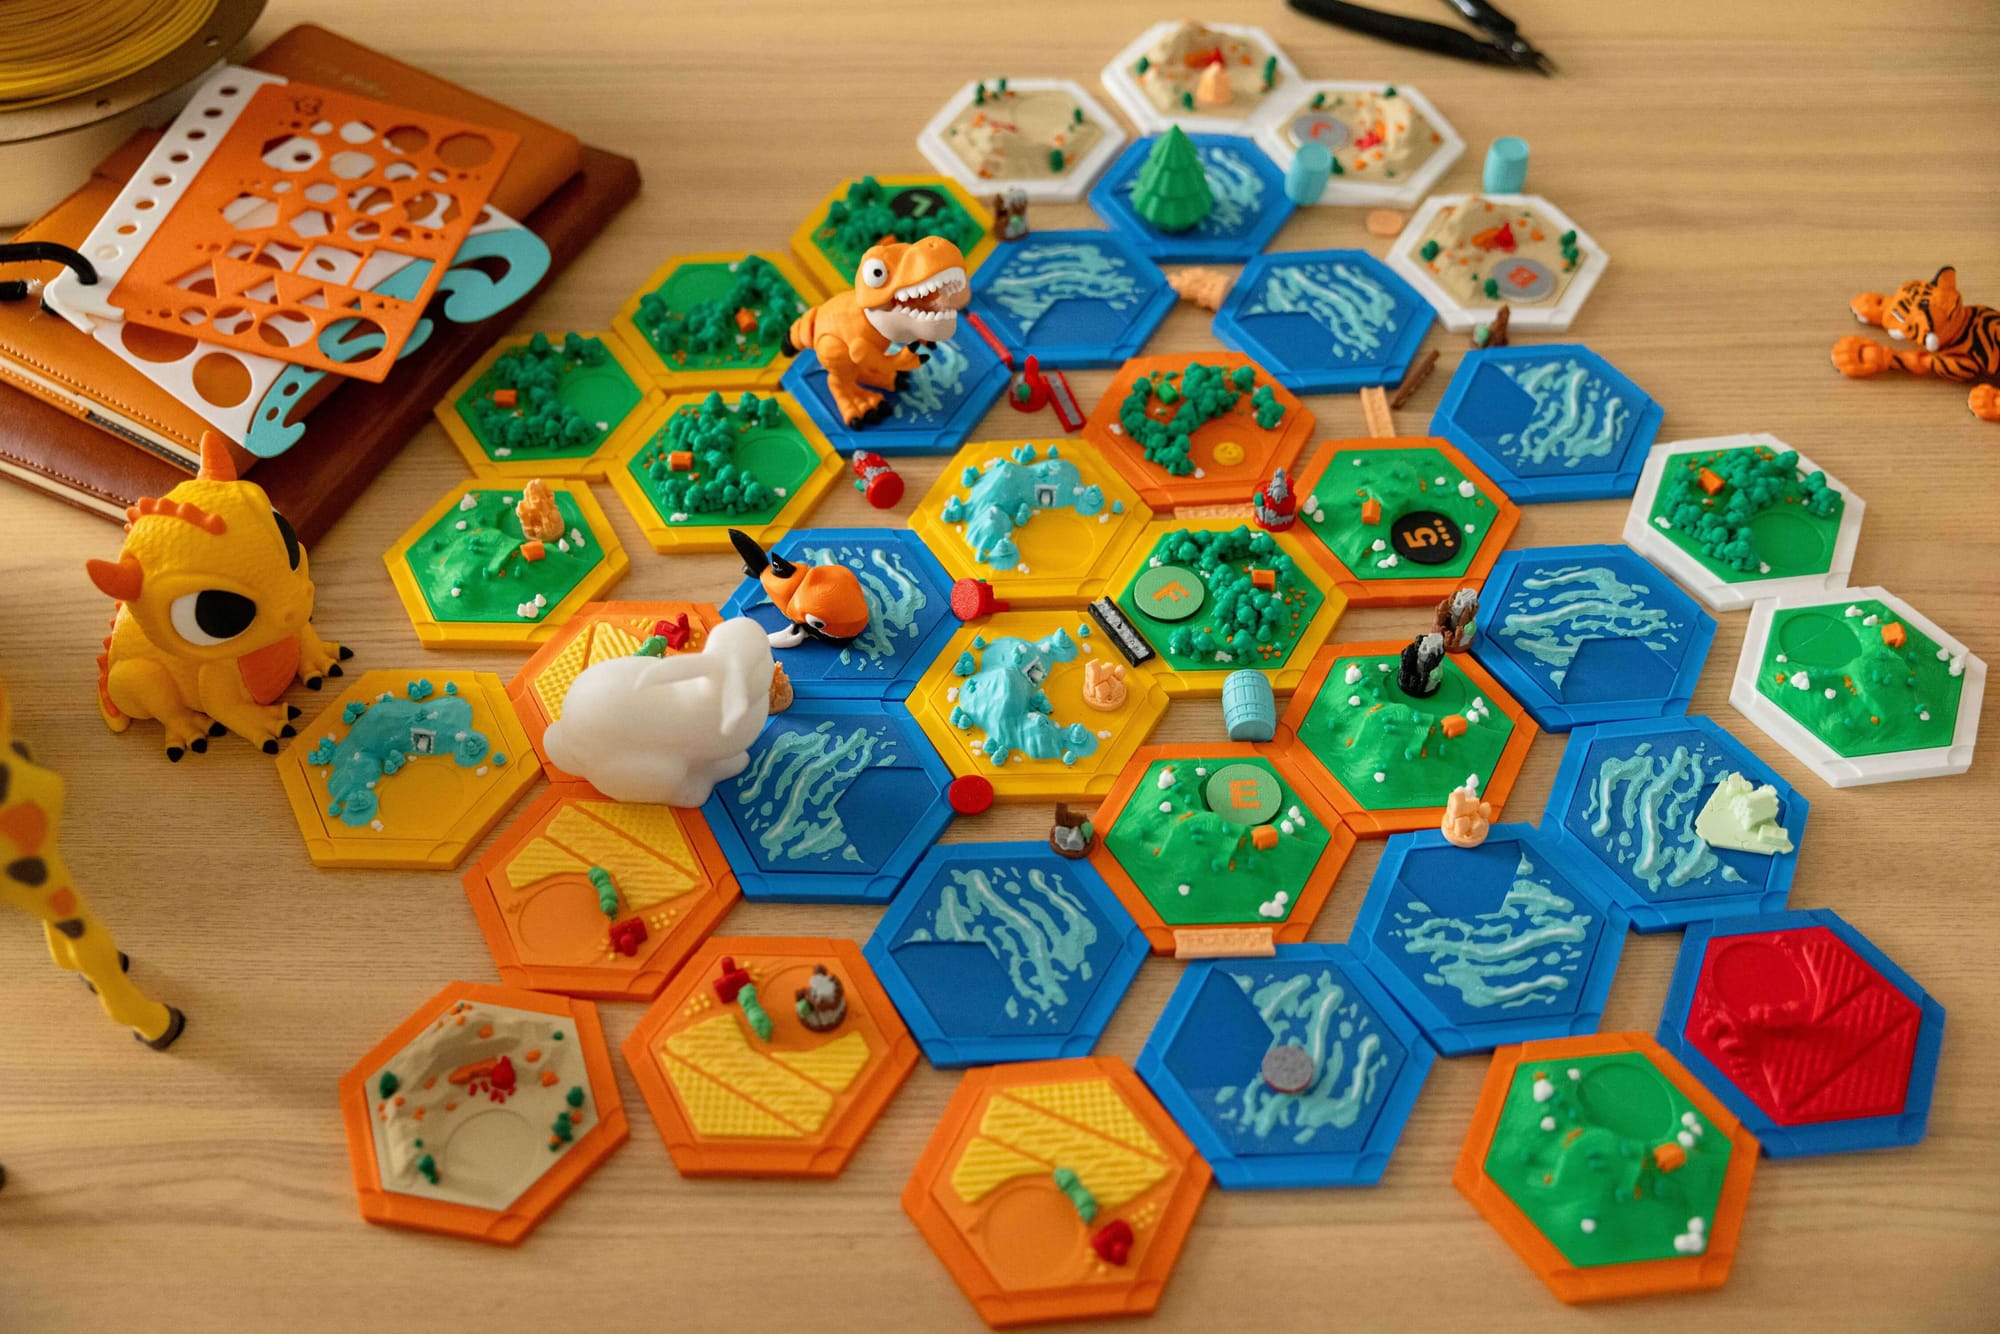
- Multi-Color Visual Models for K-12 STEM: Printing geological elevation maps, biological cell models, or mechanical gear assemblies in contrasting colors helps students immediately identify functional components without requiring manual post-print painting.
- Combining Rigid and Flexible Materials for CTE Projects: Engineering students can combine rigid PLA structural frames with flexible TPU (Thermoplastic Polyurethane) joints, gaskets, or ergonomic handle grips in a single print job, enabling the fabrication of functional robotics components.
- Dissolvable Supports (PVA) for Complex Geometries: Prototypes with internal fluid channels, enclosed gearboxes, or steep overhangs make mechanical breakaway supports impossible to remove safely. By dedicating a secondary extruder to water-soluble PVA (Polyvinyl Alcohol), students can print complex geometries. When submerged in water, the PVA gradually dissolves, leaving clean internal channels without requiring students to scrape away support plastic with sharp tools.
Once students understand the fundamentals of 3D design and fabrication, hands-on projects are where these skills become practical. From engineering prototypes to creative STEM models, project-based learning helps students apply design thinking, problem-solving, and manufacturing concepts in real-world scenarios. For inspiration, educators can explore these back-to-school maker projects for classroom activities and student challenges.
Hardware Assessment: Evaluating Tool Changers in a School Environment
For schools that have already identified multi-material capability as a priority, tool changer systems represent a specialized option worth evaluating.
Examining a specific platform—such as the Snapmaker U1 3D Printer—highlights both the operational advantages and the practical setup realities that school labs must consider when deploying this architecture.
Operational Advantages in the Lab
- Reduced Filament Waste: Because the U1 utilizes four independent toolheads, it physically swaps the active nozzle rather than purging plastic during color swaps. Swapping active nozzles takes roughly 5 seconds (according to manufacturer specifications). This approach avoids purge tower generation and may reduce material consumption in multi-color workflows.
- Safe Soluble Support Workflows: Labs can dedicate one extruder to PVA soluble support material and the others to standard PLA. This facilitates complex mechanical prints while reducing the need for manual support removal with sharp tools.
- Print Speed: Operating on a CoreXY motion system with carbon fiber X-axis rails, its higher-speed motion system can help reduce print times for suitable projects.
- Offline Workflow Integration: The U1 supports local file transfer workflows via USB flash drives. Students slice models locally on Snapmaker Orca and transfer them via USB to the 3.5-inch touchscreen, reducing reliance on school networks and cloud-based printer connections.
Setup Realities and Considerations for Schools
- Safety & Enclosures: The Snapmaker U1 is open-frame by default. Because exposed nozzles pose a burn hazard, purchasing the optional top cover/enclosure lid is highly recommended to safely manage temperatures and align with classroom safety expectations for younger students.
- Initial Setup Time: Managing four separate print heads means the initial calibration process takes longer than a standard single-nozzle printer (requiring approximately 15 minutes to align the toolheads).
- Proprietary Hotend Costs: The nozzle, heater block, and heat break are integrated into a single proprietary unit. If a student causes a severe filament jam, replacing the integrated hot end unit carries a higher component cost than replacing a standard brass 3D printer nozzle.
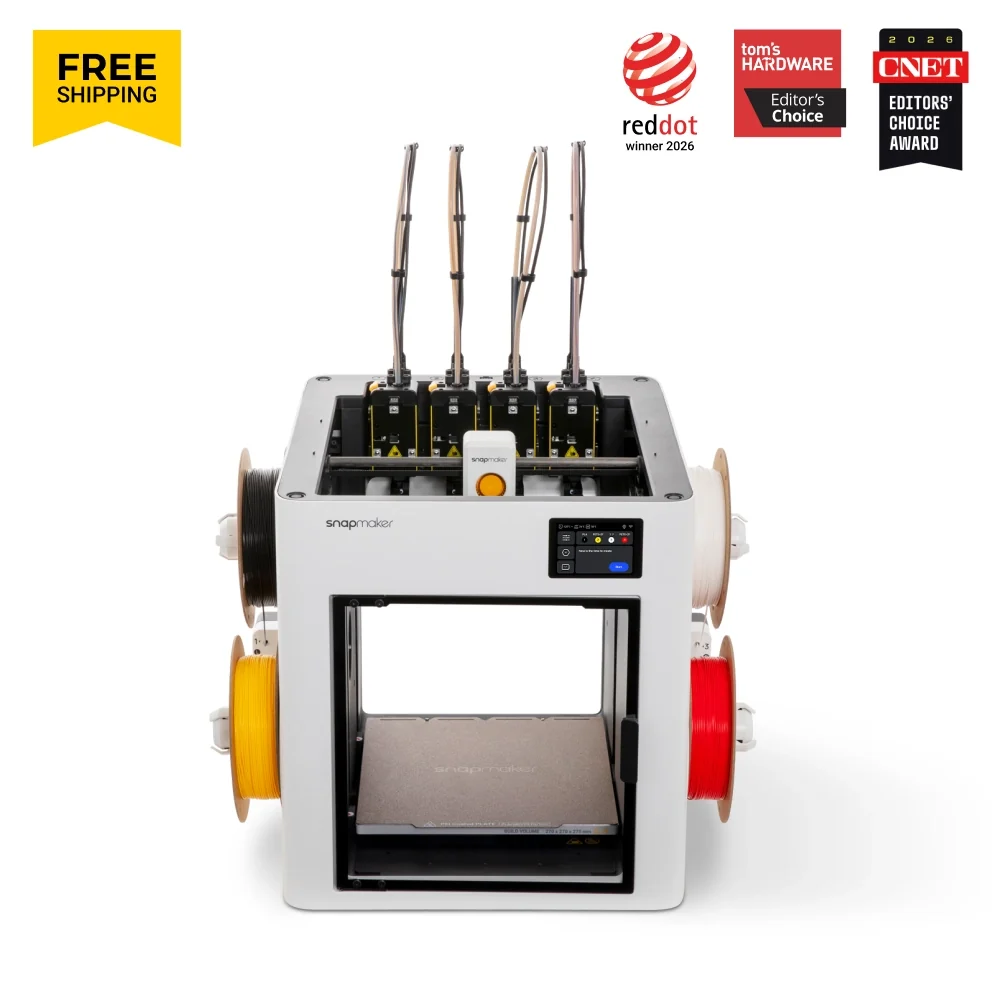
Snapmaker U1 3D Printer
- 5X More Speed & 5X Less Waste
- SnapSwap™ 4-Toolhead System
- Multi-Color & Multi-Material
- Auto Filament Loading
- Up to 500 mm/s Max Speed
- 270×270×270mm³ Build Volume
Multi-Disciplinary Prototyping: Snapmaker Artisan 3-in-1
For higher education engineering departments or technical high schools requiring multi-disciplinary fabrication within a single footprint, multi-functional platforms offer an alternative approach.
The Snapmaker Artisan 3-in-1 combines dual-extrusion 3D printing, a 40W/10W laser cutter/engraver, and a 200W CNC milling head within a 400 mm × 400 mm × 400 mm workspace. Equipped with an included Class 1 laser safety enclosure and industrial linear rails, the Artisan allows university makerspaces to transition from printing dual-material 3D prototypes to laser-cutting acrylic panels and CNC-milling circuit boards on one centralized machine.
Recommended Next Steps for School Makerspaces
Ready to bring hands-on manufacturing into your classroom or makerspace? Explore Snapmaker's current back-to-school offers to find the right tools for your learning environment.
Frequently Asked Questions
What should a school do if its network blocks 3D printer Wi-Fi?
Select a printer that fully supports local, offline slicing workflows. Teachers and students can slice models on desktop software (such as Snapmaker Orca or Cura) and transfer G-code files directly to the printer using a standard USB flash drive, reducing reliance on school Wi-Fi and cloud-based printer connections.
Are enclosed 3D printers required for K-12 classrooms?
While policies vary by district, enclosed printers are often preferred for K-8 classrooms and shared learning spaces. Open-frame printers expose hot nozzles and heated beds, creating a burn risk for younger students. Adding an optional top cover or selecting a fully enclosed unit provides necessary thermal protection and prevents students from touching moving parts.
Why choose a tool changer over a shared-nozzle multi-color system?
A tool changer physically swaps independent print heads rather than retracting and flushing different plastics through a single shared nozzle. This separation minimizes cross-contamination between materials (like PLA and PVA) and greatly reduces the filament waste associated with purge towers.