How to Store and Dry 3D Printer Filaments
There's nothing more frustrating than a 12-hour 3D print failing due to stringy, brittle filament. More often than not, the culprit isn't your printer—it's moisture. Most 3D printing filaments are hygroscopic, meaning they act like tiny sponges, absorbing moisture directly from the air. A basic understanding of the different 3D printer filament types is key to knowing which ones are most at risk.
When this damp filament hits your hotend, the trapped water instantly flash-boils into steam. This causes a destructive chemical reaction called hydrolysis that permanently breaks down the plastic's molecular chains, ruining your print's strength and finish before it even begins.
But don't worry. In this guide, we'll cover everything you need to know, from the science of why moisture is so destructive to practical, step-by-step methods for storing and drying your filament. Whether you need a quick DIY fix or a professional solution, you'll find it here.
Is Your Filament Wet? 5 Telltale Signs
Before you start a print, check for these symptoms of moisture-damaged filament. If you see them, stop and dry your spool first. Many of these issues can be mistaken for other problems, like those seen in a 3D Benchy troubleshooting guide.
- Audible Popping or Cracking: Do you hear sizzling, popping, or hissing sounds from the nozzle during extrusion? That's the sound of water boiling out of the filament.
- Excessive Stringing & Oozing: Wet filament has a lower viscosity, leading to messy, web-like strings between parts of your print.
- Rough or "Fuzzy" Surface Texture: The steam bubbles create voids and imperfections, giving the print surface a textured, unprofessional finish.
- Poor Layer Adhesion & Weak Parts: Hydrolysis is the biggest issue. It chemically weakens the material, resulting in parts that are brittle and snap easily along the layer lines, severely impacting how strong 3D printed parts are.
- Inconsistent Extrusion Lines: You may notice that the lines of extruded filament are uneven, bubbly, or have gaps.
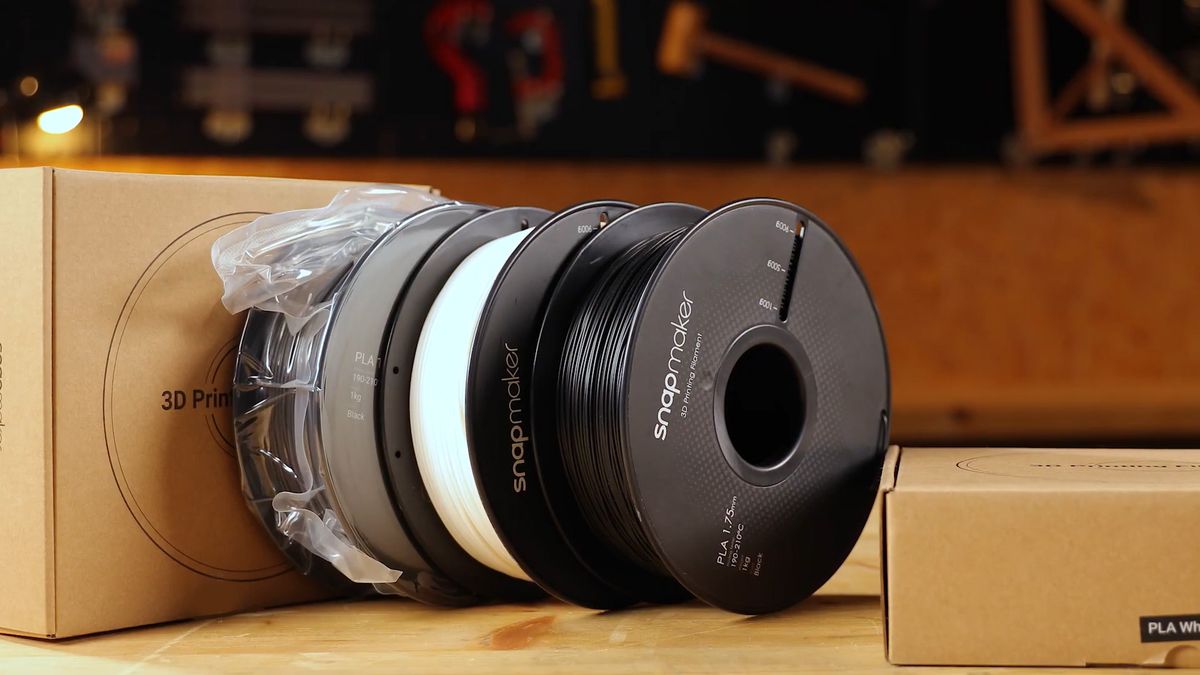
How to Store Your 3D Printer Filaments
Proper storage is about prevention. The goal is to create a stable environment with a relative humidity of less than 40%. Here are your options.
Good: Airtight Bags & Bins
This is the most common and cost-effective method for protecting your spools.
- Use the Original Package: If your filament came in a high-quality resealable bag, use it! After printing, place the spool back in its original bag with the desiccant it came with (or a fresh one) and seal it tightly.
- Airtight Bins & Vacuum Bags: For a more robust solution, weather-sealed plastic bins (look for a rubber gasket) or large vacuum-sealable bags are perfect for storing multiple spools.
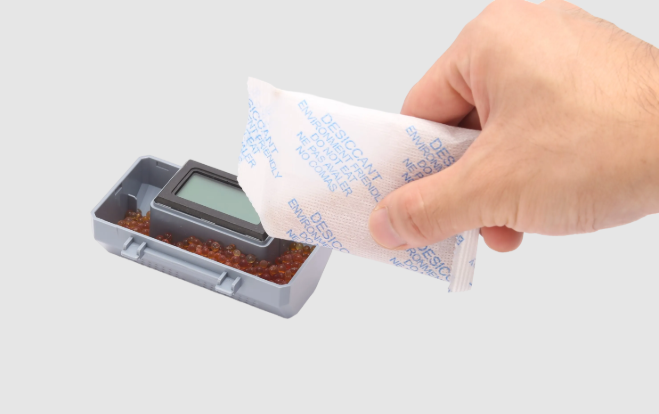
- Crucial Add-on: Desiccants. Always toss a desiccant pack into any storage container. We recommend rechargeable silica gel beads, which can be easily renewed in an oven and often change color to let you know when they are saturated.
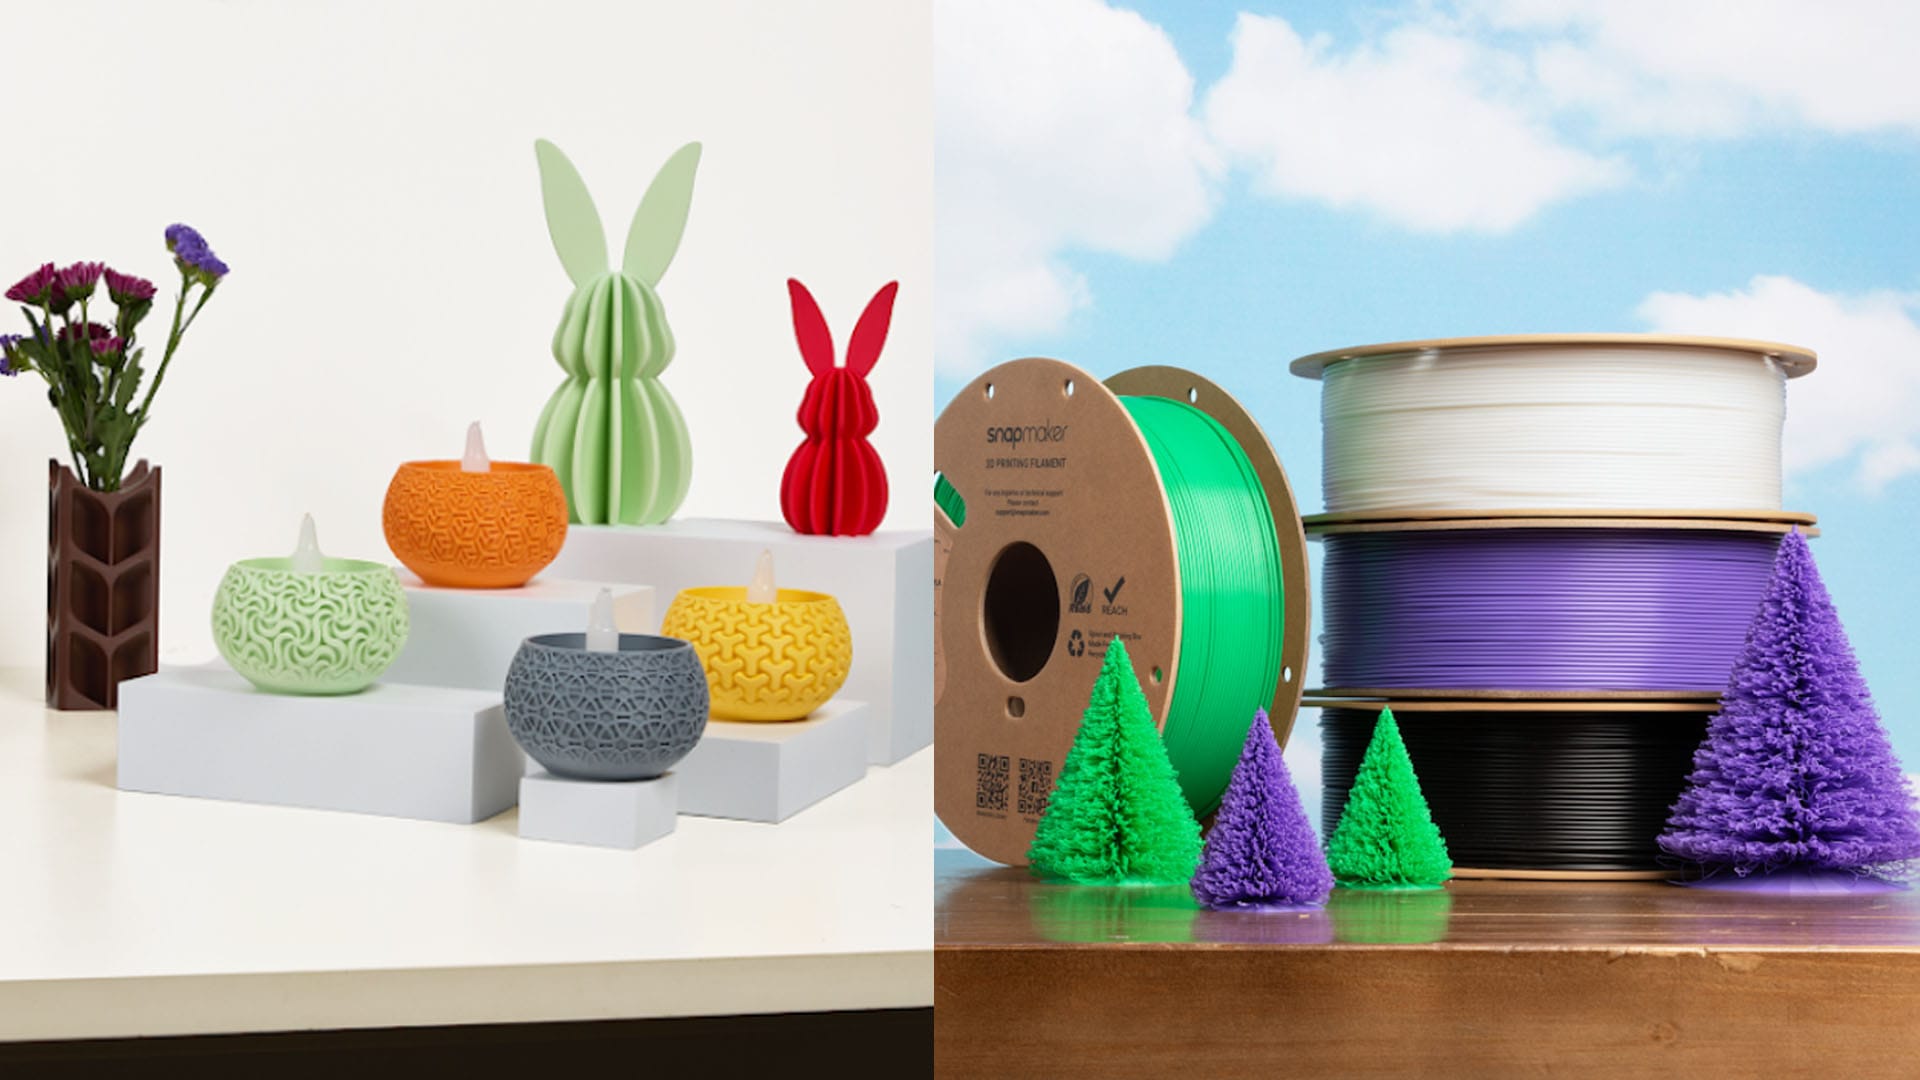
Better: A Dedicated DIY Dry Box
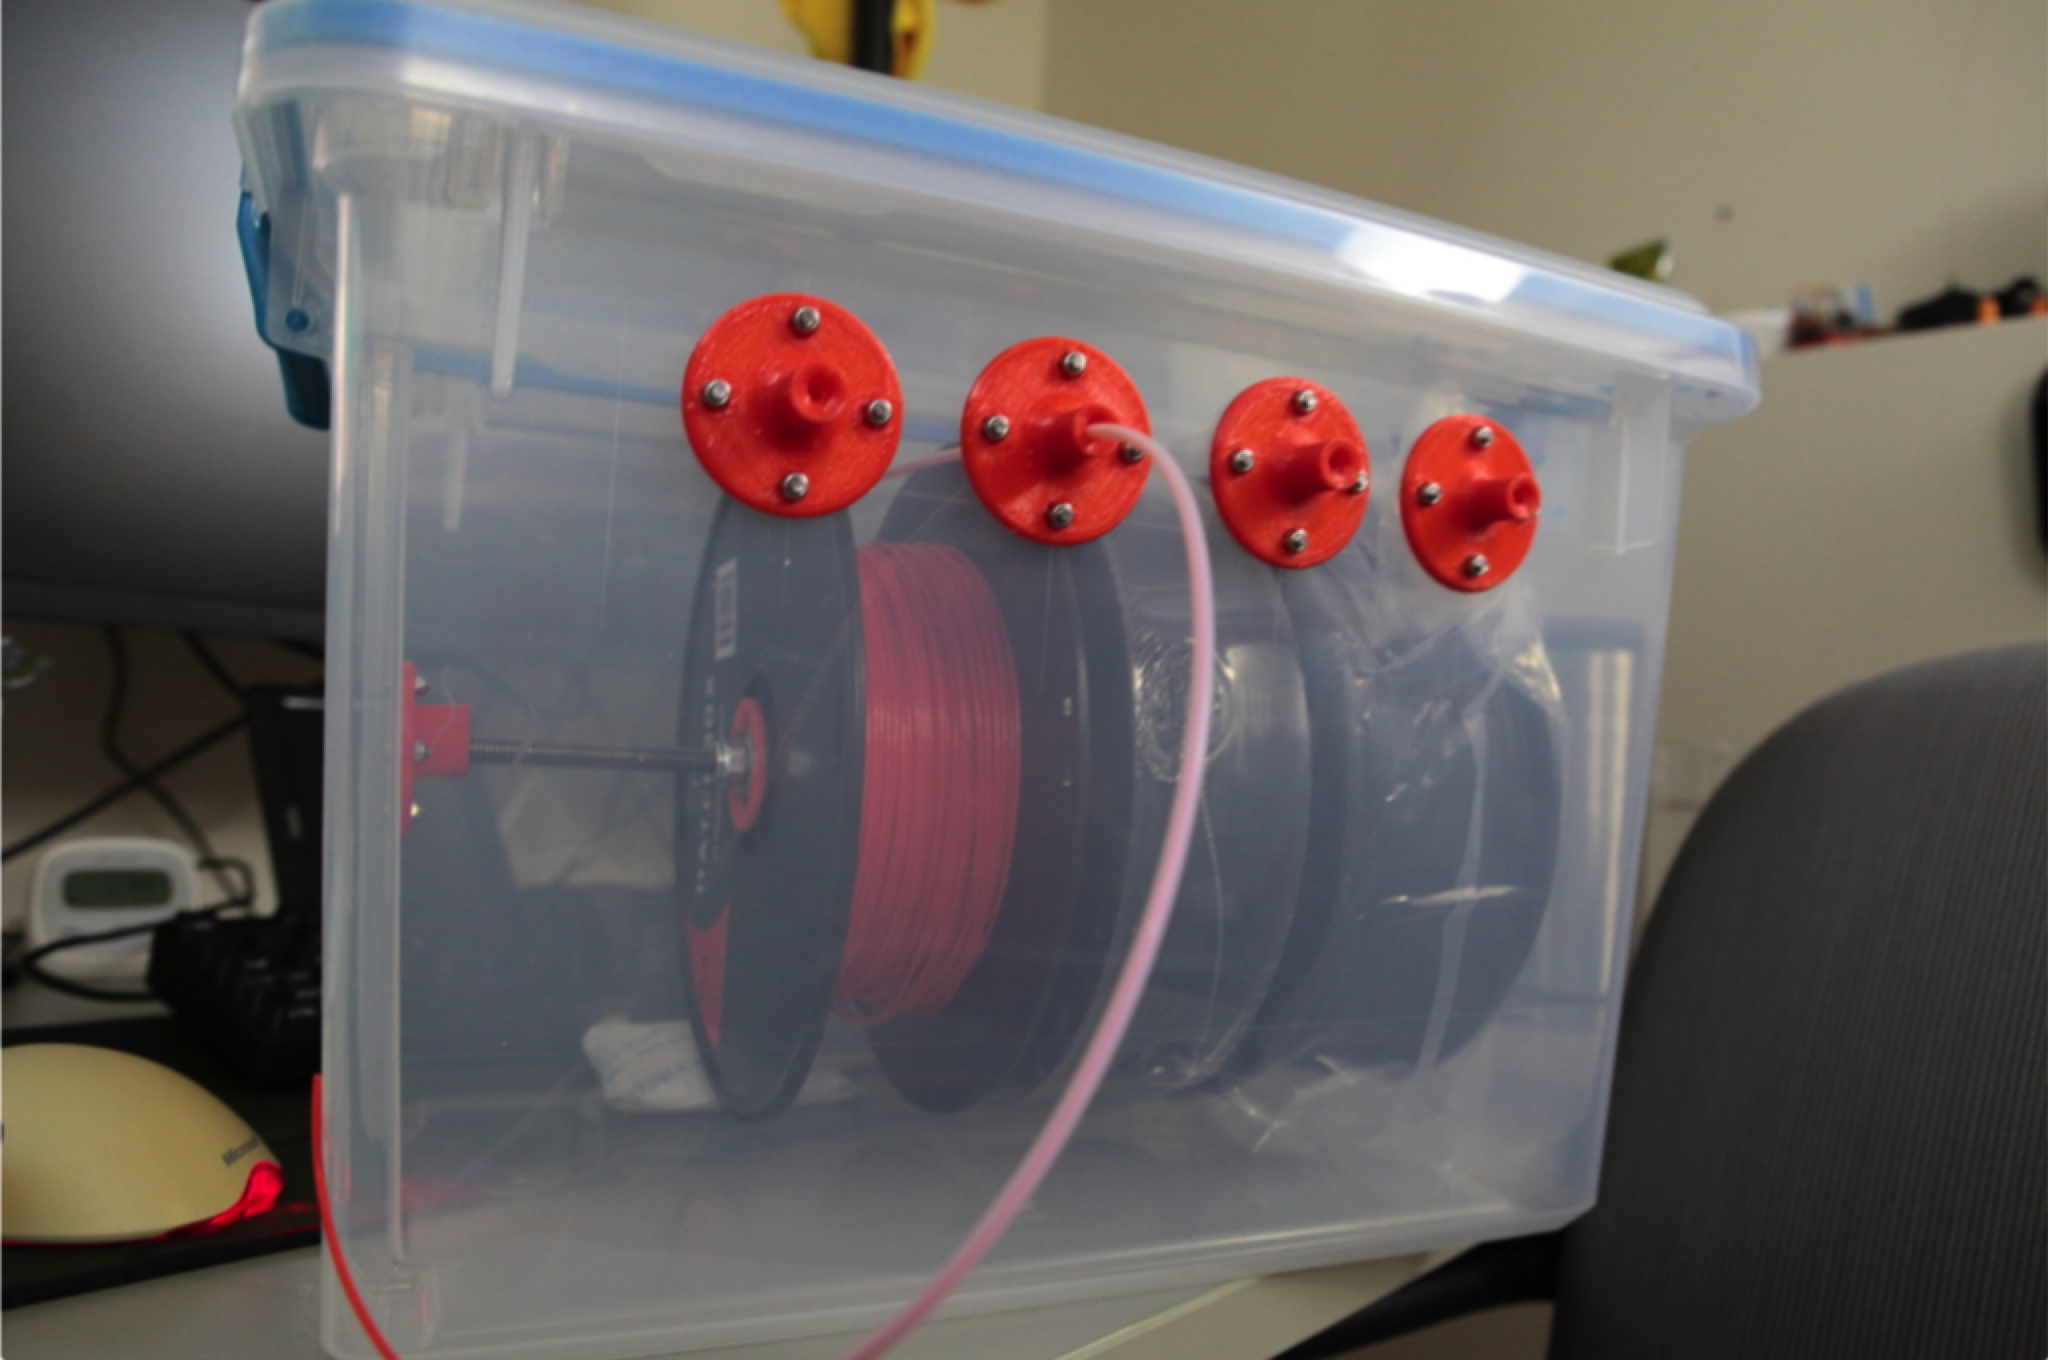
A DIY dry box allows you to store filament in a humidity-controlled environment and print directly from it. This keeps your most frequently used filaments (especially sensitive ones like Nylon or TPU) constantly protected, even during multi-day prints.
How to Rescue Wet Filaments
If your filament is already wet, storage won't fix it—you need to dry it using heat actively. Success with this requires careful control of two key factors: temperature and time.
Good (With Caution): Your Home Oven
While accessible, this method carries risks. Most home ovens have poor temperature regulation, which can easily melt filament or warp the spool. If you must use an oven, be aware of 3D printer fire safety best practices and never leave it unattended.
Better: A Food Dehydrator
This is a popular and safer DIY method. Food dehydrators provide the low, stable temperatures and constant air circulation needed for drying filament. You will likely need to snip out the internal trays to fit a spool inside.
Best: A Purpose-Built Filament Dryer
The ideal solution is a device engineered specifically for this task. It eliminates the risks of an oven and the hassle of modifying a dehydrator. These machines offer precise temperature control and are designed to surround the spool with evenly heated air, ensuring a consistent and safe drying process.
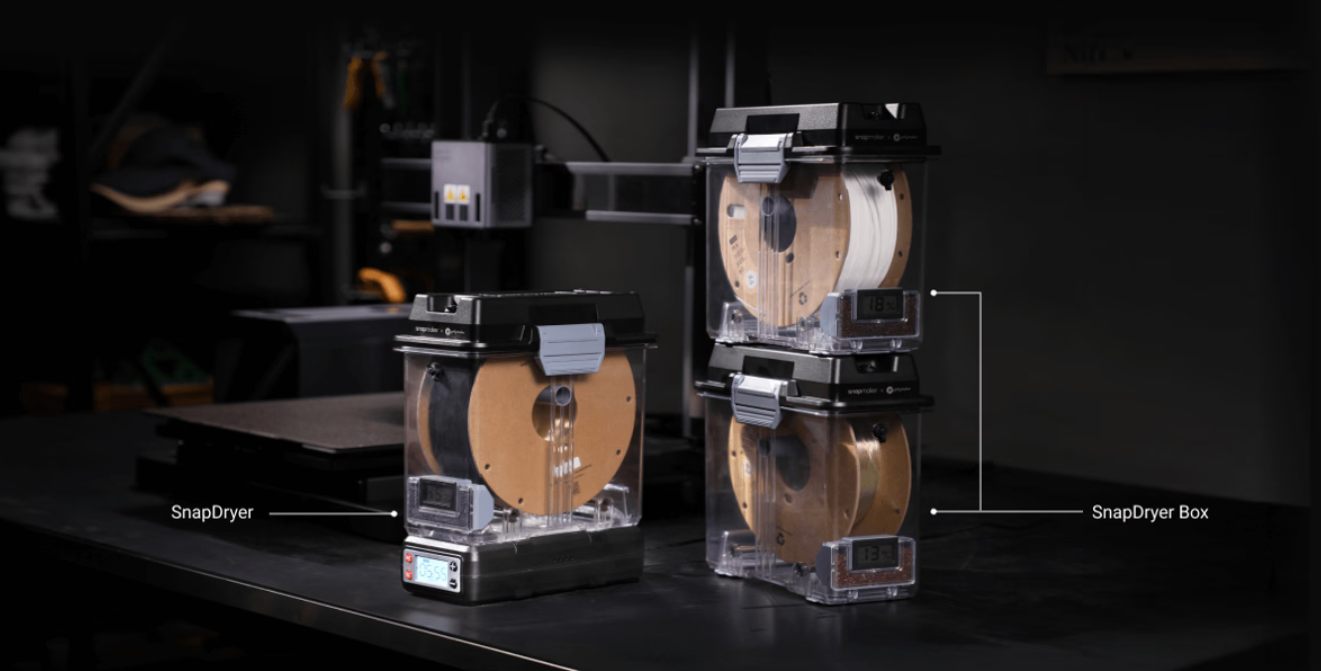
A top-tier dryer goes one step further by integrating storage. The Snapmaker SnapDryer, developed in collaboration with Polymaker, is the perfect example of an all-in-one device. It not only dries your filament with precision but also functions as a sealed, humidity-controlled storage box you can print directly from.
This seamless workflow is its biggest advantage: you dry the filament and then use it without ever exposing it to ambient humidity, eliminating the risk of moisture absorption between drying and printing.
Filament Drying Chart: Temperature & Time Guidelines
Use this table as your starting point. Remember that drying times can vary based on how wet the filament is. For the most accurate settings, always check your filament manufacturer's specific recommendations.
Why Dry Filament is Critical, But Finished Prints Are Not
A logical question often comes up: "If filament is so sensitive to moisture, do I need to worry about protecting my finished 3D prints from humidity?"
That's an excellent question. For the vast majority of printed objects, the answer is no. You don't need to worry about protecting them from moisture after they are printed. They are meant to be used.
The reason we care so much about dry filament but not the finished part is due to one thing: the high heat of the printing process.
During Printing: A Recipe for Disaster
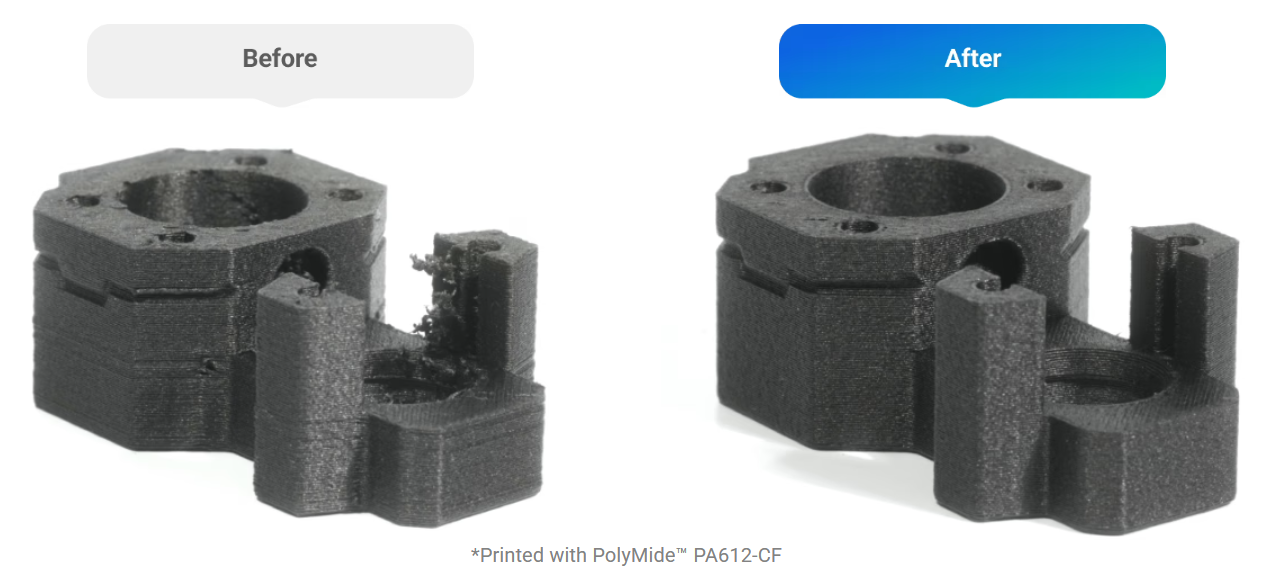
When damp filament enters a 200∘C hotend, the trapped water instantly boils into steam. This causes two destructive, irreversible problems:
- Steam Explosions: Tiny pockets of steam create voids and bubbles, ruining the print's surface finish and dimensional accuracy.
- Hydrolysis: At high temperatures, the water molecules chemically attack and break the long polymer chains that give the plastic its strength. This results in terrible layer adhesion and parts that are incredibly brittle.
After Printing: A Solid, Stable Object
Once the part is cooled, it is a solid object. It can still absorb moisture from the air, but without the intense heat, the destructive process of hydrolysis doesn't happen. The effect on the part is much less dramatic. Once printed, you might even want to learn how to sand and smooth 3D prints for a perfect finish.
So, you can rest assured that all your effort in keeping filament dry is to ensure the part is created correctly. Once it's printed, it's generally robust enough for its intended purpose.
Simplify Your Workflow with an All-in-One Solution
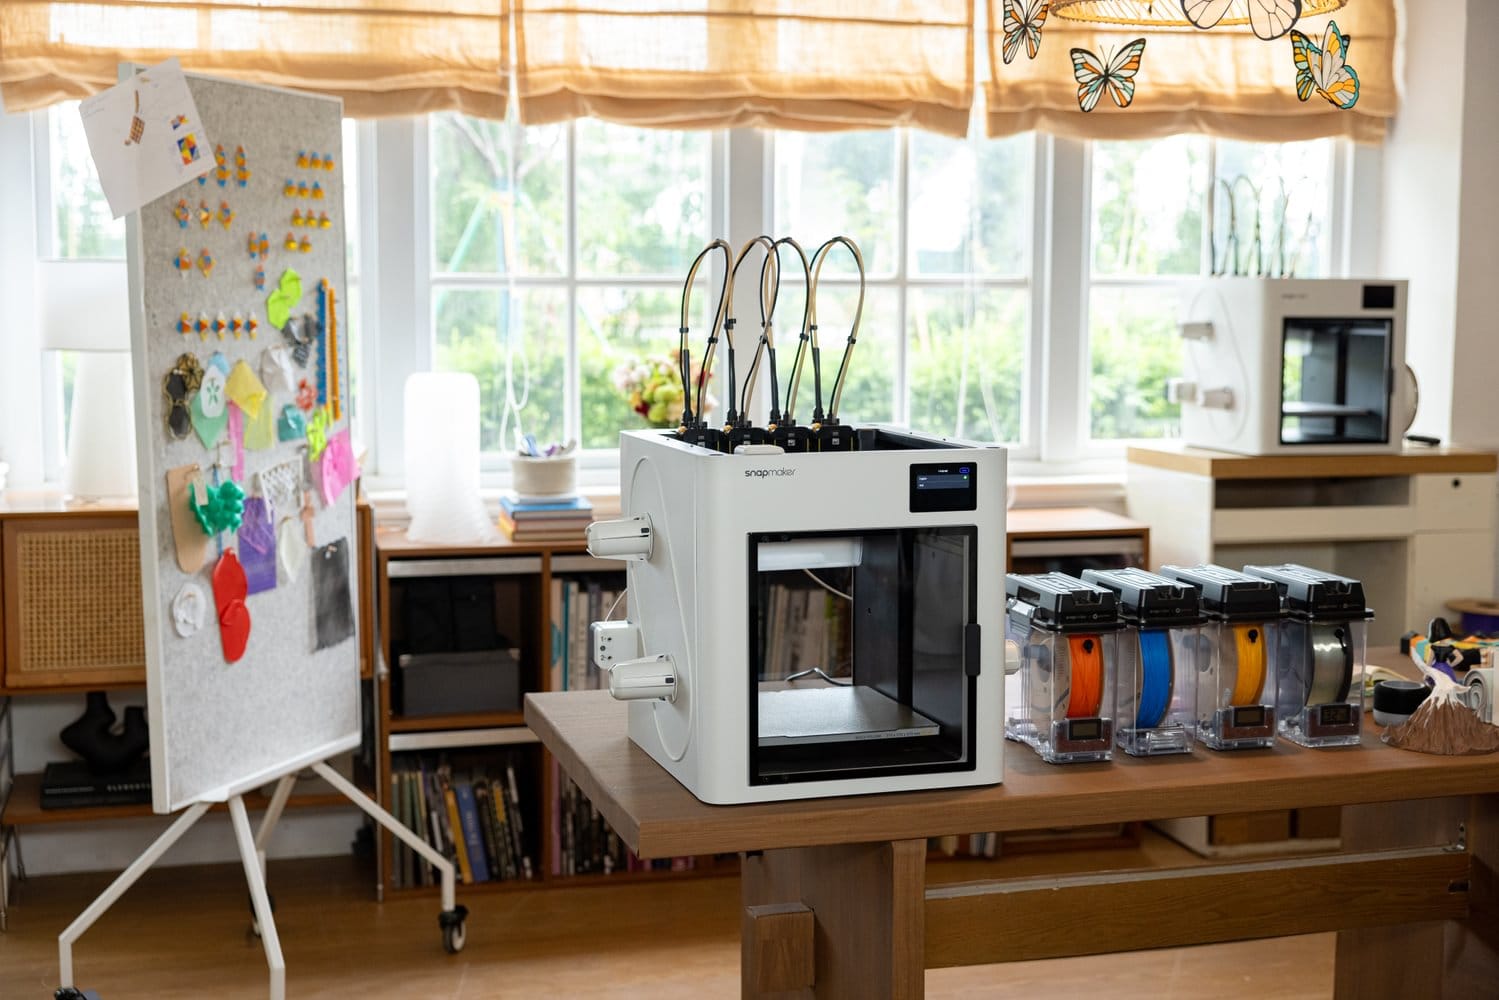
For those who want to eliminate guesswork and achieve consistently flawless prints, integrating drying and storage is the key. The Snapmaker SnapDryer is designed to perfect this workflow, ensuring your filament is not only restored to pristine condition but kept that way until the moment it's extruded.
- To see how it can upgrade your 3D printing setup, see more details at the Snapmaker Official Store.
- For detailed specifications and setup guides, check out the Official SnapDryer Wiki.
Final Thoughts
Proper filament care is one of the most impactful skills you can learn in 3D printing. By keeping your materials dry, you're not just preventing failed prints—you're ensuring every object you create is as strong, accurate, and visually stunning as it was designed to be, which is a big part of answering the question, "Is a 3D printer worth it?".