How to Laser Engrave Tumblers
Personalized tumblers have surged in popularity, from simple monograms to intricate designs on premium brands like YETI. This comprehensive guide will walk you through the process of creating professionally laser-engraved tumblers at home or in your small business workshop.
What Is a Tumbler?
In modern terms, a tumbler is a versatile drinking vessel characterized by:
- A flat bottom for stability
- No stem (unlike wine glasses)
- Various materials including stainless steel, glass, plastic, or ceramic
- Typically cylindrical or slightly tapered shape
Originally, the term "tumbler" referred to rounded-bottom glasses that would tip over if set down before being emptied. Today, they're practical everyday drinking containers known for their durability and convenience.
What Do You Need to Laser Engrave Tumblers?
To get started, you'll need a few key pieces of equipment and supplies.
1. Laser Engraver
Different types of laser engravers offer various capabilities. For users of versatile machines like Snapmaker, which can incorporate different laser modules, understanding these differences is key:
- CO2 Lasers: Ideal for powder-coated tumblers as they remove the coating to reveal the stainless steel underneath. Can mark bare metal with special marking sprays.
- Fiber Lasers: Perfect for direct metal engraving or annealing on bare stainless steel. These are generally more expensive but deliver exceptional results.
- Diode Lasers: More affordable and increasingly powerful. Higher-powered diode lasers can effectively engrave coated tumblers. For bare metals, they typically require a marking solution. Snapmaker 1064nm Infrared Laser Module, operates at a wavelength that allows for engraving on a wider range of materials, including some metals (like stainless steel, anodized aluminum, iron, copper, platinum, gold, silver) and plastics (opaque), often without needing a separate marking spray. This module, for example, can produce fine details with a spot size of 0.05mm × 0.2mm.
2. Rotary Attachment
This is crucial. Tumblers are cylindrical, so a rotary attachment rotates the tumbler during the engraving process, allowing the laser to engrave around the curved surface.

For users of systems like Snapmaker, the Snapmaker 2.0 Rotary Module is designed for seamless integration. It allows for 4-axis engraving and can handle objects with a diameter of up to 100mm (using the chuck) or 170mm (using rollers, depending on the object's length and center of gravity).
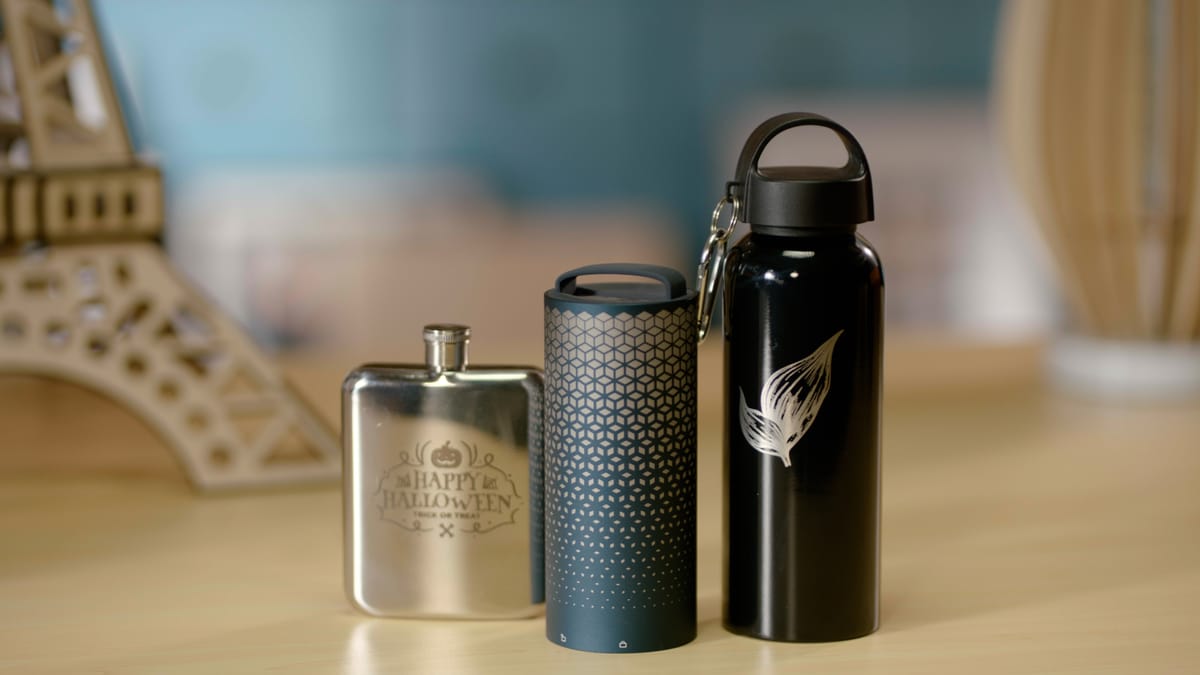
3. Tumblers
The material of your tumbler dictates the laser type and settings:
- Powder-Coated Tumblers: Most popular choice, offering excellent contrast.
- Bare Stainless Steel: Requires marking spray with most CO2/diode lasers, or direct engraving with fiber lasers or specialized infrared diode lasers (like the Snapmaker 1064nm module).
- Anodized Aluminum: Provides excellent engraving results with good contrast.
- Glass Tumblers: Requires careful settings and techniques to prevent cracking.
- Kraft Cylinder: Useful for testing or practicing 4-axis engraving.
4. Safety Equipment & Supplies
- Material Knowledge: Be aware of the material your tumbler is made of and its coating. Certain materials (like PVC or vinyl) should never be laser engraved as they release toxic fumes. Stick to known laser-safe tumblers.
- Fume Extraction System: Essential for extracting harmful fumes. Engraving coatings and marking sprays can produce harmful fumes. An enclosure and proper ventilation are key.
- Fire Extinguisher: Rated for electrical fires.
- Protective Eyewear: Appropriate for your specific laser type and wavelength. For example, the Snapmaker 1064nm Infrared Laser is a Class 4 laser, requiring specific OD6+ rated eyewear.
- Cleaning Supplies: Isopropyl alcohol, lint-free cloths, magic erasers.
7 Steps to Laser Engrave a Tumbler
Step 1: Design Preparation
- Create & Size: Design your artwork appropriate for the tumbler's engravable area.
- Vectorize: Convert designs to vector format (e.g., SVG, DXF) for crisp lines and edges. Software like Snapmaker Luban can import various file types.
- Consider Curvature: Account for design distortion on tapered tumblers. Some software can help compensate for this.
Step 2: Material Preparation
- Clean Thoroughly: Wipe the tumbler with isopropyl alcohol to remove oils and debris.
- Apply Masking (Optional): Use masking tape for protection of surrounding areas, especially on materials prone to residue.
- Apply Marking Spray (If needed): For CO2 or standard diode lasers on bare metal, apply according to manufacturer instructions.
Step 3: Laser Engraver & Rotary Setup
- System Check: Ensure proper ventilation and safety systems are active.
- Install Rotary: Mount the rotary attachment according to manufacturer specifications.
- Secure Tumbler: Place the tumbler level and secure it on the rotary attachment (e.g., using the chuck or roller setup). Ensure it's centered and stable.
- Configure Software: Enable rotary settings in your laser software (e.g., Snapmaker Luban). Input the correct parameters for your specific tumbler, such as diameter and length. For Snapmaker users, features like the A/B Position function with the Rotary Module can be extremely helpful for setting precise start and end points for your engraving, ensuring accurate placement.
Step 4: Focusing the Laser
- Position Laser Head: Move to the highest point of the tumbler's engraving surface.
- Set Focus Distance: Use your machine's focusing tools or auto-focus features for optimal results. Snapmaker modules often come with auto-focus or a calibration card for precise focusing. Refer to your laser module's specifications, like the technical specifications of your laser module, for details on focal length and working distance.
Step 5: Test Engraving
- Use a Test Piece: Always test settings on a scrap piece or inconspicuous area.
- Small Design Test: Engrave a small element with various power/speed settings.
- Evaluate Results: Check for clarity, depth, and finish quality before proceeding.
Step 6: Engraving the Tumbler
- Preview Position: Use the framing or "run boundary" function in your software to confirm the design placement on the tumbler.
- Apply Optimal Settings: Use the power, speed, and resolution determined in your testing phase.
- Safety Check: Confirm all safety measures are in place (eyewear on, enclosure closed if applicable, ventilation active).
- Monitor Process: Stay nearby to address any issues that may arise. Never leave a laser unattended while it's operating.
Step 7: Cleaning and Finishing
- Cool Down: Allow the tumbler to cool completely after engraving.
- Clean Coated Tumblers: For coated tumblers, gently wipe away residue with isopropyl alcohol. For stubborn residue, try "LA Awesome cleaner" or a magic eraser.
- Clean Stainless Steel with Marking Spray: Wash off excess marking spray with water according to manufacturer instructions.
- Clean Bare Stainless Steel (e.g., with Fiber or Infrared Laser): May only require a wipe with alcohol to remove any slight soot.
- Inspect: Examine the final engraving for evenness, clarity, and desired depth.
Conclusion
Laser engraving tumblers is more than a hobby. It’s a gateway to creative expression, thoughtful gifting, and even launching a small business. With the right setup and a careful approach, you can produce designs that look polished and professional.