What Is PETG Stringing in 3D Printing and How to Fix It
PETG is one of those filaments people turn to when they want something tougher than PLA but not as temperamental as ABS. It’s strong, holds up well under heat, and has a solid balance between flexibility and rigidity. When paired with a Snapmaker, especially the Direct Drive setups, you get smooth extrusion and very consistent flow control. Still, PETG likes to behave in its own way. It’s naturally sticky, and if a setting is even slightly off, it will leave wispy threads between travel moves. Many users run into this when switching from PLA and wonder what went wrong.
If you’re dealing with PETG stringing, the solution is rarely a single change. This guide gives you a clear, practical path to work through the issue step by step so you can get reliably clean prints again.
What Is PETG Stringing
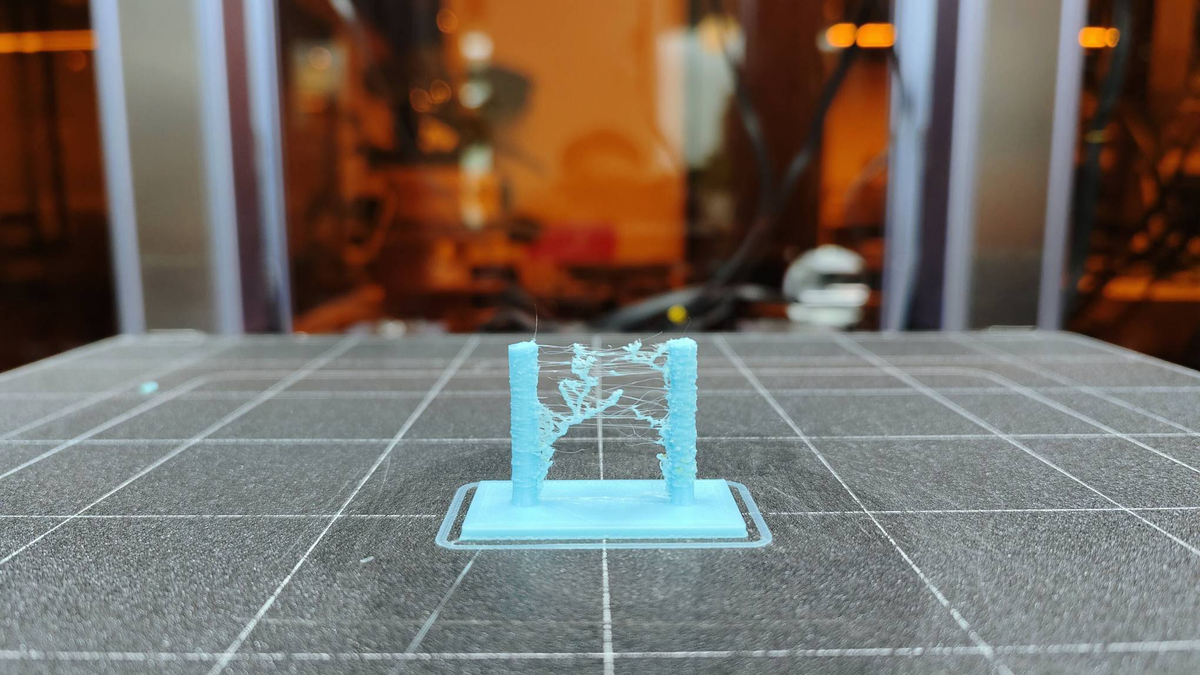
PETG stringing is the appearance of thin hairs, strands, or web-like filaments stretching between parts of a print. These form when the nozzle travels without extruding but still leaks a small amount of softened PETG. Because PETG doesn’t “snap” cleanly like PLA, it tends to drag threads unless the material, temperature, and retraction are tuned correctly.
3D Printing PETG Stringing: Causes & Fix
A few small adjustments can completely change how PETG behaves. Instead of guessing, work through these five areas in order. Each one addresses a different root cause, and together they eliminate nearly all stringing issues.
Moisture Control is King – Dry Your Filament First
PETG absorbs moisture faster than most people expect. Leave it out for a weekend, and it can take in enough water to cause serious problems. The moment wet PETG reaches the heat of the nozzle, that trapped moisture flashes into steam. The expanding vapor pushes molten plastic outward, creating tiny pops and inconsistent flow. That pressure also forces the filament to ooze during travel moves, which is exactly how heavy stringing starts.
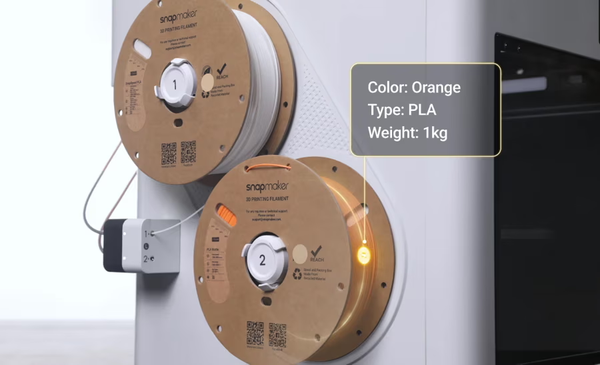
Dry your filament first. Even a new filament can contain moisture. While a standard convection oven works in a pinch, a dedicated filament dryer—such as a reliable Snapdryer—is the most precise tool. Set it to 60°C–65°C and dry the spool for 6–8 hours. Keep it in a closed box to keep it dry.
Listen while it prints. If you hear pops or crackles, the filament is still wet. Drying helps reduce PETG stringing, so start here.
Dial in the Nozzle Temperature
PETG needs just the right heat. It should melt smoothly but not be too runny. If it’s too hot, the filament will leak even when retraction is on. Too low and layers won’t bond well.
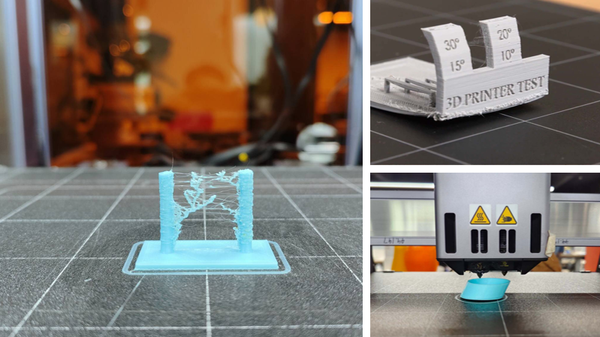
Most Snapmaker users get good results starting between 230°C and 245°C. The most accurate way to find your ideal point is by printing a Temperature Tower. A tower lets you compare small temperature differences in one print and see where stringing begins to fade while layer adhesion remains strong.
You’re looking for the lowest temperature that still produces a firm, well-bonded wall. Many people assume PETG needs to run hot, but often the cleanest prints come from slightly cooler settings. Lowering the heat even by a few degrees can significantly reduce unwanted filament trails.
Optimize Retraction Settings for Direct Drive
Retraction pulls the filament backward to create a slight negative pressure inside the nozzle. Direct Drive extruders like those on Snapmaker machines need less retraction than Bowden systems because the motor sits close to the hot end.
Start with a retraction distance of 0.8–2 mm and change it in small 0.2 mm steps. Set the retraction speed to 35-45 mm/s. Faster speeds help, but don’t go too high or the gears may grind the filament. A little grinding is a sign you’ve gone too far.
Direct Drive retraction tuning can make a huge difference in reducing PETG stringing. Once you find the right combination of retraction distance and speed, you’ll notice the threads between travel points drop sharply or disappear altogether
Speed Up Non-Printing Travel
The longer the nozzle takes to move across open space, the more opportunity PETG has to ooze. Faster travel cuts that time down, which helps prevent strings from forming.
Increase your slicer’s travel speed to 150 mm/s–200 mm/s. This is usually safe for Snapmaker hardware and immediately shortens the window where filament could leak. When the printhead snaps quickly between points, PETG often breaks cleanly instead of trailing.
Check your Z-Hop setting while you’re at it. If stringing is heavy, turn Z-Hop off. Lifting the nozzle can actually make PETG stretch even more because the movement pulls the softened material upward and outward. For tuning purposes, disabling Z-Hop gives you a cleaner baseline to work from.
The Cooling Fan Balance
PETG wants some cooling, but not too much. Unlike PLA, it doesn’t need strong airflow to set each layer. In fact, too much cooling can hurt layer adhesion. If you don’t use any fan, the filament stays soft and can stretch or make strings.
It is better to use a little fan. Set it to 30%–50%. Keep it off for the first few layers so the bottom is strong. Turn it on after layer four. The gentle air helps the filament harden so it does not pull into strings.
Small tweaks here can also help with bridging and fine details, making your print overall cleaner and sharper.
Conclusion
Stopping PETG stringing isn’t about chasing one magic setting. It’s a combination of dry filament, the right temperature, tuned retraction, fast travel, and balanced cooling. When you do all these steps, PETG prints become easier and cleaner. Follow the checklist on how to reduce PETG stringing, and your prints will look much better.
For more tips and help with Snapmaker, visit the Snapmaker community and support pages.