The Artisan CNC Series (Part1)
Laying the Foundation – Material Selection and Machine Capability for Dry CNC Milling
Author: Michael Winkler
Version 1.0
Disclaimer
This document is based on personal experience, careful experimentation, and testing performed specifically on the Snapmaker Artisan platform. While every effort has been made to provide accurate, practical, and beginner-friendly information, results may vary depending on your specific machine setup, tooling, material source, and operating conditions.
Use all recommendations and settings at your own risk. Always observe standard safety precautions when operating CNC machinery. Snapmaker and the author are not responsible for damage to machines, tools, materials, or personal injury resulting from the application of this guide.
If you're unsure, start with conservative parameters and gradually build confidence through test cuts.
That being said, this guide was created to make your learning experience smoother, not scarier. The disclaimer is simply there to cover the wide range of setups and situations people may have — not because this process is inherently dangerous or risky.
If you follow the guidance carefully, use common sense, and respect the limitations of your machine, you’ll likely find milling aluminum with the Artisan both rewarding and surprisingly accessible.
Why We’re Starting with Aluminum
While this first part of the series focuses heavily on milling aluminum, especially under dry conditions, the broader goal is to build a resource that covers CNC machining with the Snapmaker Artisan across various materials and techniques.
Aluminum is a great starting point — it’s challenging enough to teach real technique, yet common and accessible enough for many users to try. That’s why this part goes deep into material selection, machine capabilities, and dry cutting strategies specific to aluminum.
In future parts, I may explore other materials like brass and plastics and expand into topics like Fusion workflows, fixturing techniques, machine simulation, and inspection. The overall focus will remain practical, experience-based CNC learning — but not limited to aluminum forever.
Glossary
If you're new to milling, here's a short guide to help with unfamiliar terms:
Term | What it means |
Alloy | A mix of aluminum and other metals — affects how it cuts |
Feed rate | How fast the tool moves through the material (mm/min) |
Spindle speed (RPM) | How fast the cutter spins |
Axial depth | How deep the tool cuts downward |
Radial engagement | How much of the tool width is cutting sideways |
Surface finish | How smooth the part looks after cutting |
Fixturing | How you hold the part down on the machine |
Stepper (open-loop) | Motor type that doesn’t check position — can miss steps if overloaded |
Importance of Material Choice
When machining aluminum, not all alloys are created equal — and choosing the right one can make the difference between a smooth learning experience and endless frustration.
Hint:
An alloy is aluminum mixed with other metals like magnesium or silicon to improve strength or machinability. Different alloys behave very differently during milling.
Some aluminum types are harder or softer than others. “Machinable” means they’re easier to cut cleanly without clogging the tool or overheating.
Why Material Choice Matters
Aluminum may seem like a single material at first glance, but it comes in many different alloys and tempers, each with distinct characteristics. Some are optimized for casting, others for forming or welding — and only a select few are truly ideal for CNC machining, especially dry machining without coolant.
The Snapmaker Artisan is a capable platform, but it's not a heavy industrial mill. Choosing a machinable aluminum alloy will significantly reduce cutting forces, heat buildup, and tool wear. This leads to:
- Better surface finishes
- Longer tool life
- More forgiving feeds and speeds
- Cleaner chips and less material buildup on the tool
6026LF | unknown alloy
Hint:
Surface finish = how smooth your part looks after cutting.
Tool life = how long your cutter stays sharp.
Feed rate = how fast the tool moves through the material.
“Forgiving” means the cut still works even if your settings aren’t perfect.
My Turning Point: Discovering 6026LF
In the early stages of testing, I worked with a variety of aluminum alloys — including 6061 and 5083 and a small piece of 7075 — to explore their behavior under dry milling conditions. While some of them delivered decent results, there was always some level of compromise in surface quality, chip control, or tool wear.
That changed completely once I got my hands on 6026LF.
From the first cut, it was clear that 6026LF outperformed everything I had tested. Its excellent machinability, clean chip formation, and surface finish made it the obvious choice — especially for a compact machine like the Artisan. Since then, it has become the only alloy I use for all testing, documentation, and fine-tuning of parameters.
Every parameter set, strategy, and result shared in this series is based on 6026LF. I highly recommend starting with it if you can source it.
Why 6026LF Works So Well
- Outstanding performance in dry machining
6026LF excels without the need for coolant, making it ideal for desktop CNC systems like the Snapmaker Artisan.
- Clean chip formation
This alloy breaks chips predictably and efficiently — reducing heat buildup and preventing material from sticking to the cutting tool.
I can’t emphasize this enough: clean chip formation is one of the most critical factors for successful aluminum machining, especially without coolant. It directly affects heat management, surface quality, and tool life — all at once.
- Excellent surface finish with minimal effort
Even with basic settings, 6026LF delivers smooth surfaces that often require little to no post-processing.
- Balanced material properties
A great mix of strength and softness allows for reliable cutting without overstressing light-duty machines.
- Additional benefits
- Well-suited for anodizing
- REACH and RoHS compliant due to its low lead content
Hint:
Don’t worry if 6026LF sounds unfamiliar — it’s just a specific aluminum type that cuts cleanly. If you can’t find it, 6061-T6 is your next best bet. If you can get your hands on 6026LF I would highly recommend it.
Good vs. Bad Choices for Dry CNC Milling
Recommended Alloys:
6026LF – my #1 choice for dry machining
6061 (T6) – widely available, decent results
2011 / 2030 / 7075 – good for experienced users
Alloys to avoid:
Pure aluminum – gummy, clogs tools easily
5083 – strong but difficult to cut dry
Cast aluminum or unknown scrap – unpredictable behavior
When sourcing aluminum, always ask for the alloy and temper. Avoid mystery metal.
Hint:
The temper (like “T6”) tells you how the aluminum was heat-treated. It affects hardness and machinability. Most suppliers know what you mean if you ask for “6026LF T6” or “6061 T6.”
Summary Takeaways
- Tested several alloys, but 6026LF clearly stood out in every relevant aspect.
- If available, start with 6026LF — it’s a game-changer for dry machining.
- 6061 T6 is a good fallback if 6026LF is unavailable.
- Avoid alloys not intended for machining — they’ll only make the learning curve steeper.
Machine Capabilities and Limitations
The Snapmaker Artisan is a remarkably versatile desktop machine — and with careful preparation, it can be pushed far beyond its original marketing claims. That said, understanding its true capabilities and physical limitations is crucial to milling aluminum safely and successfully.
This section is meant to set realistic expectations, highlight what’s possible, and identify where workarounds or extra care are needed.
What the Artisan Can Do
Despite its compact size and open-loop system, the Artisan has several strengths that make it suitable for dry milling aluminum:
- High spindle speed (up to 18,000 RPM): Ideal for small-diameter tools and soft metals like aluminum.
- Rigid linear modules: Better-than-average frame stability for a desktop machine, especially when well maintained.
- Usable Z-travel and reach: Allows for reasonably deep pockets and 3D features.
With these capabilities, and using conservative strategies, the Artisan can:
- Cut clean pockets and contours in aluminum
- Create functional mechanical parts with high accuracy
- Achieve surprisingly good surface finishes — even dry
- Mill organically shaped objects
Hint:
Aluminum loves high-speed cutting. RPM = Revolutions Per Minute, or how fast your spindle spins the tool. 18,000 is great for small tools and soft metals.
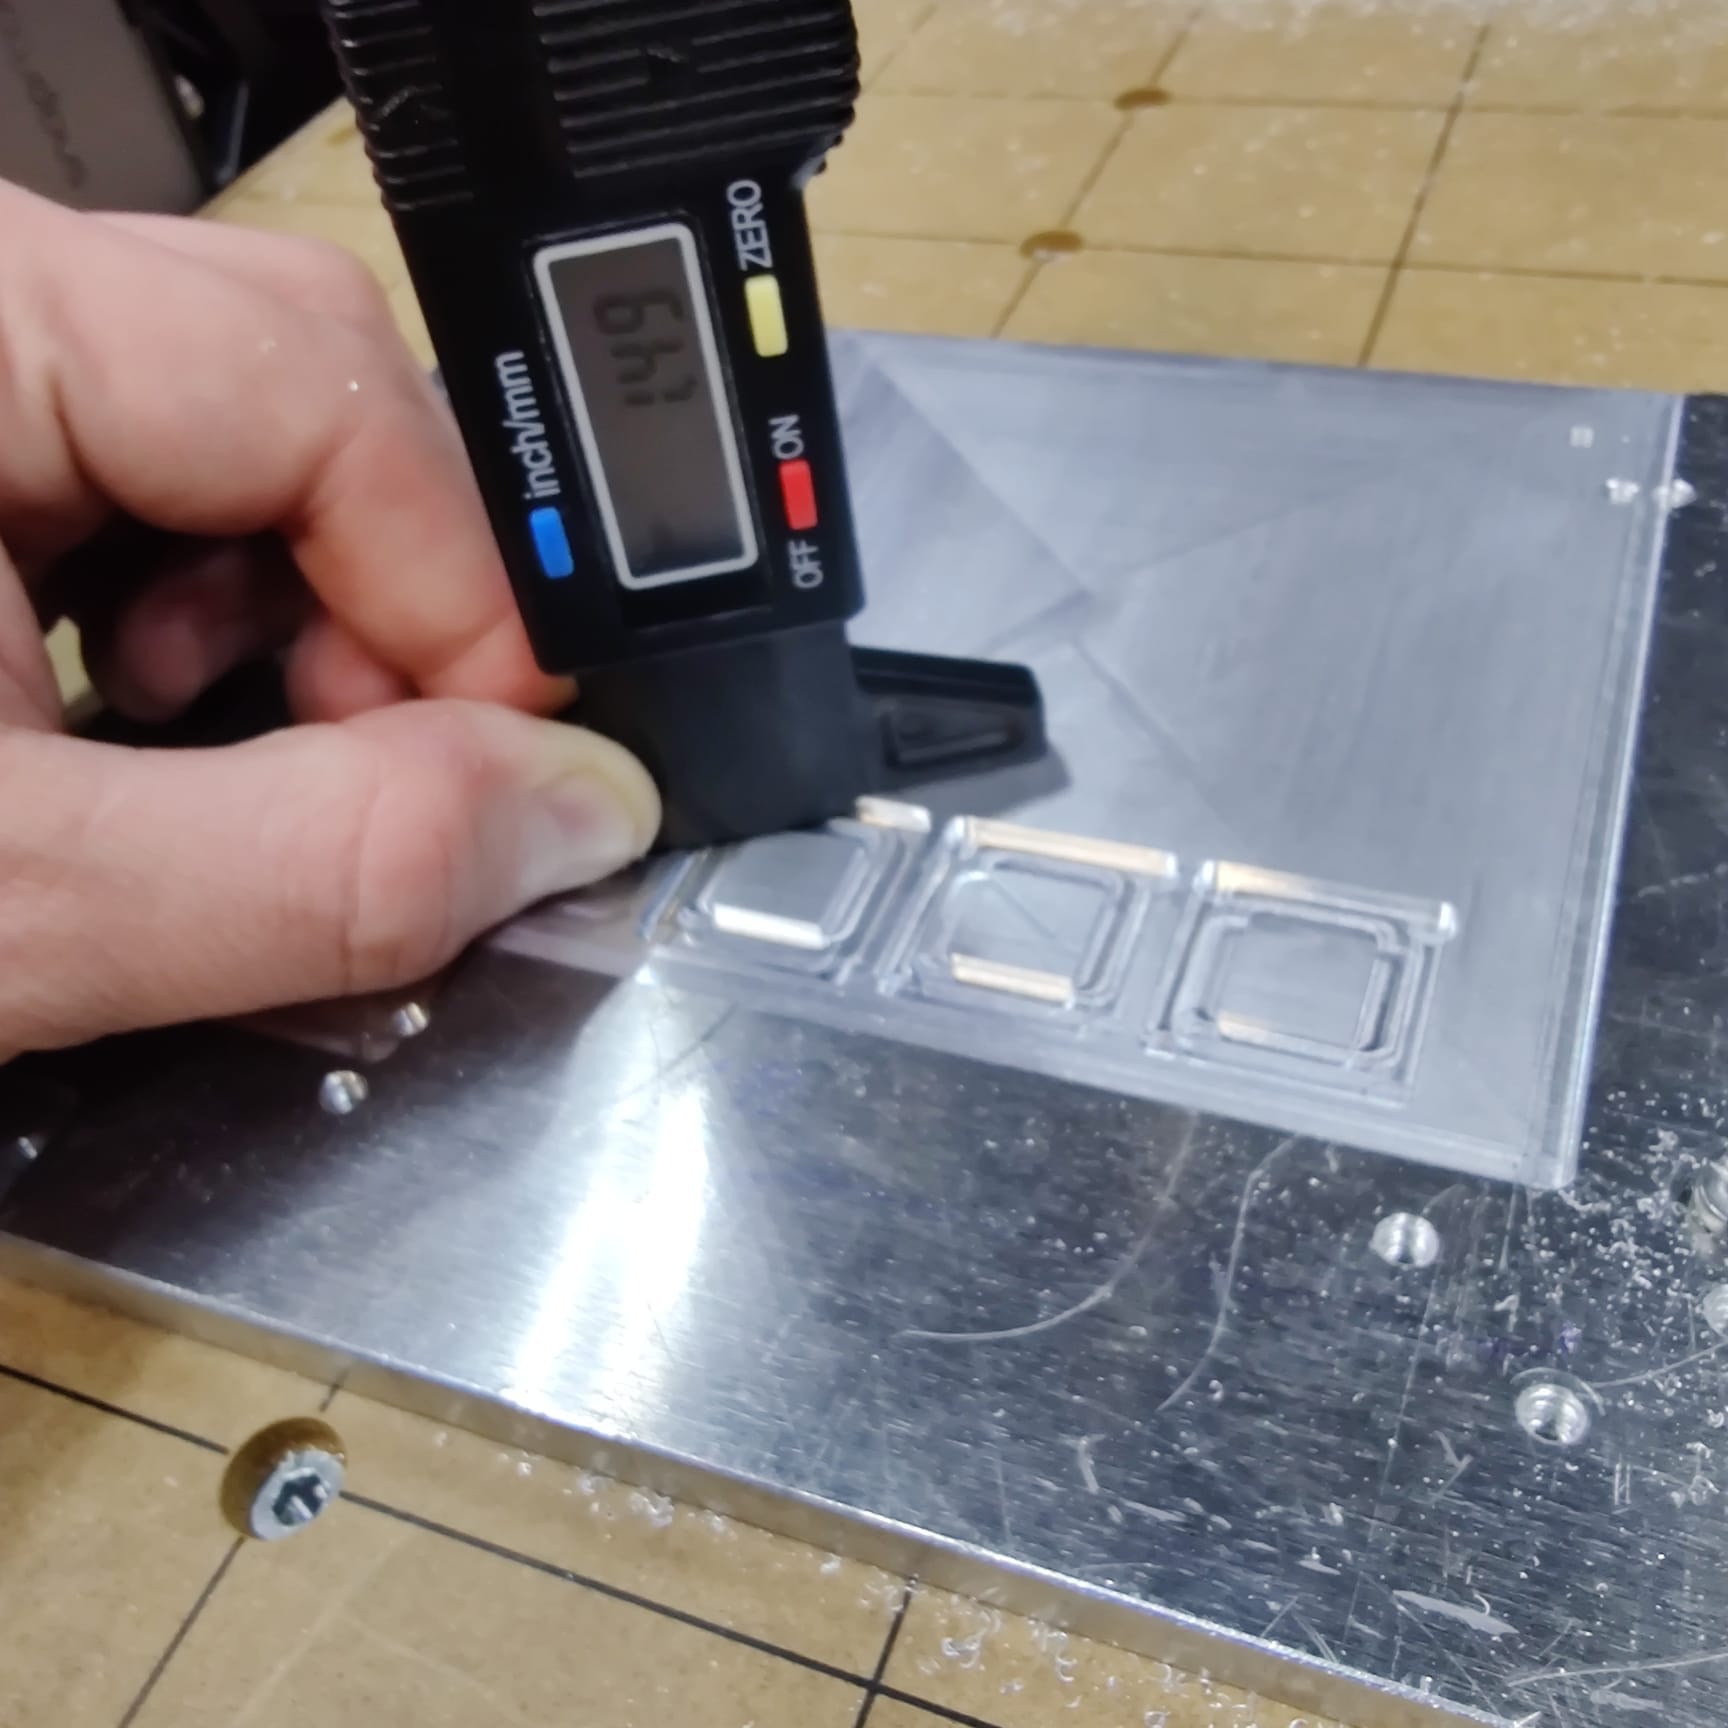
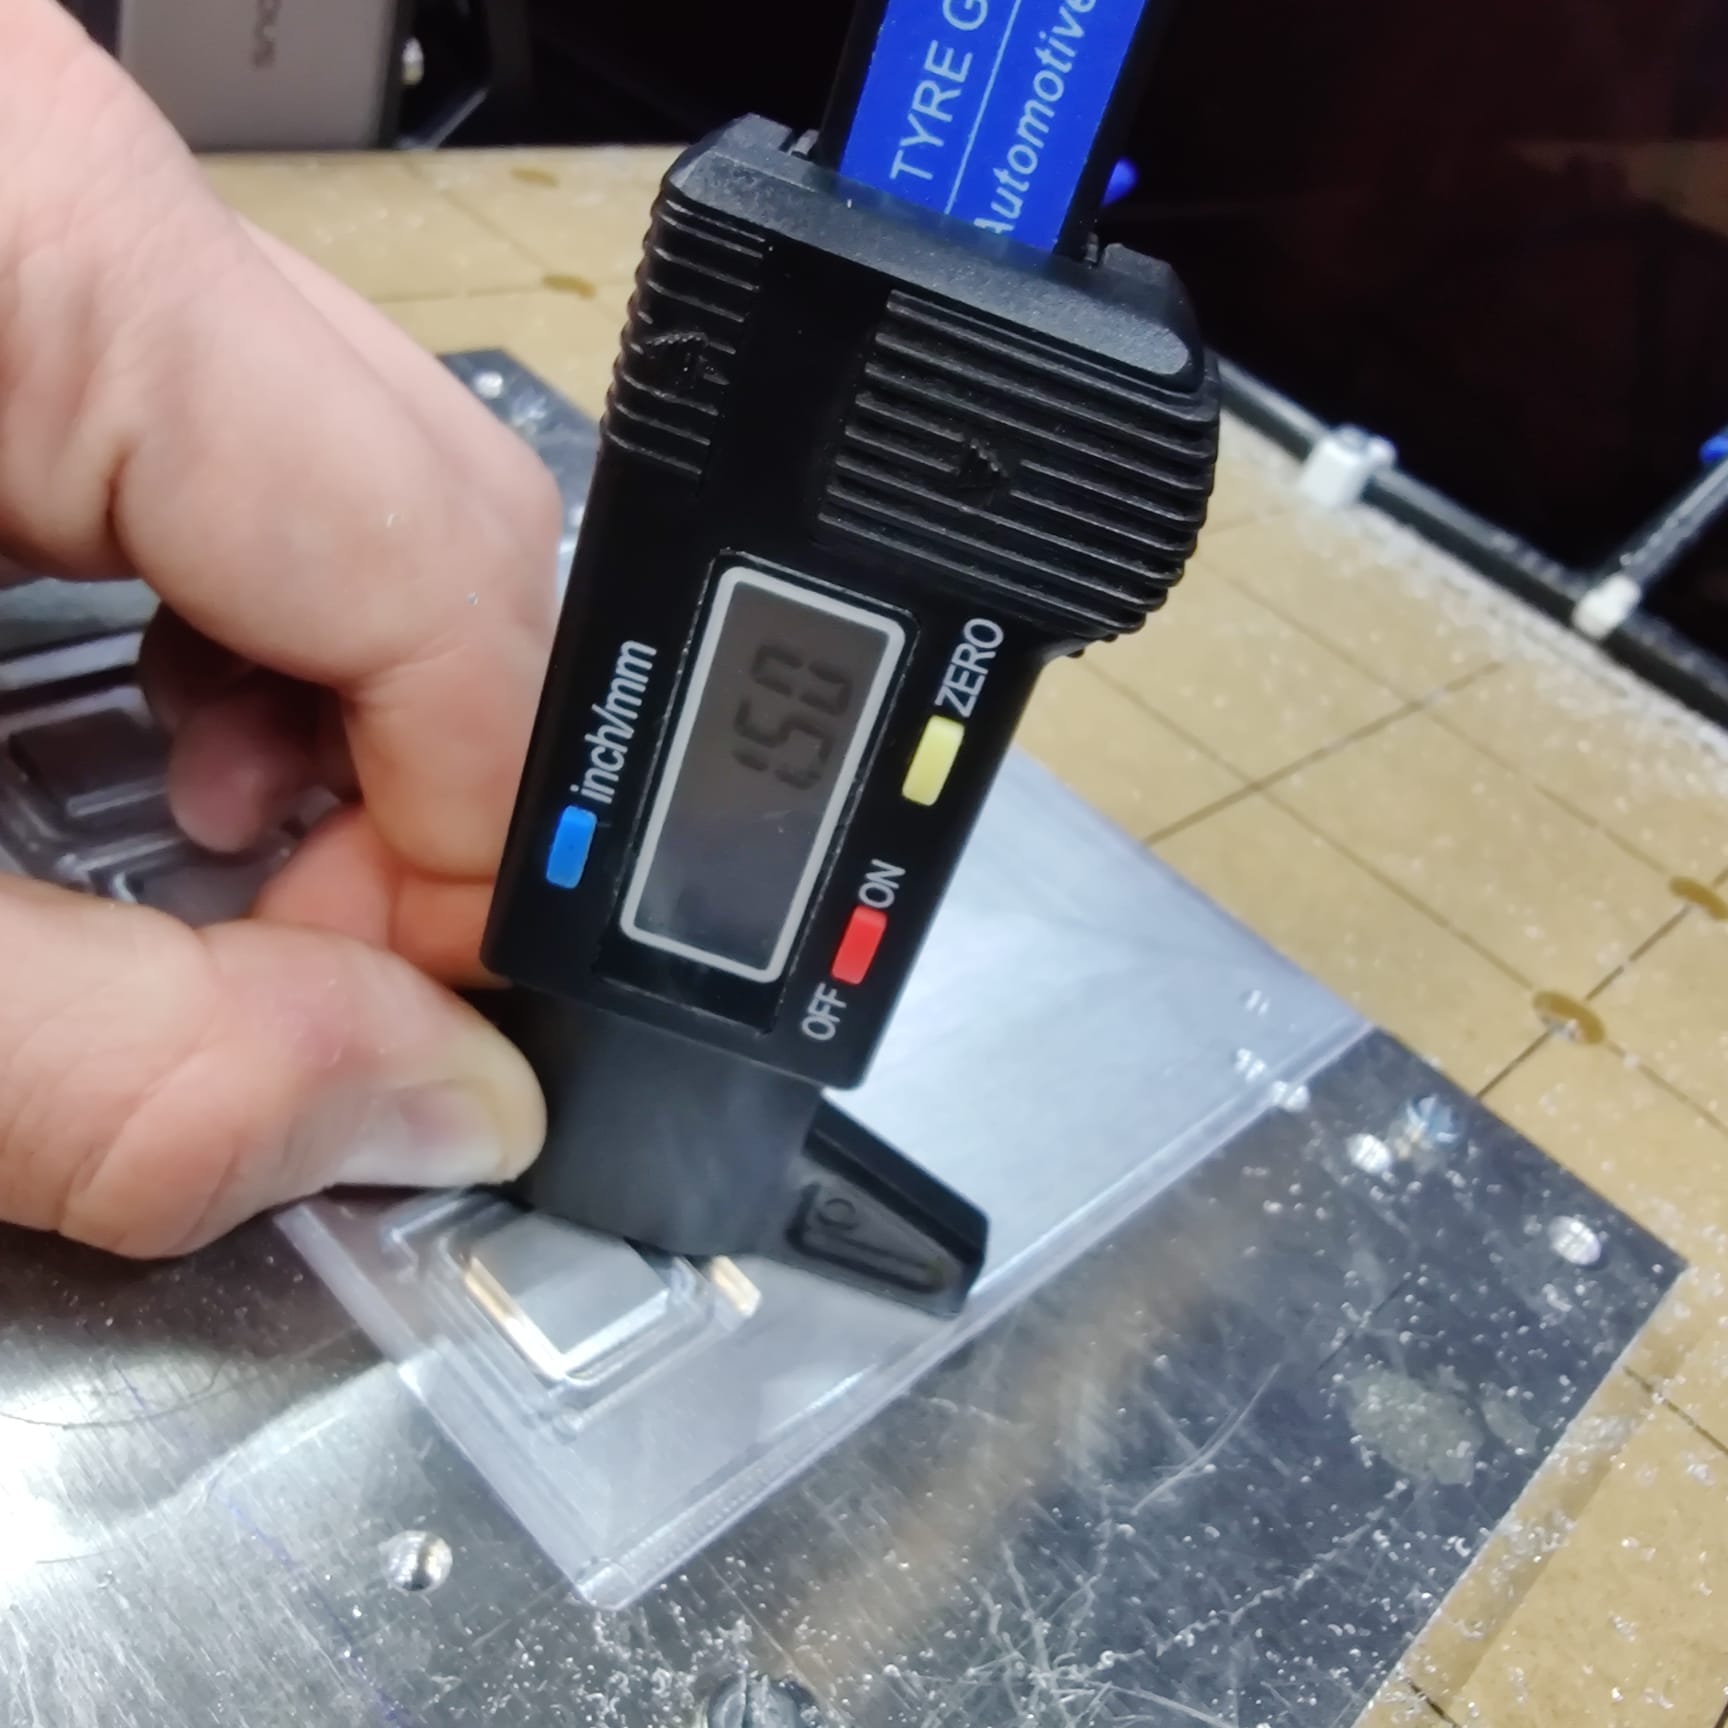
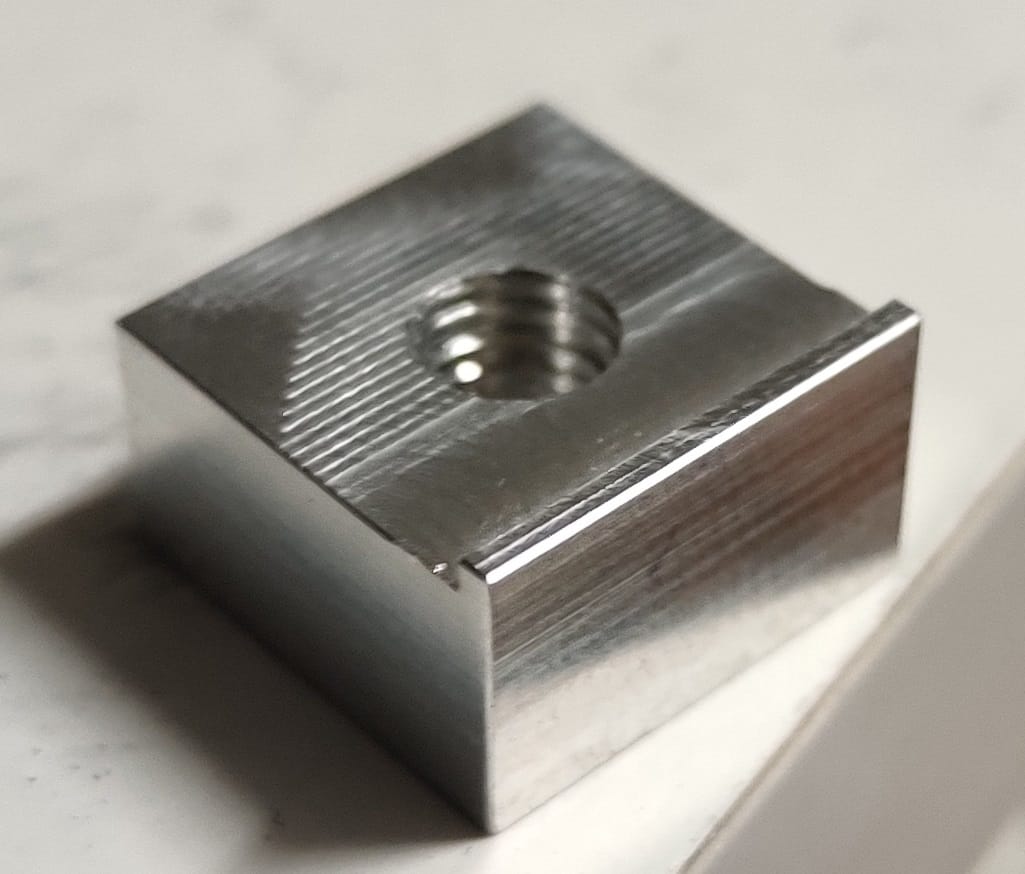
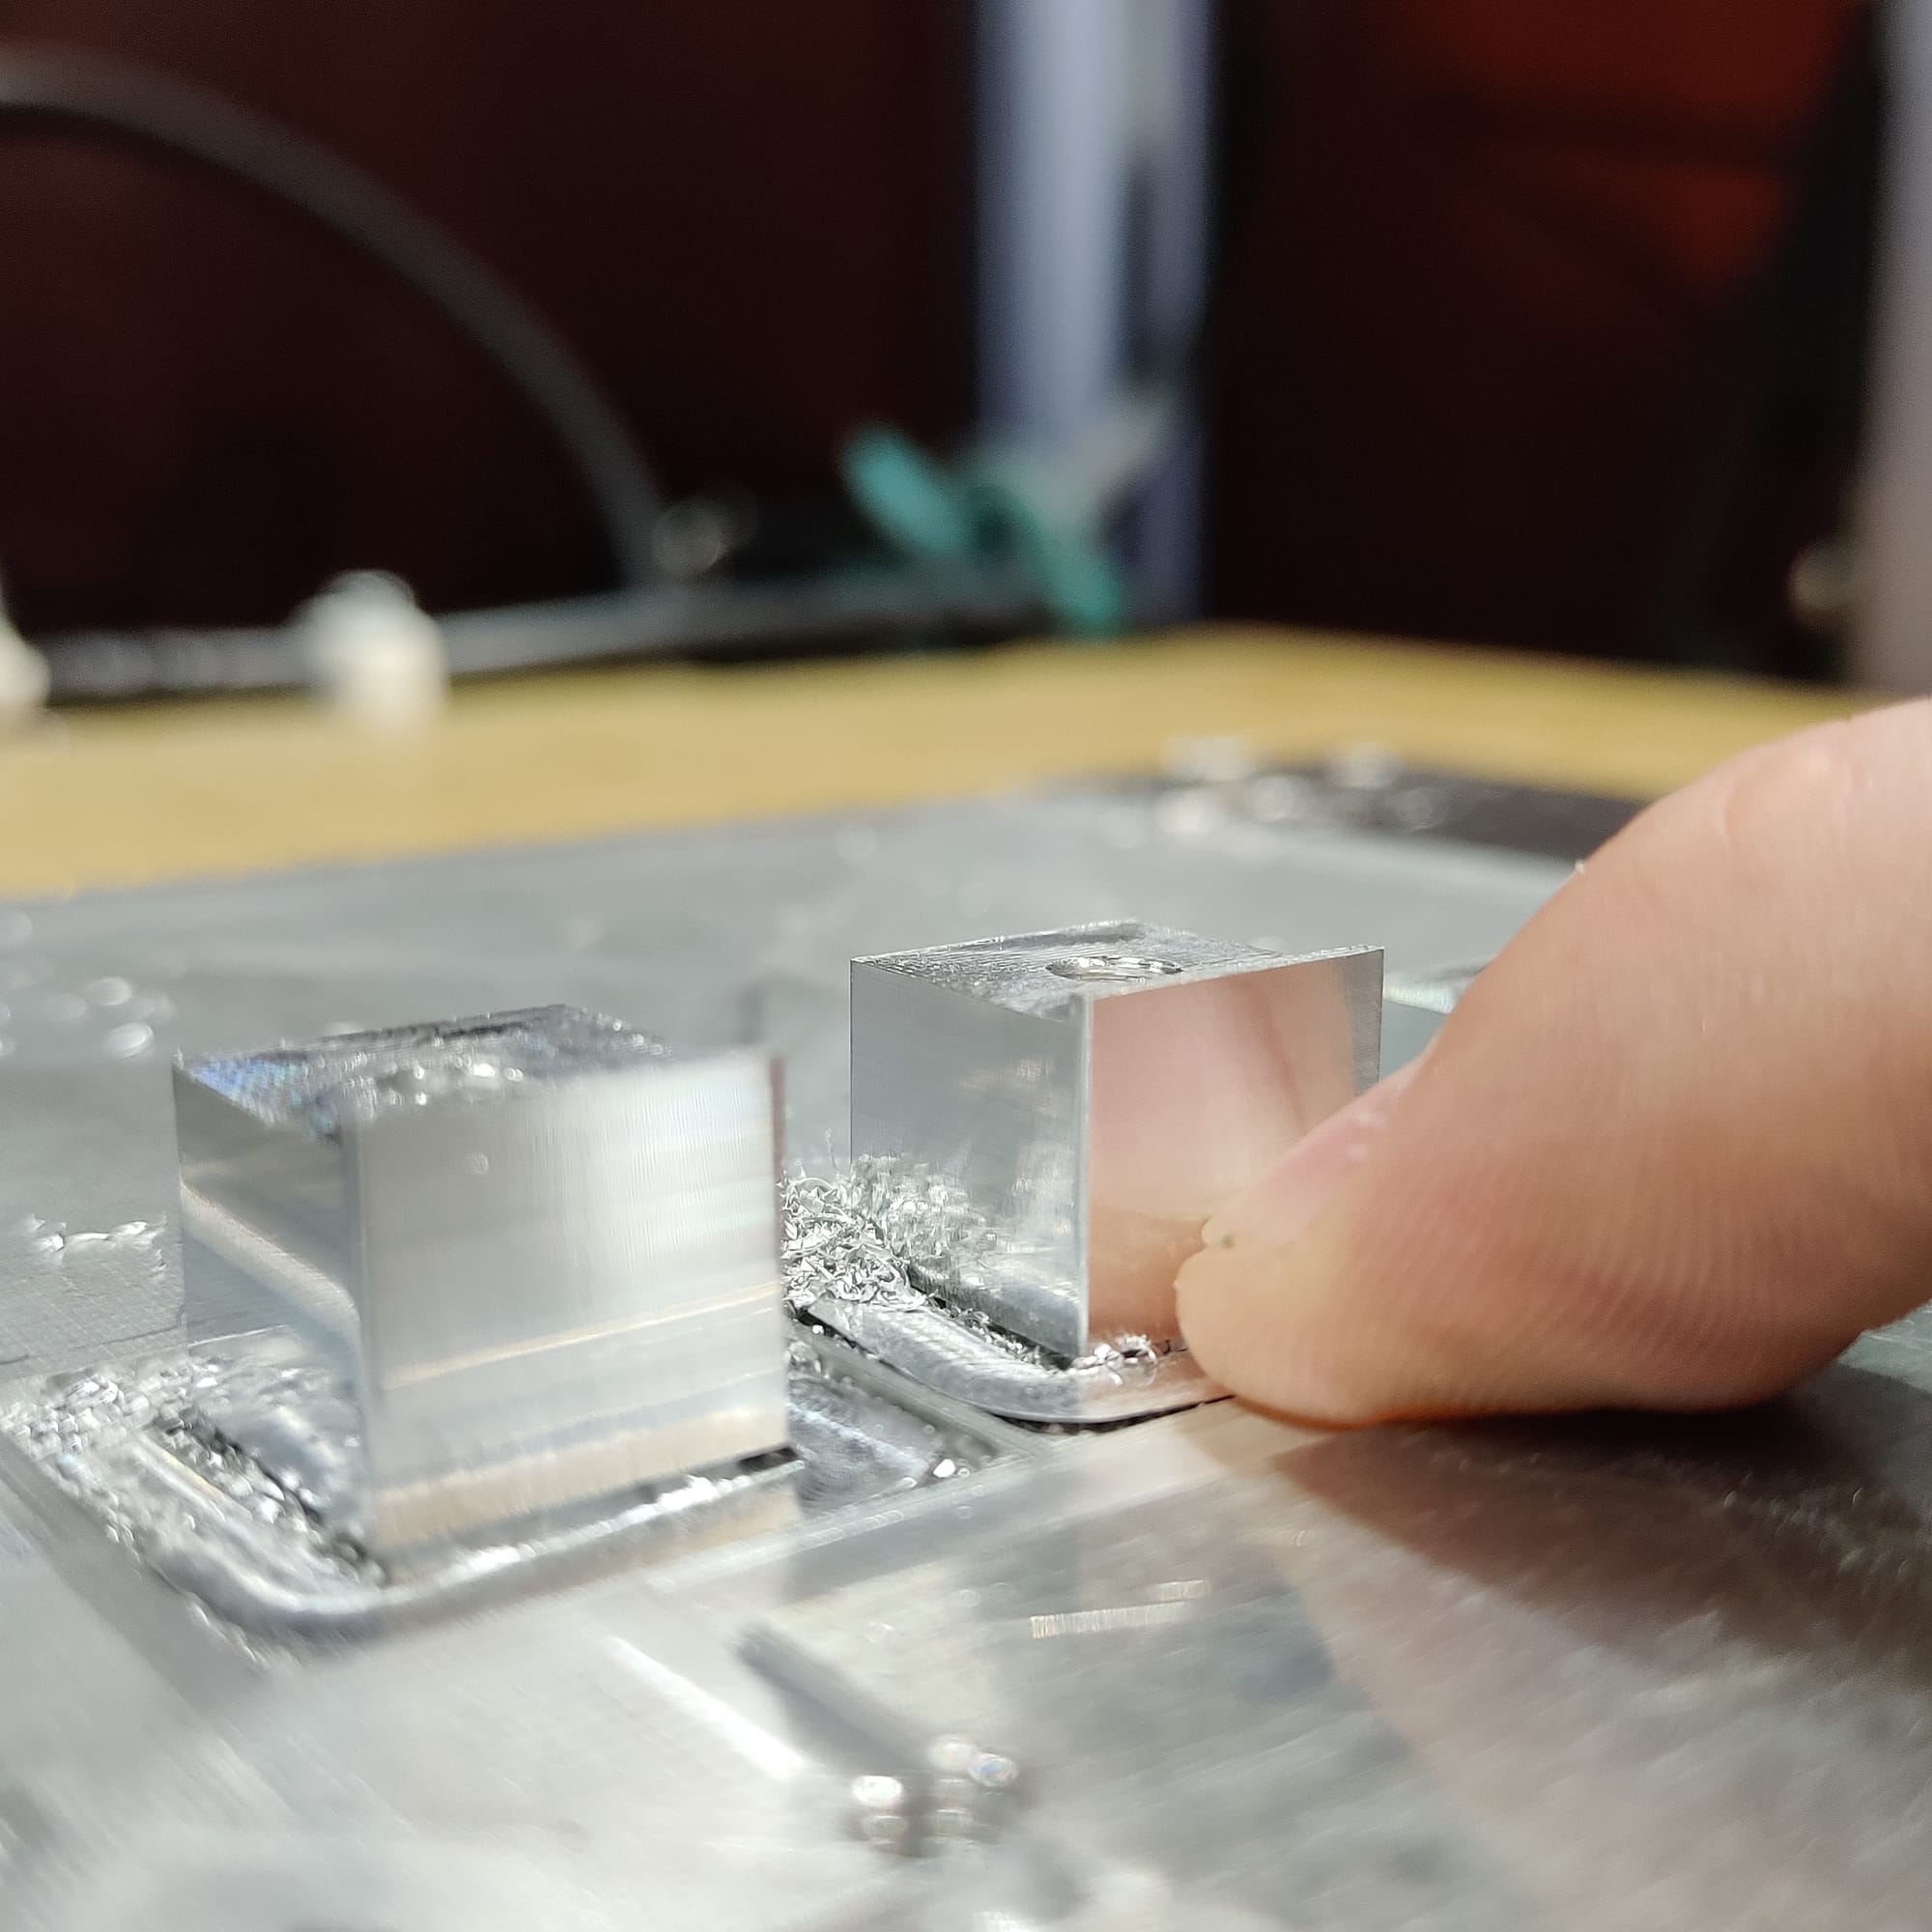
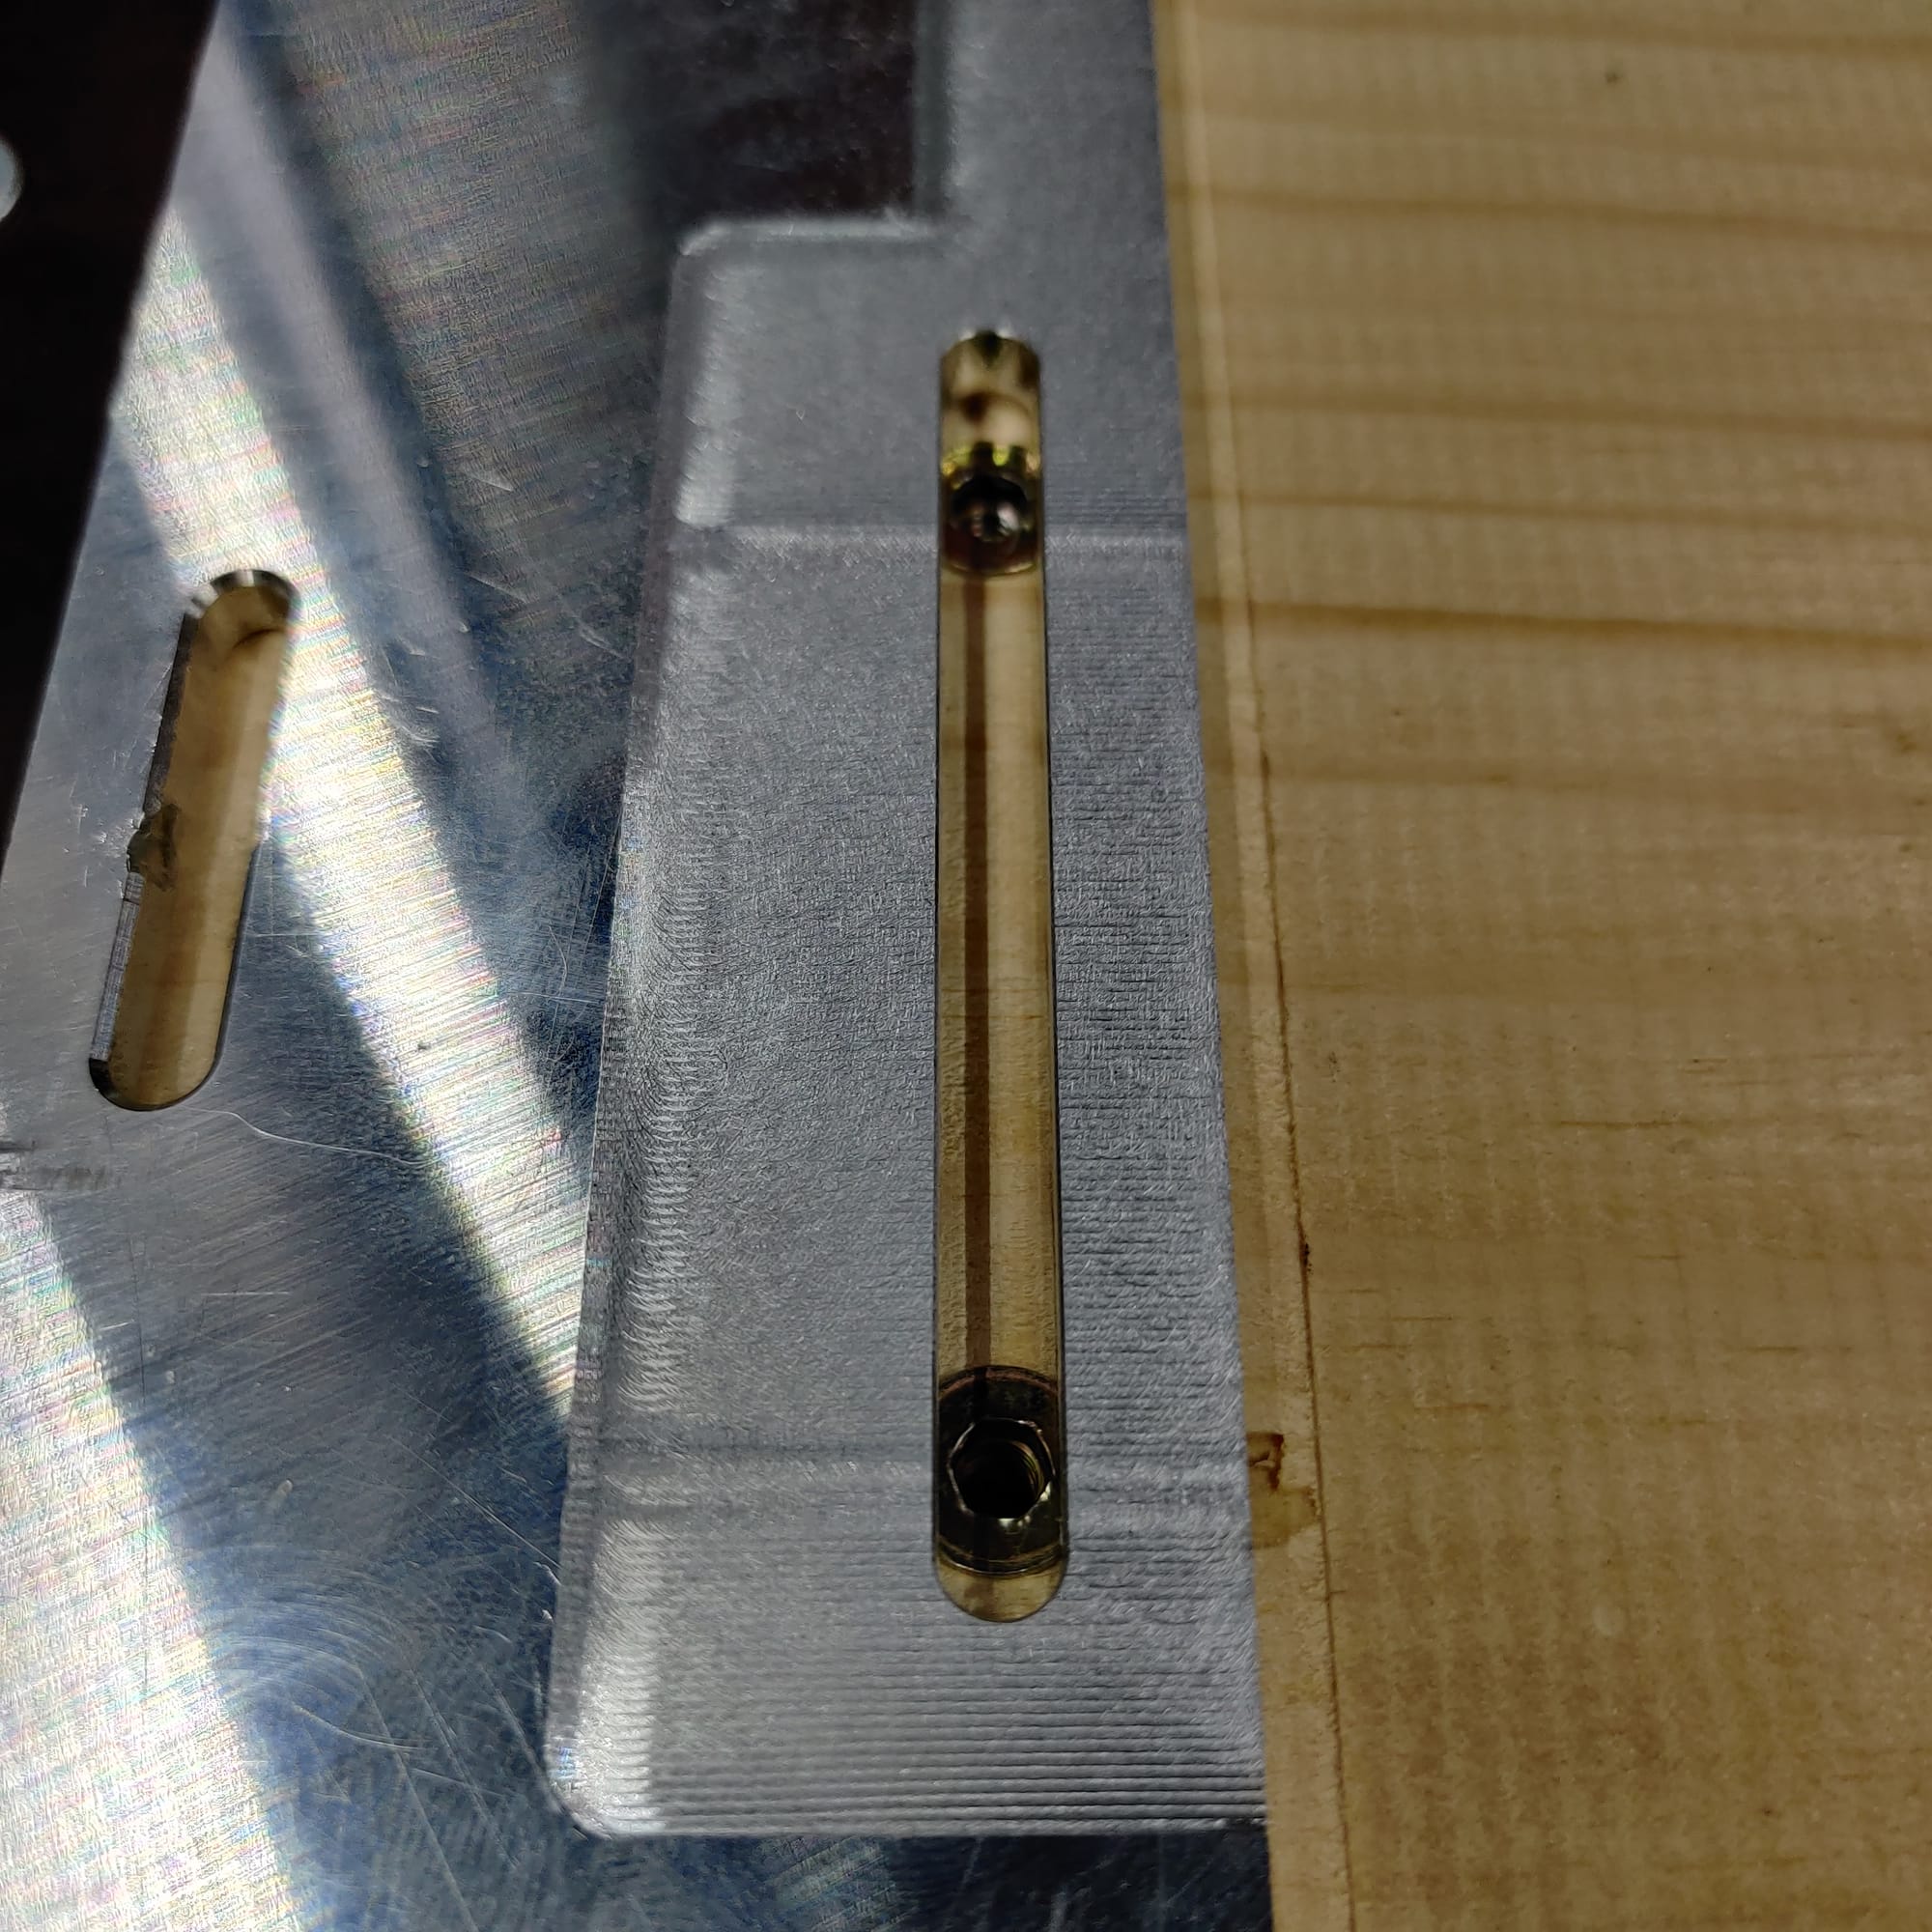
Accuracy verification - z-depth consistency (millimeters)
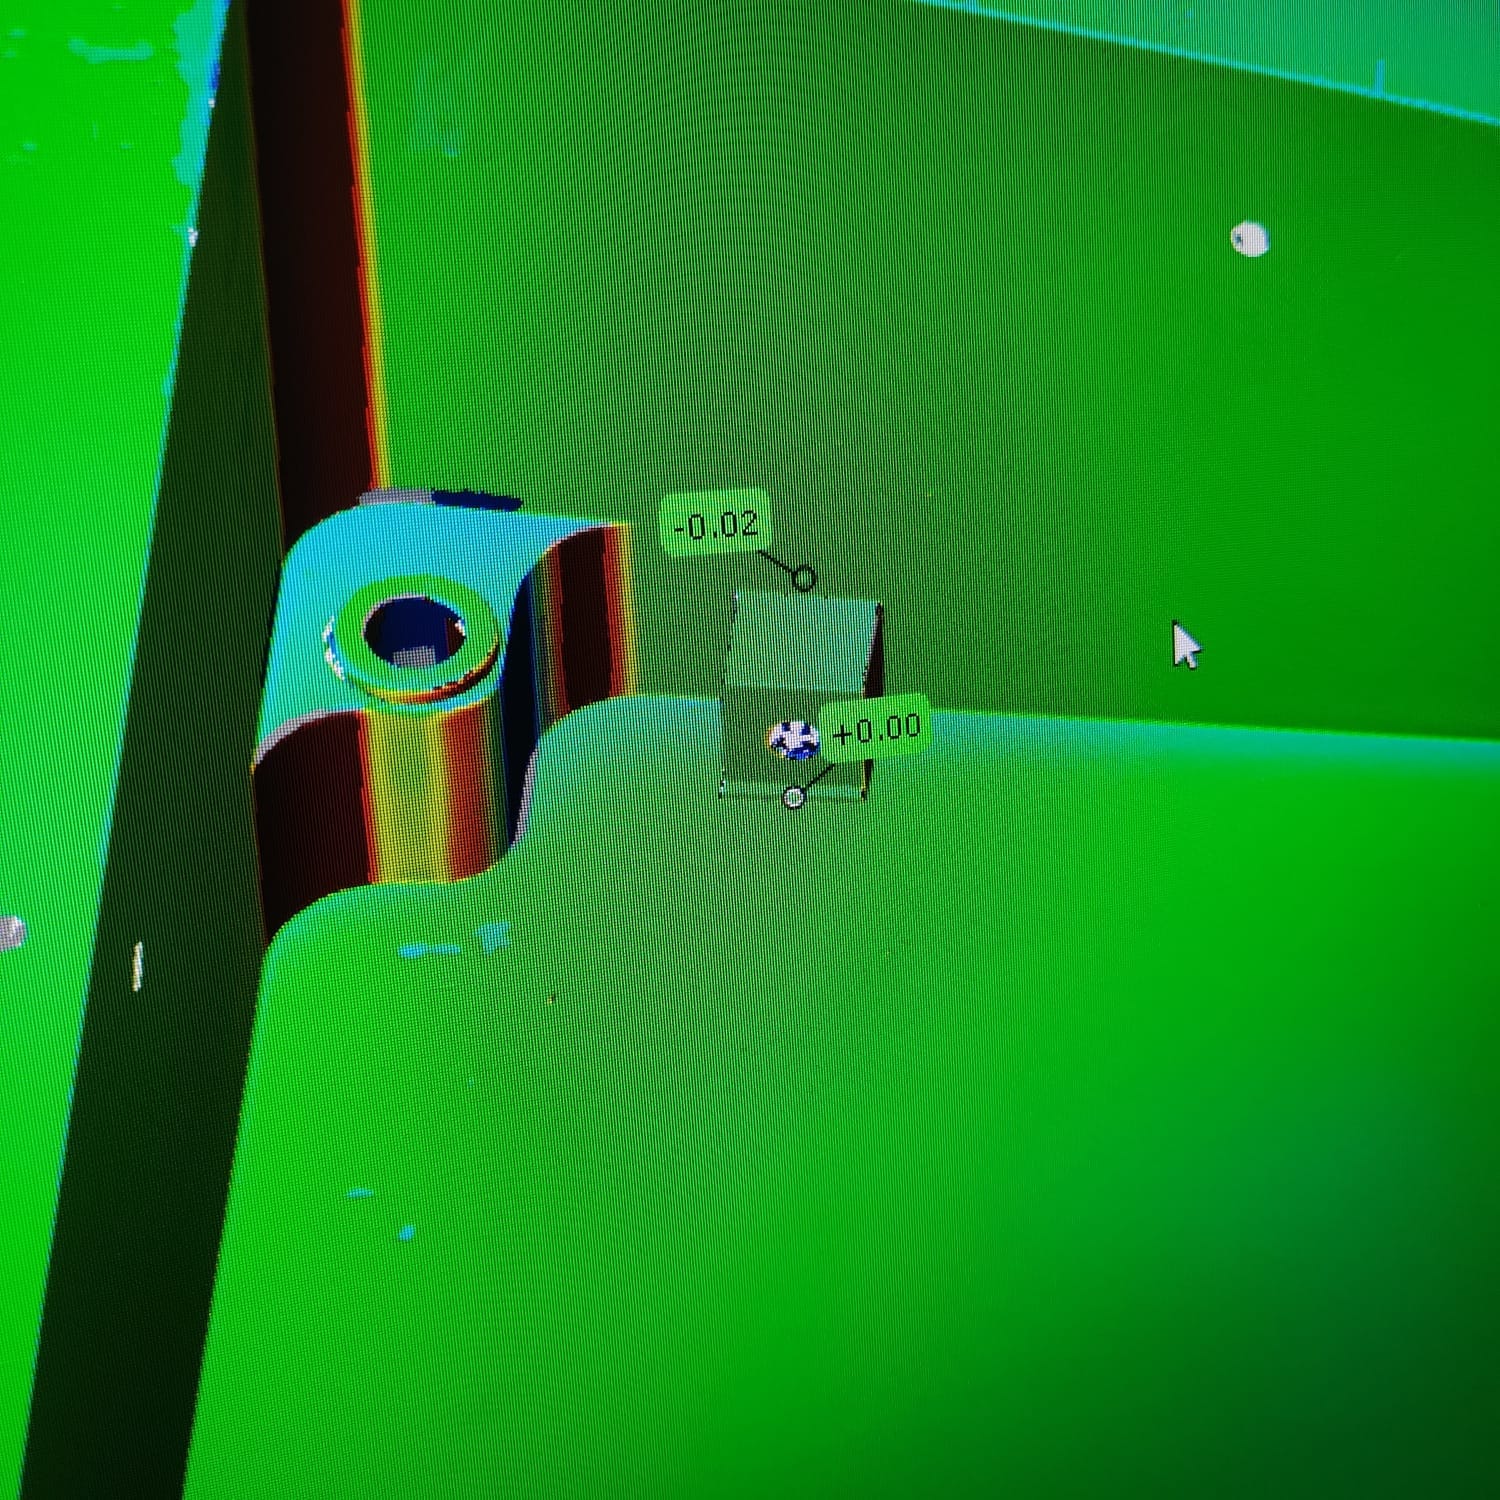
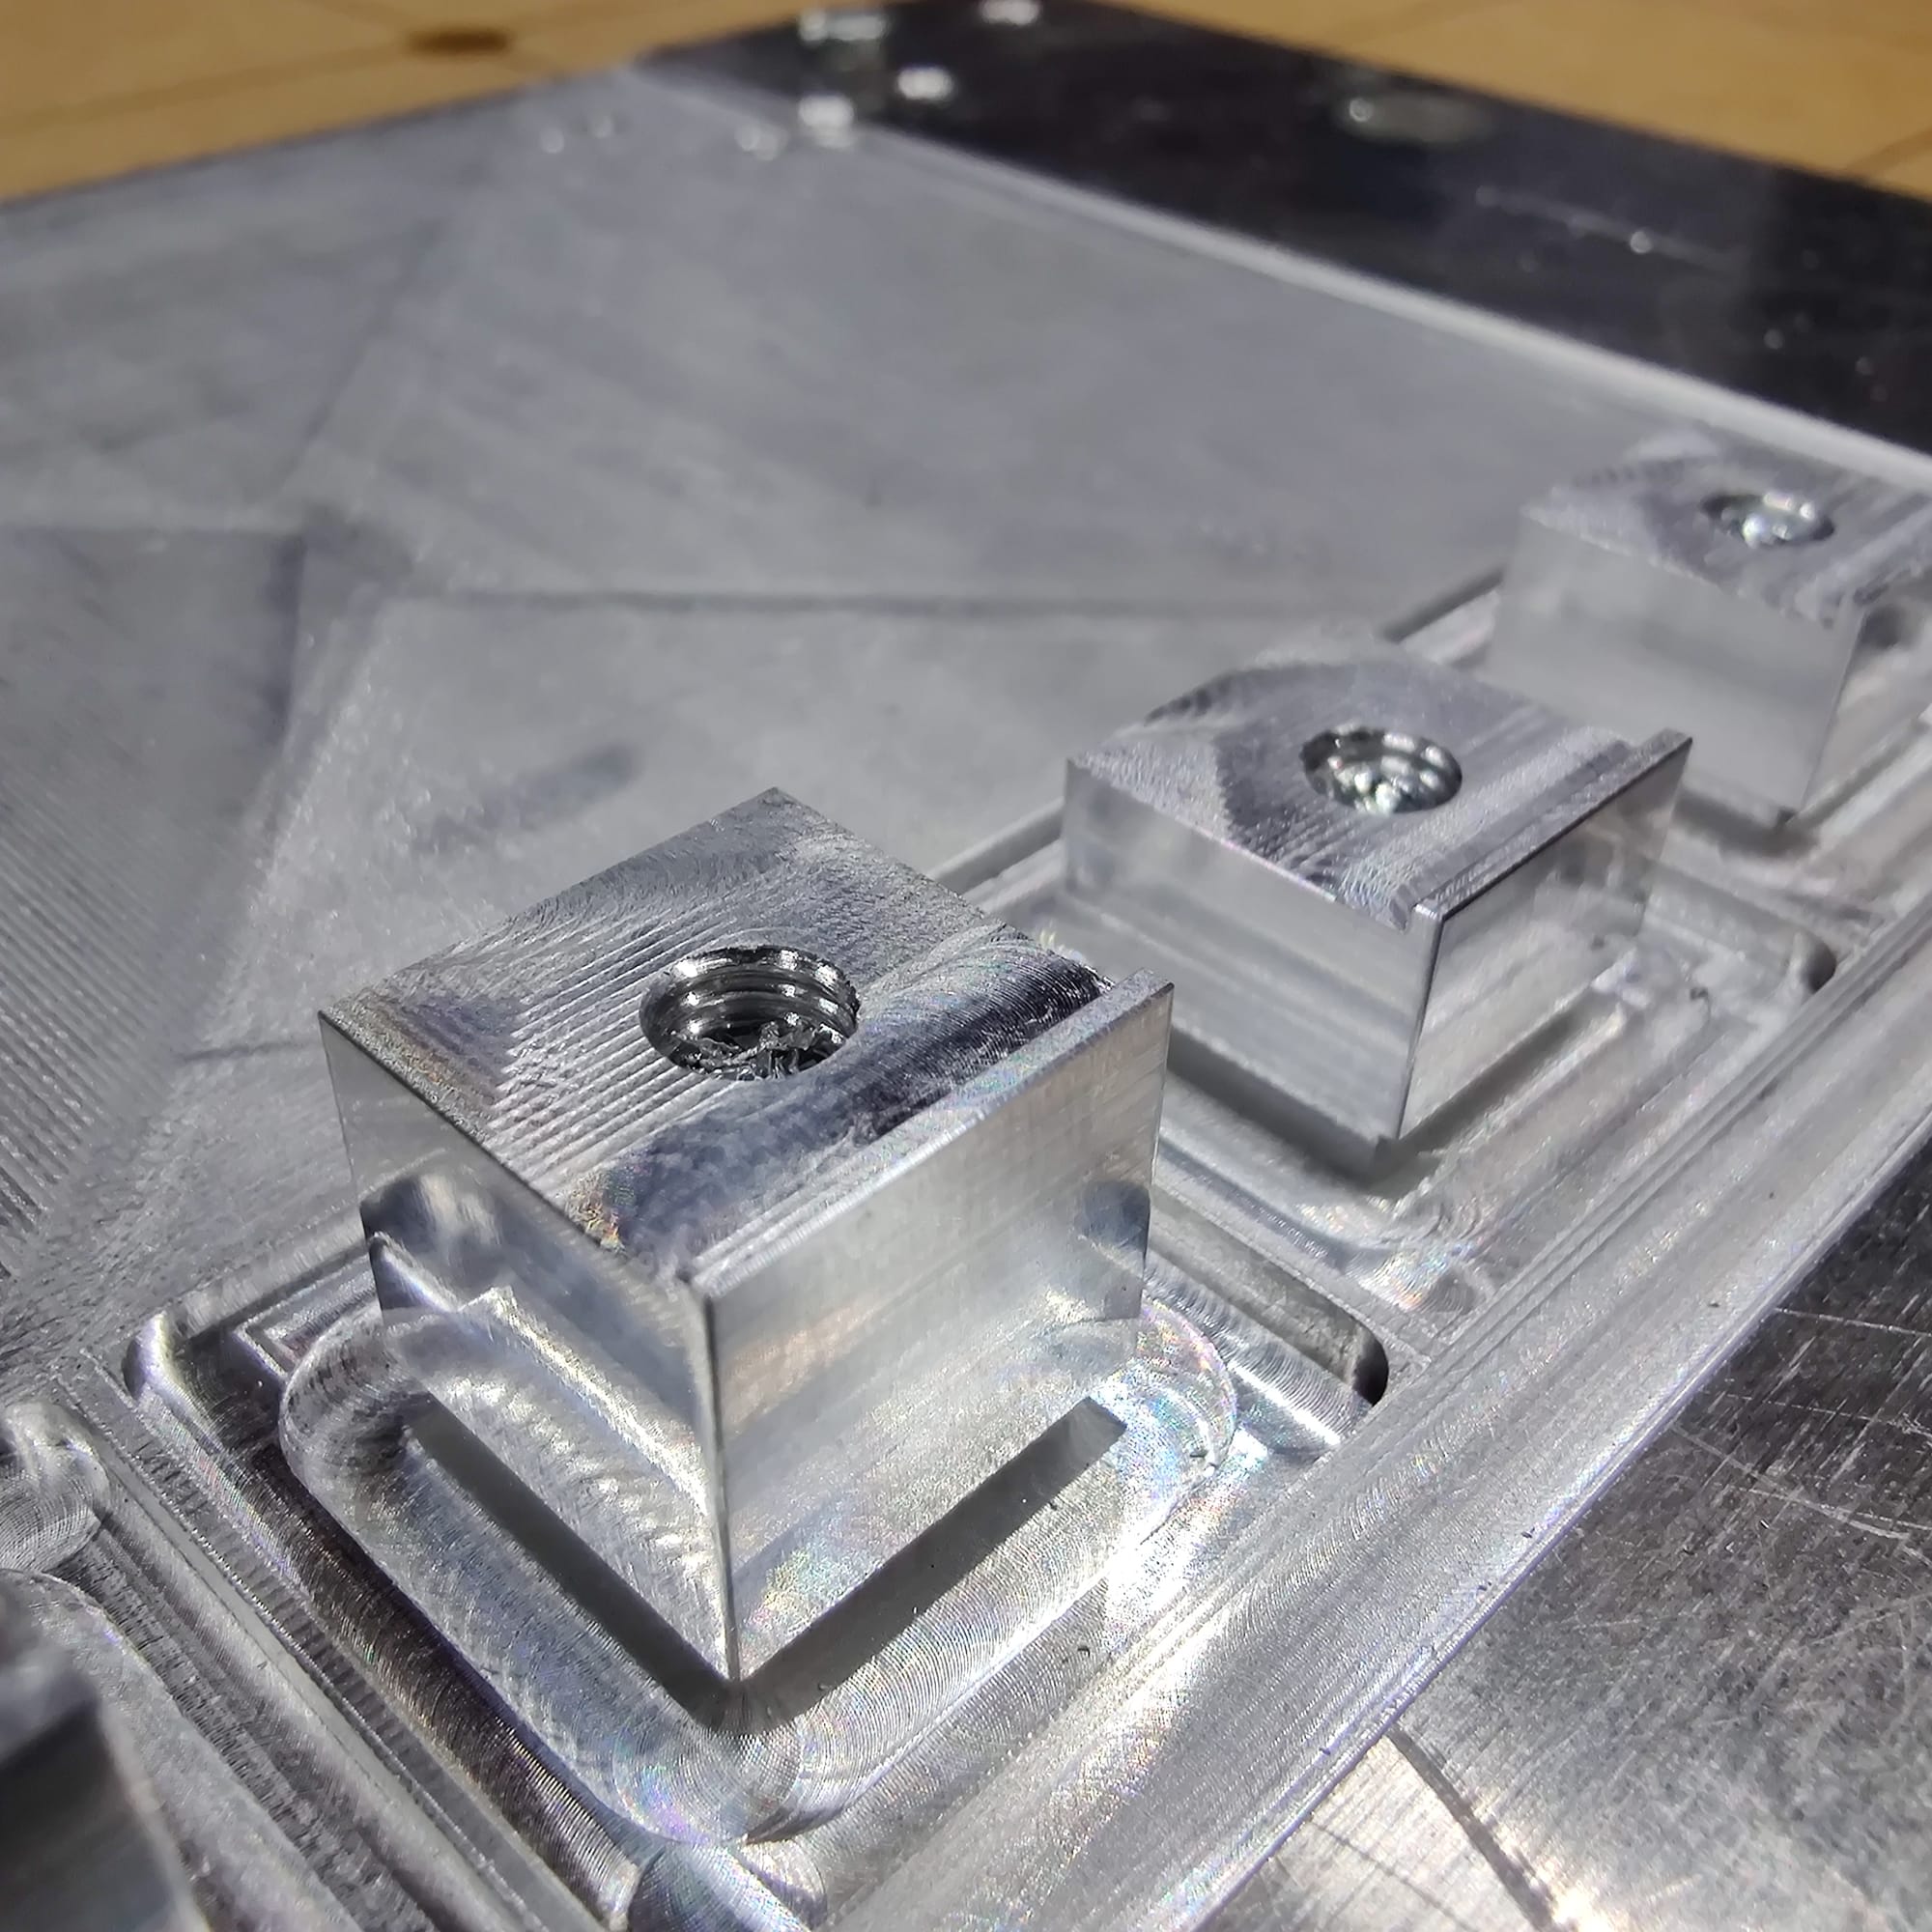
3D-Scan done by Westcam - sister company of my employer - to verify my testblocks for accuracy (millimeters)
Limitations to Be Aware Of
While powerful for its class, the Artisan is not an industrial milling center. These are the key limitations to respect — or work around intelligently:
Open-loop stepper motors
There is no position feedback, so any missed steps (e.g. from too high cutting forces) will result in dimensional errors. Staying within conservative feeds and engagement depths is key.
Limited spindle power (200 W)
Although the RPM is high, the torque is limited. This means:
- You must use low radial and axial engagements
- The tool should remain sharp to avoid overloading the motor
- Cutting strategies should emphasize chip thinning and even engagement
Hint:
Open-loop motors don’t track their position. If your tool pushes too hard, the motor might slip without the machine realizing it — this is why gentle settings matter.
Axial depth = how deep the tool cuts downward
Radial engagement = how much of the tool width is cutting sideways
No coolant support by default
Dry cutting is mandatory unless you develop a custom cooling setup - which I doubt is feasible (at least for liquid based options)
This increases heat buildup, especially during longer operations or deep pockets — and requires material, tool, and feedrate choices that minimize thermal stress.
Hint:
Most industrial CNCs use liquid coolant, but the Artisan doesn’t. That’s okay — if you choose the right material and tool, dry cutting works fine.
Workholding options are basic
The stock MDF spoilboard and included clamps can handle many use cases reasonably well — especially for single-sided operations. For early testing and one-off parts, they’re often good enough, and many users have had success with them including myself. I have them often in use.
However, there are a few important limitations to be aware of when working with aluminum:
- The MDF spoilboard is not trammed perfectly flat relative to the spindle by default.
While this isn't a major issue when milling soft materials like wood, it becomes a serious limitation for aluminum. Even a slight tilt across the bed can result in one side of the part being cut significantly deeper, which can lead to:- Overloaded cutting conditions
- Poor surface finish
- Inaccurate geometry
- Missed steps or tool wear
- Repeatability and precision are limited.
Without custom fixturing or a machined reference surface, it's difficult to guarantee that the part sits perfectly flat or square — which is critical for multi-step operations or rework.
For reliable and repeatable aluminum milling, especially beyond simple operations, a dedicated fixturing solution is highly recommended. I have kept it so far pretty simple by applying a combination of:
- A machined aluminum subplate or fixture plate
- Precision pins for alignment
Hint:
Spoilboard
The flat surface you mount your workpiece on — usually made of wood (like MDF) so it can be cut into without damaging your machine.
Clamps
Hardware used to hold the material in place while cutting. Stock clamps come with the machine but may not be ideal for all situations.
Trammed / Tramming
Making sure the spoilboard surface is perfectly parallel to the spindle (and tool). If it’s not, your cutting depth can vary across the part.
Single-sided operation
Cutting on just one side of the part — simpler than flipping or repositioning the material for multi-sided machining.
Repeatability
The ability to run the same job multiple times and get the same result — depends on precise alignment and secure holding.
Subplate / Fixture plate
A rigid, flat plate (often made of metal) that replaces (or in our case will be mounted on the spoilboard) the spoilboard and offers precise mounting points or threaded holes for custom fixtures.
Summary & Mindset
The Artisan isn’t about brute force — it’s about precision, finesse, and smart strategy. When used within its real limits and paired with the right material and tool, it can absolutely produce functional aluminum parts with a surface finish that rivals professional machines.
You’ll just need to:
- Keep chip load low
- Prioritize stability in workholding and programming
- Accept that investing effort in setup and programming pays off later
"Understand the rules and boundaries — then work within them cleverly."
Thanks for making it through this less glamorous, but absolutely essential, part of the journey. The fun stuff builds on this foundation.
— Michael Winkler, your fellow Snapmaker Artisan user