HueForge 3D Printing: The Ultimate Guide to Filament Painting
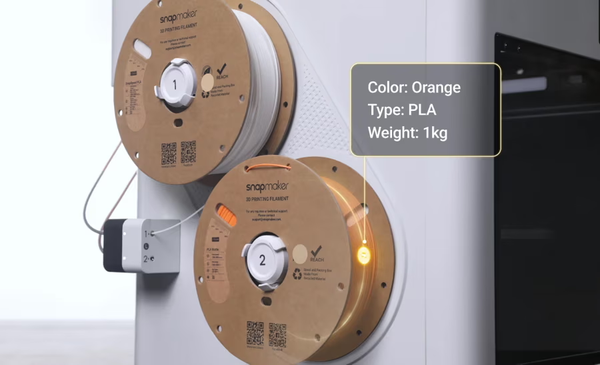
Multi-color 3D printing is no longer a futuristic concept—machines like the Snapmaker U1 have made printing with four independent materials a standard reality. Yet, most multi-color prints are still limited to solid, distinct blocks of color placed side-by-side.
HueForge evolves this capability by introducing "Filament Painting."
Instead of just switching colors, this technique leverages the translucency of plastic to blend layers directly on the print bed. By stacking thin layers of material, you can turn a standard 4-color setup into a palette capable of producing photo-realistic images and complex shading.
Whether you are a beginner navigating the learning curve or an experienced maker looking to print complex multi-color flexible parts, this guide covers the essential workflow, the critical settings, and the hardware optimized for this technique.
What is HueForge 3D Printing?
A common misconception is that HueForge functions as a "Slicer." It does not.
HueForge is a specialized design software that generates a unique STL file. After importing an image, the software uses the Transmission Distance (TD) of your filaments to calculate how much light filters through each layer. It then generates a 3D model where the specific order and thickness of these stacked layers create the desired colors.
The Concept: Blending Colors with Layers
This process is similar to traditional painting, but it uses layers of plastic instead of pigment.
- Standard 3D Printing: Places distinct colors side-by-side (e.g., a red block next to a white block).
- HueForge Filament Painting: Layers a thin sheet of one color over another. For example, a thin layer of Red over a White base allows the white to shine through, creating Pink.
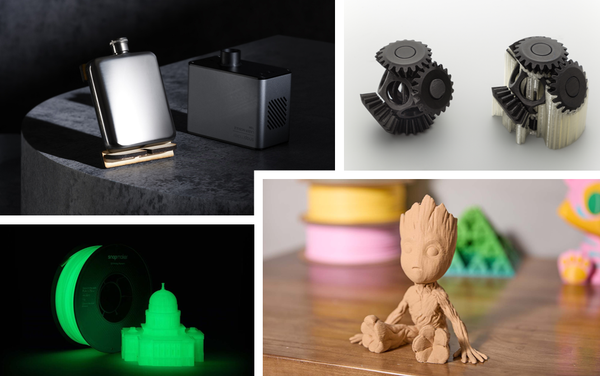
By stacking different colors at varying thicknesses, users can produce images with significant depth and detail using only a few spools of filament.
The Critical Metric: Transmission Distance (TD)
The most important factor in achieving a successful print is Transmission Distance (TD). Understanding this metric is essential for predictable results.
What is Transmission Distance?
TD measures the depth of light penetration into a filament before it becomes opaque.
- High TD (e.g., 5.0+): Highly translucent material. It requires multiple layers to cover the color beneath it, making it ideal for smooth gradients.
- Low TD (e.g., 0.5): Highly opaque material. One or two layers will completely block the underlying color, which is useful for high-contrast outlines.
Note: You cannot determine TD simply by looking at a spool. A generic "White" filament from one manufacturer may have a different TD than another. To ensure your print matches the software preview, you must use the library values provided in HueForge or measure the filament yourself.
Step-by-Step HueForge Workflow
The process follows a logical progression from software setup to final physical print.
1. HueForge Software Settings
The workflow begins by importing an image. The interface features "Sliders" that represent filament swaps. By adjusting these sliders, you dictate when the printer should switch colors—for example, switching to White at layer 25. The software then generates the geometry needed to ensure layer 25 achieves the correct tonal value.
2. Slicing for Filament Painting
Once the STL is exported, it requires specific slicer settings to print correctly:
- Layer Height: Typically 0.08mm. For ultra-high detail, some advanced users utilize 0.04mm.
- Infill: 100%. The print must be solid to ensure consistent light transmission.
- Supports: Disabled.
Pro Tip: By default, the U1 profile locks the minimum layer height at 0.08mm. To print at 0.04mm, you must go to Printer Settings > Extruder 1/2/3/4 and manually change the "Min Layer Height" value to 0.04mm.
3. Managing Filament Swaps
If a design calls for four colors, the printer must transition between them repeatedly. How this happens depends on your hardware's switching mechanism:
- Manual Swapping: On basic single-extruder printers, you must use a "Pause at Height" command. The printer stops, and you must physically unload the old spool and reload the new one. This requires constant human supervision.
- Shared-Nozzle Switching (AMS/MMU): These systems automate the process by feeding multiple filaments into one nozzle. While hands-off, the printer must cut, retract, and purge (waste) plastic to clear the nozzle before every color change.
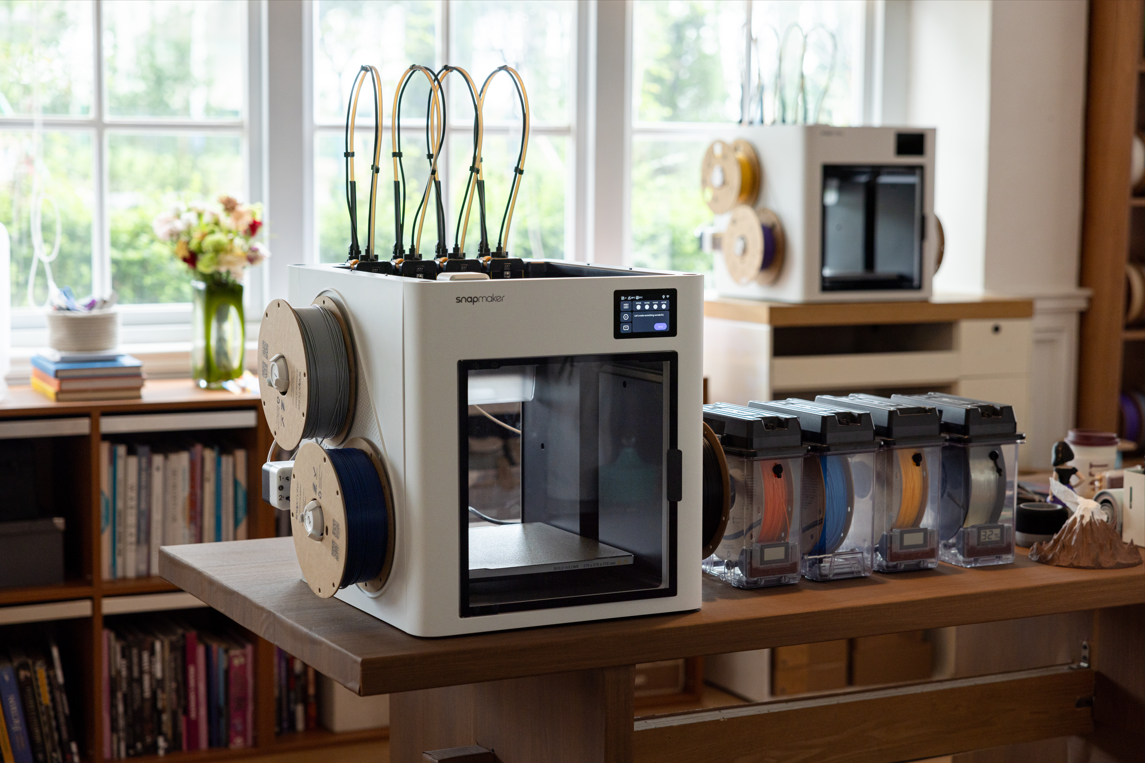
- Dedicated-Nozzle Switching (Snapmaker U1): The printer uses independent toolheads for each color. Since all four materials are loaded into their own separate nozzles, the machine simply switches the active head. This is fully automated, instant, and creates zero purge waste.
Optimizing Hardware for HueForge: Reducing Waste
While HueForge can be printed on almost any machine, specialized hardware can significantly improve efficiency and expand material possibilities.
Solving the Waste Problem with Independent Toolheads
For users who print frequently, the primary drawback of multi-color printing is material waste. Single-nozzle systems must purge filament every time they switch colors to prevent bleeding.
- The Solution: Printers with independent toolheads, such as the Snapmaker U1, eliminate this issue.
- How It Works: Because the machine uses separate print heads for each color, it switches active heads rather than purging a single nozzle. This results in near-zero waste and reliable automated printing with flexible filaments—like TPU. In single-nozzle systems, the frequent retraction of soft materials often requires manual intervention to prevent loading failures, whereas independent toolheads keep the filament loaded and ready to print.
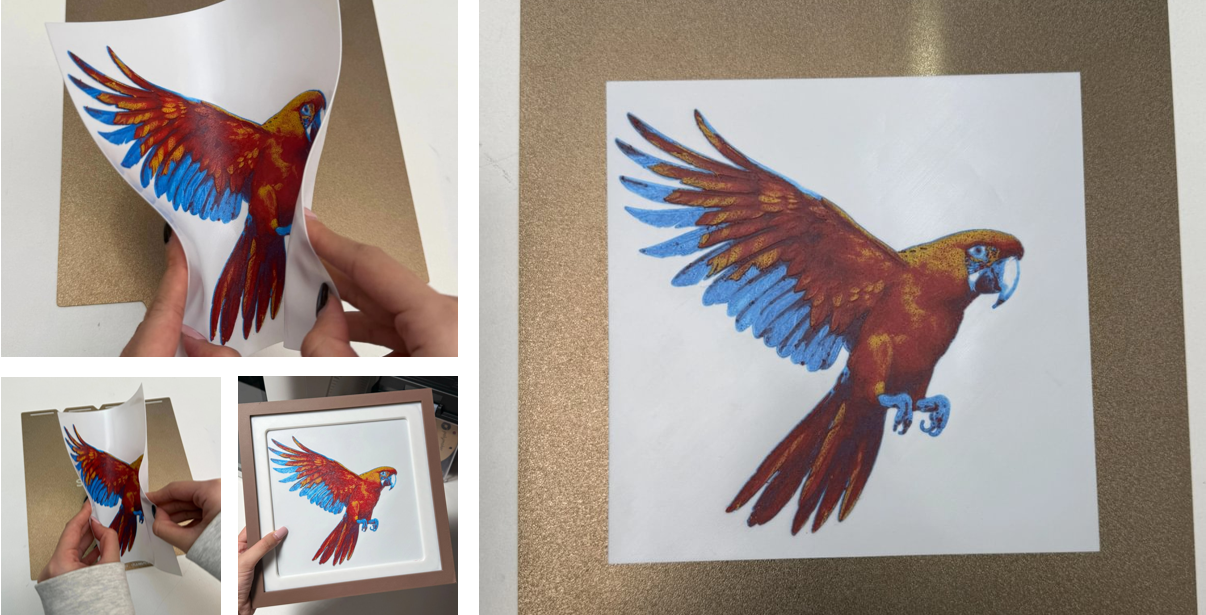
Showcase: Printing Flexible HueForge with TPU
One of the most challenging applications of filament painting is using TPU (Flexible filament). Creating detailed, multi-color flexible parts is often impossible on standard multi-material systems because the soft filament tends to jam during retraction.
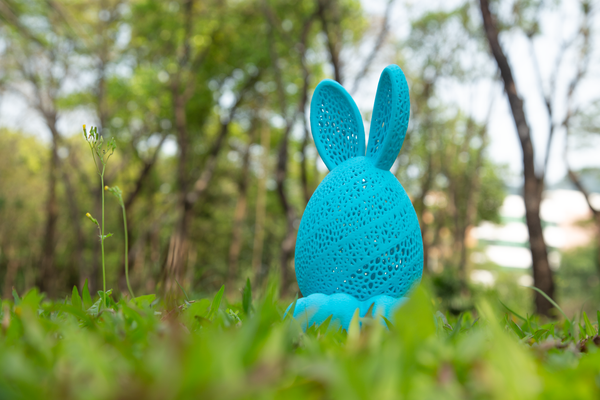
To demonstrate the capabilities of independent toolheads, we tested a Textured Printed Parrot model using flexible materials.
The Setup
- Hardware: Snapmaker U1 (using 4 independent toolheads).
- Preparation: We utilized the SnapDryer to dry the filament. This step is critical; wet TPU strings heavily, which can ruin the clean lines needed for HueForge. If you don't have a SnapDryer, you can use an oven to dry the filament instead.
- Materials: A combination of Standard 95A TPU (White/Red/Yellow) and Silk TPU (Blue).
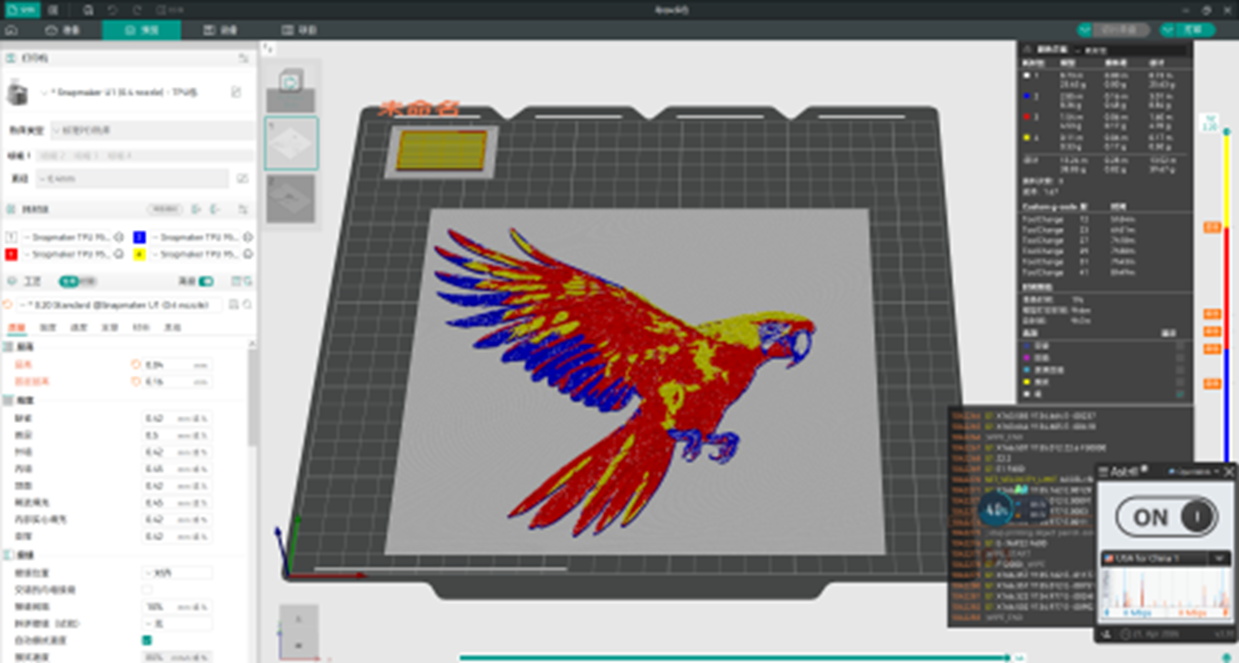
The Print Process
We adjusted the settings for maximum resolution:
- Layer Height: 0.04mm (While the default printer profile is 0.2mm, we reduced this significantly to achieve ultra-fine resolution and smoother color transitions).
- Speed: 165mm/s (Infill/Walls) with 10,000mm/s² acceleration.
- Waste Produced: 0.82g. Because the printer did not need to purge material between the three filament changes, the only waste was a small prime tower.
The Result
After 9 hours and 7 minutes, the print was complete.
- Tactile Feel: Unlike rigid PLA, this print creates a soft, pliable surface. The flexibility makes it perfect for patches, clothing accessories, or wearable art that needs to conform to movement without being stiff or scratchy.
- Visual Depth: The combination of Silk Blue TPU with standard matte TPU created a unique texture and depth.
- Efficiency: The total material used was 39.67g. On a single-nozzle system, the purge waste alone could have equaled or exceeded the weight of the actual print.
Is HueForge Worth It? Pros, Cons & Licensing
Before diving into filament painting, it is important to weigh the effort against the potential reward, especially if you plan to make money with your 3D printer.
The Learning Curve: Artistry vs. Automation
Unlike simple "photo-to-print" tools that offer instant gratification, HueForge is a true artistic instrument. It requires a learning curve.
- It Requires Artistic Vision: You cannot simply drag and drop any photo and expect a perfect result. You must understand how to select images with the right contrast and how to manipulate lighting values.
- The Recommended Path: We strongly suggest starting by printing built-in examples or verified models from the community. Once you understand the logic of how layers blend, you can begin creating your own designs. Mastery depends on practice, but the level of artistic control you gain is unmatched.
Can You Sell HueForge Prints?
Many makers look to sell their creations, but the licensing landscape can be confusing.
- Personal vs. Commercial Use: HueForge offers different license tiers. The "Personal" license is for hobbyist use, while the "Commercial" license grants you the right to sell physical prints generated using the software.
- Crucial Warning: The HueForge license only covers the software tool, not the image you import into it.
- Example: Even if you have a Commercial HueForge license, you cannot legally sell a print of a Disney character or a copyrighted logo unless you have specific permission from the copyright holder. Always ensure you have the rights to the source image before listing an item for sale.
Final Words
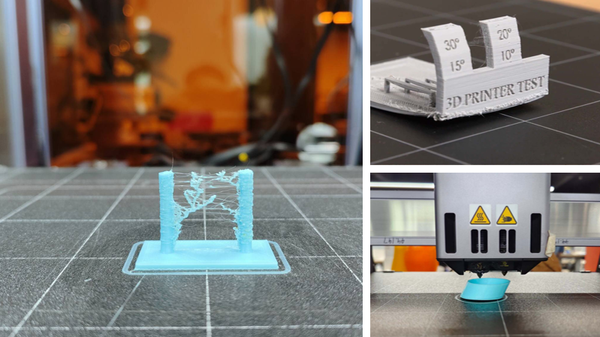
To begin your journey with filament painting, download a "test swatch" model to calibrate your filament's Transmission Distance. If you plan to print frequently or wish to experiment with advanced materials like TPU, consider evaluating your hardware setup to ensure it can handle the demands of multi-color printing efficiently.
FAQ: Common HueForge Questions
Is the HueForge software free?
HueForge is generally a paid software. While free alternatives exist, HueForge is widely considered the industry standard due to its extensive library of filament Transmission Distance (TD) values, which helps ensure predictable results.
Can I mix different filament types in one print?
Yes, provided you are aware of their properties. As demonstrated in the TPU showcase, users can mix different finishes (like Silk and Matte) to achieve unique visual effects. However, be cautious when mixing chemically different materials (like PLA and PETG), as they may not adhere well to each other. Since HueForge prints are often thin, poor layer adhesion can cause the print to delaminate.
What is the optimal layer height for HueForge?
0.08mm is the typical recommendation for most PLA prints. However, resolution is also defined by your nozzle diameter. While a standard 0.4mm nozzle works well for most art, it may limit the X/Y (horizontal) detail. Reducing the layer height to 0.04mm helps with Z-axis color blending, but for sharper horizontal details, a smaller nozzle (like 0.2mm) would technically be superior if your hardware supports it.