Get Inspired: How to Succeed with Articulated 3D Prints

There’s a special kind of magic in 3D printing—watching an object appear out of thin air. But the real satisfaction comes when you pull a model off the print bed and it moves, wiggles, and flexes right in your hands, with no assembly required.
These "print-in-place" models, from charming desk toys to legendary creatures, have become incredibly popular in the 3D printing community. While these prints are amazing, they can be tricky to get right. This guide will showcase some incredible articulated models and then provide the essential tips you need to ensure your prints come out perfectly.
How They Work: The Basics of Print-in-Place Design
A print-in-place mechanism is a clever design where interlocking parts, like the links in a chain, are printed all at once. The design includes tiny, precise gaps between the parts, allowing them to function as joints without ever needing to be assembled.
For these tiny gaps to work, your 3D printer must be incredibly accurate. If the printer isn't perfectly calibrated, the gaps will either be too large, creating loose, floppy joints, or too small, causing the joints to fuse together into a solid block.
Showcase: Inspiring Articulated 3D Prints
The Legendary 3D Printed Articulated Dragon
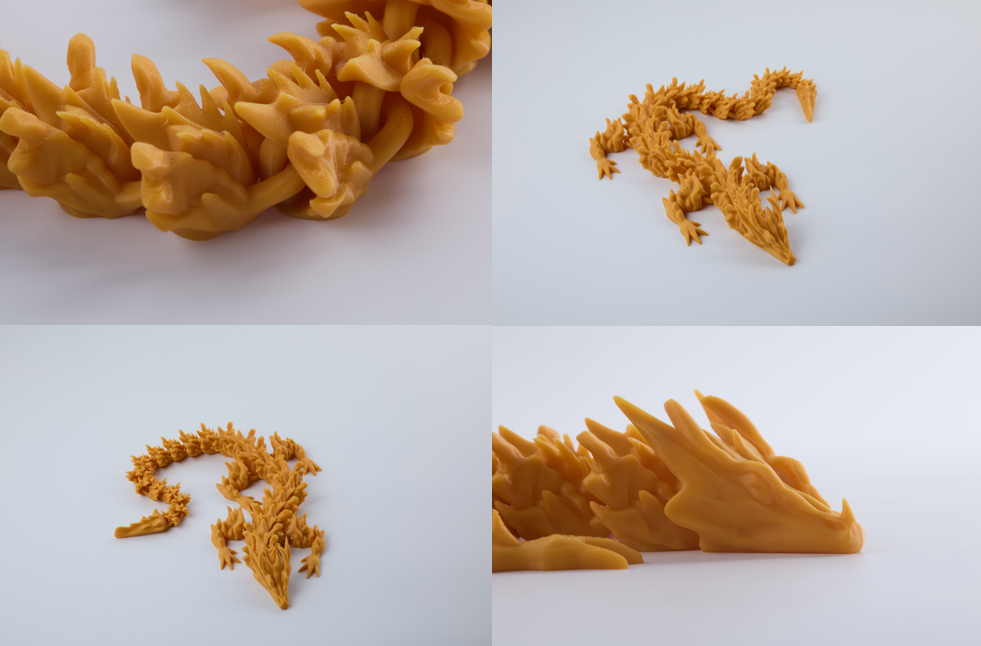
The articulated dragon is the star of the show and one of the most popular types of articulated prints. Its intricate design features dozens of individual links that allow it to flow and move like a mythical creature, making it a perfect blend of art and engineering.
The Functional & Efficient Cyber Crab
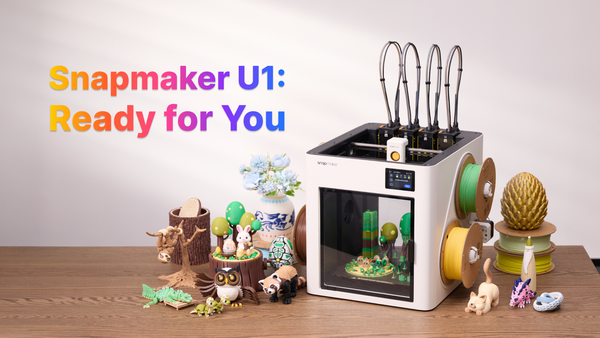
This Cyber Crab by @flexifactory is a perfect example of a complex, functional object printed with zero assembly. It comes right off the print bed with its legs and claws moving freely. What makes this print truly next-level is the use of multiple colors, which adds incredible detail and personality without any painting. This was achieved on the Snapmaker U1, a printer capable of both complex articulation and seamless color changes.
Key Print Settings:
- Print Time: 13h
- Filament: Snapmaker SnapSpeed PLA (191.09g)
- Layer Height: 0.2mm
- Infill: 5% Grid
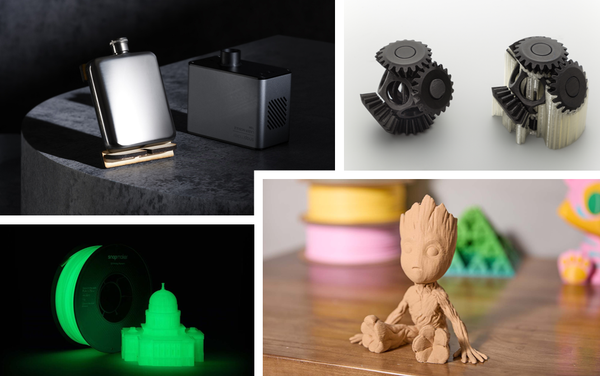
The Fun & Luminous Crab Keychain
Designed by ilya91, this cute and movable crab keychain shows that articulated prints can be both practical and magical. Printed in just over 7 hours, its main feature is that it's printed with glow-in-the-dark filament, adding a whole new layer of fun to the classic articulated fidget toy.
Key Print Settings:
- Print Time: 7h 3m
- Filament Used: 126.28g
- Layer Height: 0.2mm
- Infill: 8% Grid
Your Guide to Printing Perfect Articulated 3D Models
The key to a successful articulated print is preventing the joints from fusing together while ensuring the model sticks to the bed. These four tips will help.
A Perfect First Layer is Everything
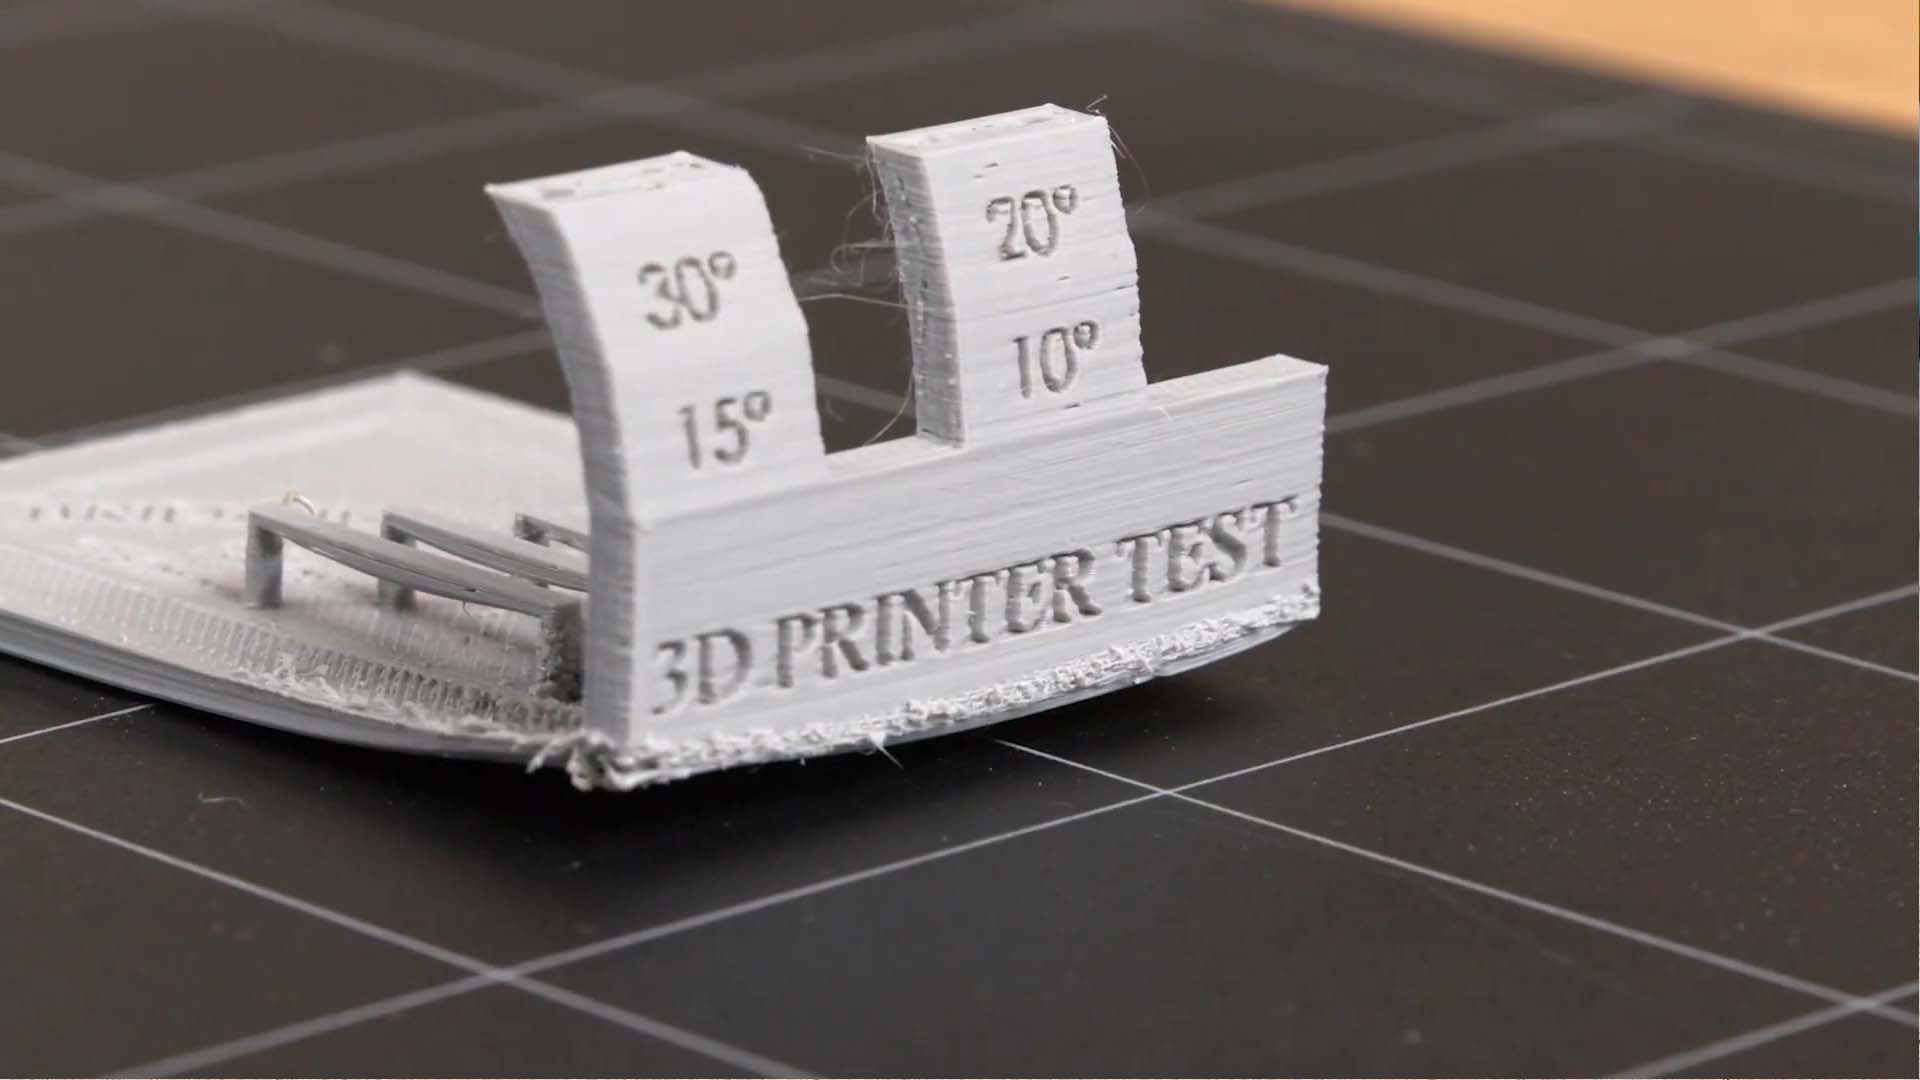
For articulated prints, a perfect first layer is critical. If your nozzle is too close to the bed, the joints will fuse; if it's too far, the small, individual parts of the joints will pop off mid-print. Always start with a clean build surface and take the time to precisely verify your Z-offset.
Dial in Your Extrusion
Over-extrusion is the number one enemy of free-moving joints. If your printer pushes out even slightly too much plastic, it will fill the tiny gaps in the design and fuse the model solid. To avoid this, it's essential to calibrate your Flow Rate.
Maximize Your Cooling
Strong part cooling is critical for solidifying the small overhangs and bridges that form the joints. This prevents them from drooping and fusing with the layer below. After your first few layers are down, make sure your part cooling fans are running at 100%.
Tune Your Retraction Settings
Articulated models require the printer to make thousands of small movements between different sections. Stringing—thin wisps of plastic left behind—can clog up the joints and prevent them from moving freely. Printing a retraction tower to dial in the perfect settings for your filament will ensure your joints are clean and mobile.
Behind the Design: An Interview with an Articulated Dragon Designer
To understand the creativity behind these models, we spoke with the renowned designer Javier Rodriguez. In our exclusive interview, he shares the story behind his famous Articulated Dragon, his design process, and his experience with 3D printing.

You're Ready to Print
Articulated prints, especially the wildly popular dragons, are one of the most rewarding things you can create with a 3D printer. With a perfectly calibrated machine and the right settings—especially a flawless first layer and dialed-in extrusion and cooling—anyone can successfully create these amazing moving models.
What will you bring to life first? Check out some more 3D printing ideas for beginners, start a print!