Guide to 3D Printing Infill: Get Stronger, Faster Prints
Ever 3D printed something that looked perfect, only for it to snap with the slightest pressure? Or have you waited 18 hours for a simple model that didn't need to be solid rock? We've all been there.
The secret to fixing these common problems lies in mastering one of the most powerful settings in your slicer: Infill. Think of infill as the inner skeleton of your print. Getting it right is the key to balancing strength, print time, and filament cost.
This guide will give you the practical knowledge and tips to stop guessing and start making smart decisions about infill on your Snapmaker printer. Let's dive in.
The #1 Tip for Stronger Prints
If you remember only one thing from this guide, make it this: for most prints, adding more walls (perimeters) is a much better way to add strength than cranking up your infill percentage.
It sounds counterintuitive, but it’s a total game-changer. Here’s a simple way to think about it: Think of a steel I-beam used in construction. The top and bottom plates are what give it most of its strength to resist bending. The thin middle section just holds them together.
Your 3D print works the same way:
- The Walls (Perimeters) are the strong part. They are the outer shell and do most of the work when the part is stressed.
- The Infill is the support. Its main job is to support the top layers of your print and keep the walls from collapsing inward.

Pro-Tip: The default wall setting in most slicers is 2. For your next functional print, try bumping it up to 3 or 4 walls before you even think about touching the infill. You’ll get a surprisingly strong, lightweight part that prints faster than if you had used a high infill percentage.
How Much Infill Should You Actually Use?
Now that we’ve beefed up our walls, let's talk about how much infill you really need. It all comes down to what you’re making.

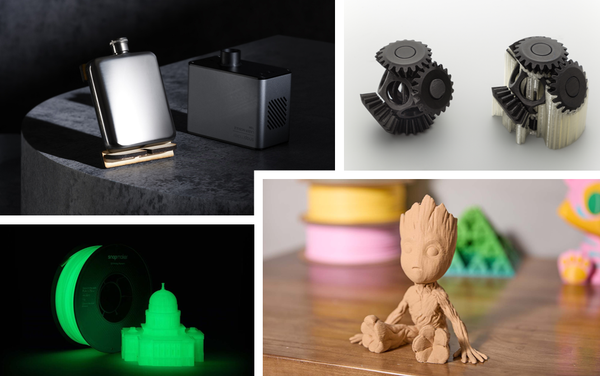
- 10-20% Infill (For Looks): Perfect for figurines, display models, and prototypes. This gives you just enough internal structure to support the top surfaces, saves a ton of filament, and prints super fast.
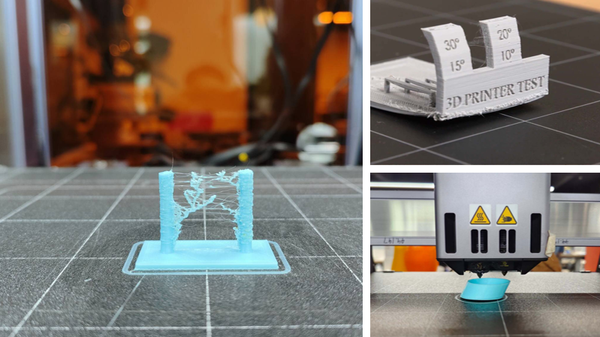
- 20-40% Infill (For Everyday Use): This is the sweet spot for most functional items like brackets, enclosures, and jigs. It provides great, balanced strength for everyday tasks without taking forever to print.
- 50%+ Infill (For Heavy-Duty Parts): You only need to go this high for parts that will be under serious, specific stress. But remember the #1 Tip—add more walls first!
Infill Patterns: Match the Infill to the Job
Choosing a pattern isn't just about looks; it dramatically changes your print's behavior. Think of it as choosing the right tool for the job.
Here are the most useful patterns you’ll find in Snapmaker Luban and other slicers:
Printing Something Fast That Just Looks Good
- Best Pattern: Lines or Lightning
- Lines is the fastest traditional pattern. Lightning is even faster—it's a "smart" pattern that only adds support where your top layers need it, leaving most of the model hollow. It’s a massive time and filament saver for things like busts and figurines.
A Standard, All-Purpose Part
- Best Pattern: Grid or Cubic
- Grid is a simple, reliable 2D pattern that's strong in two directions. Cubic builds a 3D structure of stacked, tilted cubes, giving you good, uniform strength from all sides. Both are excellent default choices.
A Super-Strong Part That Can Take a Beating
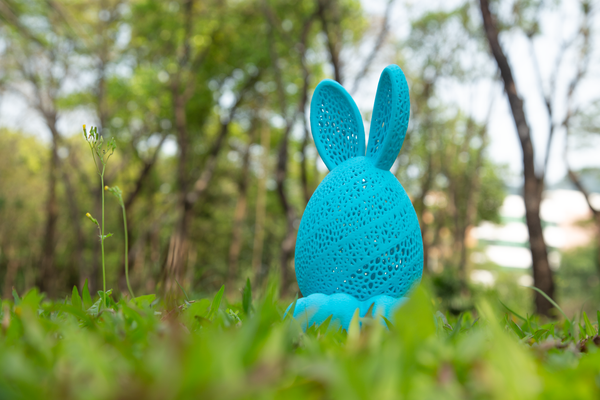
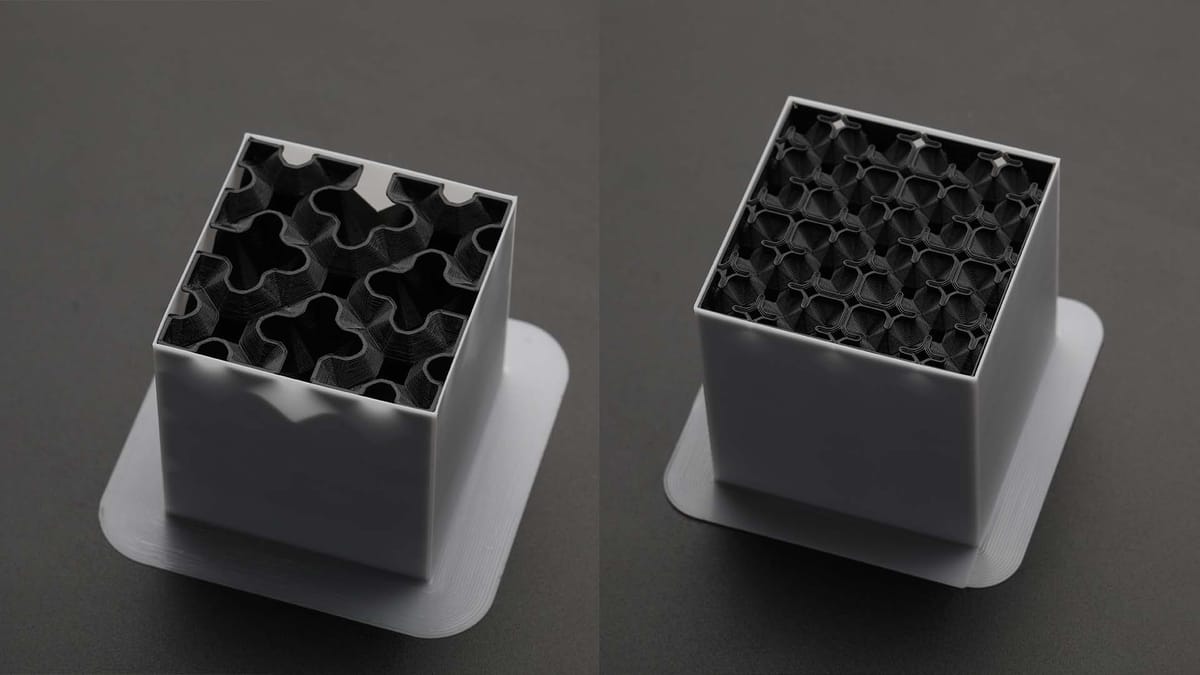
- Best Pattern: Gyroid
- This is a fan-favorite for a reason. Gyroid is a beautiful, wave-like 3D pattern that is one of the best for all-around strength. It handles stress from any direction and prints with a smooth motion that's fast and quiet on a rigid machine like the Snapmaker Artisan.

The Pro Move: Match Your Infill to the Kind of Stress
Ready to level up? The ultimate secret to functional prints is knowing that there’s no single "strongest" infill. The smartest infill is one that matches the type of stress your part will face.
Will your part be PULLED APART or HIT? Use Concentric. This pattern follows the outline of your walls. It's fantastic at handling pulling forces and can absorb shock from an impact better than other patterns.
Will your part be CRUSHED or SQUASHED? Use Grid or Triangles. These patterns create a stable internal grid that is great at resisting pressure from above, preventing the part from being crushed.
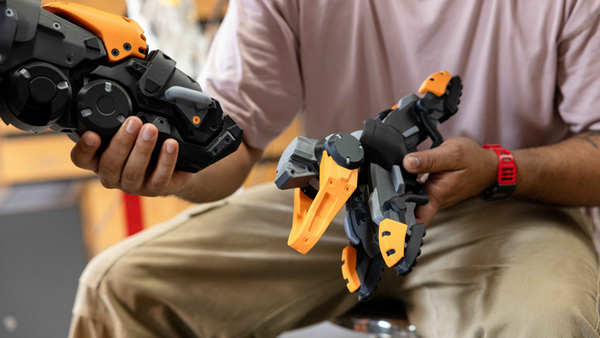
Will your part be TWISTED or experience forces from ALL directions? Use Gyroid or Cubic. This is where a true 3D pattern shines. For something like a drone arm or a robotic part, you need strength in every direction. Gyroid is the top choice here.
Your Quick-Reference Cheat Sheet
Feeling overwhelmed? Don't be. Just use this simple cheat sheet for your next print.
Time to Start Printing
You now have the practical knowledge to make smarter decisions about infill. The best way to learn is to try it for yourself.
So, for your next project, remember these key takeaways:
- More Walls First: It’s the most efficient path to a stronger print.
- Match the Pattern to the Job: Use Lightning for speed, Grid for general use, and Gyroid for strength.
- Don’t Overdo It: A 25% infill with 3 walls is a fantastic starting point for almost anything.