What Is the Fastest Infill Pattern?
Have you ever waited half a day for a simple print? Just watching the hours tick down on the screen, hoping it’ll finish before midnight. Yeah, it’s painful. The truth is, print time isn’t only about speed settings. The infill pattern you choose makes or breaks that clock. Some patterns pack too much plastic inside; others fly through like lightning.
This blog walks you through what infill actually does, how walls beat density, what is the fastest infill pattern, and how to pair that choice with your filament. By the end, you’ll know exactly what to tweak before the next long print queue eats your weekend.
What is an Infill Pattern in 3D Printing?
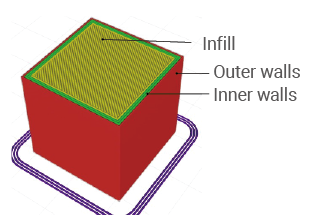
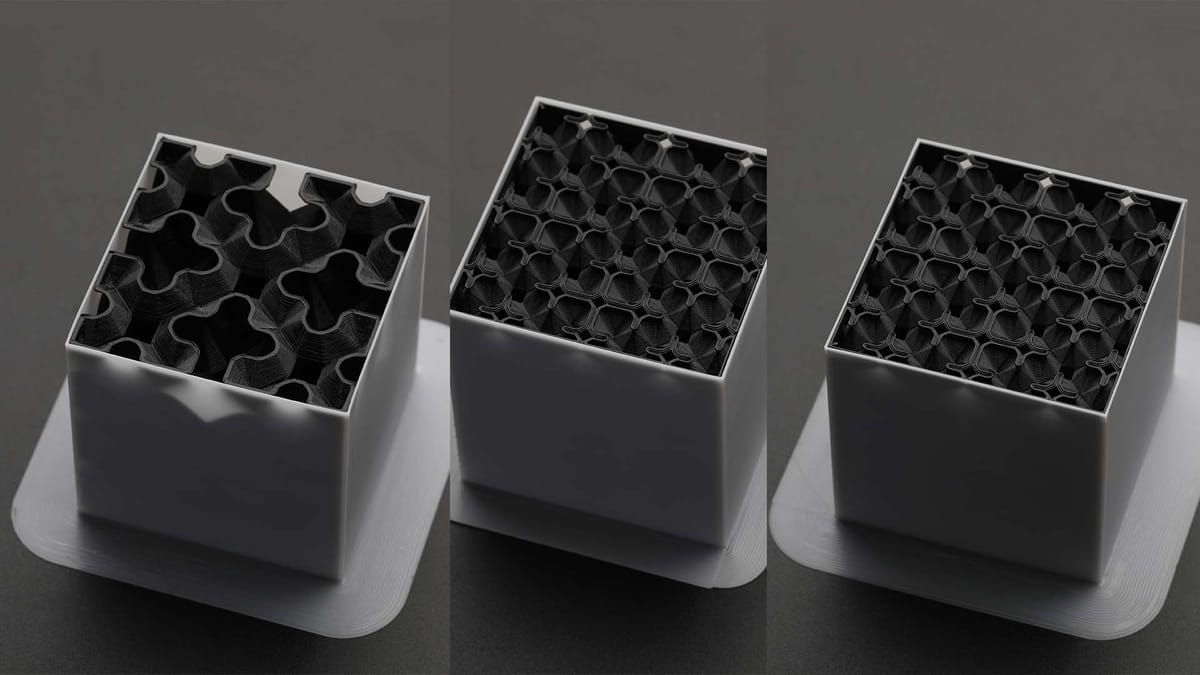
Inside every 3D print sits a hidden structure, the infill. Think of it as the skeleton under the shell. It holds the top layers so they don’t dip or cave in, and it adds a bit of strength without wasting filament.
Infill runs as a lattice, a web of lines or cubes or weird shapes that fill the empty space. You can choose how solid it feels by setting a percentage. Zero per cent means hollow, one hundred per cent means solid brick (and probably an all-nighter). Most prints live somewhere in between.
It’s one of those small settings that feels harmless until you change it and suddenly cut your print time in half.
The Foundational Principle: Walls Over Density (The Time-Saving Secret)
Here’s the thing most folks miss: walls do more than infill ever can. You could crank the infill to 80% and still have weak sides if your walls are thin. But bump the perimeter count from two to four? Whole new world.
Adding walls saves time and plastic while boosting the strength where it matters. The printer spends less time filling the inside and more time reinforcing the skin, the part that actually faces stress.
For most functional prints, aim for about 10% to 20% infill, but go heavier on walls. Three or four perimeters keep your model sturdy without wasting hours filling empty space. It’s counterintuitive, but once you test it, you’ll never go back.
Lightning Infill: The Absolute Fastest Infill
So, what’s the fastest infill pattern? Easy. Lightning Infill.
This one’s built purely for speed. It doesn’t even try to fill everything. Instead, it builds little support zones only under surfaces that need it. The rest stays hollow air. Because it skips most of the inner geometry, it can chop print time by half or more and save up to 90% of the material compared to a solid fill.
Lightning works great for figurines, decorative pieces, quick prototypes—anything that doesn’t take real pressure. It’s smart but lazy in the best way. Just don’t use it for a part that needs strength. It offers zero structural support. Think of it as scaffolding during construction—useful only until the job’s done.
Other Fast Infill Patterns (Speed with Utility)
Now, maybe you want some speed but still need strength. A few other infills keep things moving without turning your print into air.
Adaptive Cubic / Support Cubic
These adapt to what you’re printing. They pack more material near the walls and less in the centre. The result: tough edges, light core, solid compromise. Perfect for big parts where a uniform fill would waste filament.
Rectilinear (Lines / Zig Zag)
This one’s the classic. Straight lines, back and forth, no fancy angles. Because it barely changes direction, it runs fast. Great for parts that don’t take much stress. Downside: it’s weaker along one axis. So, use it for test prints, quick models, or stuff that’s just there to look good.
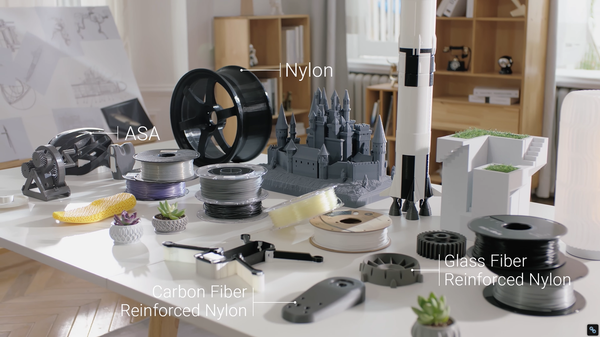
Filament Dictates Function: Speed for Different Materials
Here’s where it gets fun. The fastest pattern isn’t always the same for every filament.
- Rigid Filaments (PLA, ABS, PETG): For these common ones, the speed order stays steady. Lightning first, then Adaptive Cubic, then Lines. The difference lies in tool paths, not material chemistry. So, stick with that order when you chase shorter print times.
- Flexible Filaments (TPU/TPE): Different story here. When you print with soft stuff, flexibility wins. Concentric infill shines for this; it follows the outer shape with smooth loops that flex easily.
- Rationale: Cross or Cross 3D patterns also help. They move quickly, use little material, and keep parts bendy without stress points.
- Buoyancy and Aesthetics: Some folks pick Cubic not for speed but for how it traps air. With waterproof materials like PETG, those tiny pockets inside make the object float. So if you’re printing something like a buoy or a pool toy part, Cubic is your guy, functional, not fast, but fun.
Conclusion
The fastest infill pattern alone won’t save your prints. It’s a mix—a whole setup. Start with the wall count, then pick the right pattern tier. Lightning for quick drafts, Adaptive Cubic or Gyroid when you need strength, Concentric if you work with flexible filament.
Tweak layer height, play with acceleration, find the sweet spot. High-speed FFF printing isn’t just about shortcuts; it’s about smart trade-offs. Every project has a different balance between time, strength, and looks.
So go ahead, experiment. Next print, switch patterns, test wall counts, and see how your Snapmaker handles the change. Every try teaches something new. And the best part? You’ll spend less time waiting for that progress bar to crawl to 100%.