Best Glue for PLA: Guide to Bonding 3D Prints
Choosing the right glue for your 3D prints can be the difference between a successful project and a brittle one. Gluing PLA parts, in particular, requires the right adhesive and technique to ensure a strong, permanent connection.
This guide provides clear recommendations for the best glues for PLA and establishes the best practices for working with this common 3D printing material.
What Glue Works Best for PLA?
When working with PLA, selecting the right adhesive comes down to the specific requirements of your project. Here are the established top choices based on performance and application.
Best Overall: Cyanoacrylate (CA) Gel
For most PLA projects, a gel-type cyanoacrylate (CA), or super glue, is the most reliable and efficient choice. Formulations like Loctite Super Glue Gel Control are excellent examples. The gel's viscosity is a key advantage; it won't run down your print, offering superior control for precise application and even providing minor gap-filling capabilities.
- Pros: Strong bond, thick consistency for easy control, widely available.
- Cons: The bond can be brittle; the fast curing time leaves less room for error.
- Good to Know: CA glue can sometimes leave a white, chalky residue on a print called "frosting" or "blooming." This is caused by fumes curing in the air. To prevent this, always work in a well-ventilated area. Recommended reading: How to Set Up a Workshop.
Pro Tip: Speed Up Your Work with CA Activator
For large assemblies or to improve workflow, consider using a CA activator (or accelerator). It’s a spray that, when applied to a joint, cures the CA glue in seconds, eliminating the need to hold parts together while they set.
Best for Maximum Strength: Two-Part Epoxy
To answer the common question, "What is the strongest way to join 3D prints?", the clear winner for strength is a two-part epoxy. For functional parts that must withstand mechanical stress, its material properties create a more durable bond than any CA glue.
Epoxy works by mixing a resin and a hardener. This initiates a chemical reaction that results in an extremely tough, rigid bond that adheres perfectly to PLA. Once fully cured, epoxy can be easily sanded, drilled, and painted, making it the ideal choice for projects requiring a flawless, professional finish.
- Pros: Extremely strong and durable, excellent for filling gaps, can be post-processed.
- Cons: Requires mixing, can be messy to work with, and has a longer full curing time (often up to 24 hours).
A Note on Popular Brands: Does Gorilla Glue Work?
Yes, but choosing the right type is critical. Gorilla Super Glue Gel is a reliable choice that fits the "Best Overall" category.
However, the original expanding brown Gorilla Glue should be avoided for joining parts. Its polyurethane formula foams as it cures, which can push parts apart and create a weak, messy seam.
How to Glue 3D Prints Together
Before starting, remember we are discussing bonding adhesives. A glue stick is used exclusively for bed adhesion—to help prints stick to the build plate—and is not suitable for joining finished parts.

Once you have a proper bonding glue like a CA gel or epoxy, follow these steps.
Step 1: Prepare Your Surfaces
Proper surface preparation is the single most important factor for achieving maximum bond strength.
- Sand the surfaces you intend to join using 150-200 grit sandpaper. The goal is to scuff the surface and remove any sheen, creating a microscopic texture that the glue can mechanically lock into.
- Clean the surfaces with a lint-free cloth and Isopropyl Alcohol (IPA) to remove any sanding dust and oils from your fingers. Let it dry completely.
Step 2: Test the Fit
Always dry-fit your parts together before applying any glue. This ensures they align perfectly and reveals any small printing defects you may need to trim with a hobby knife.
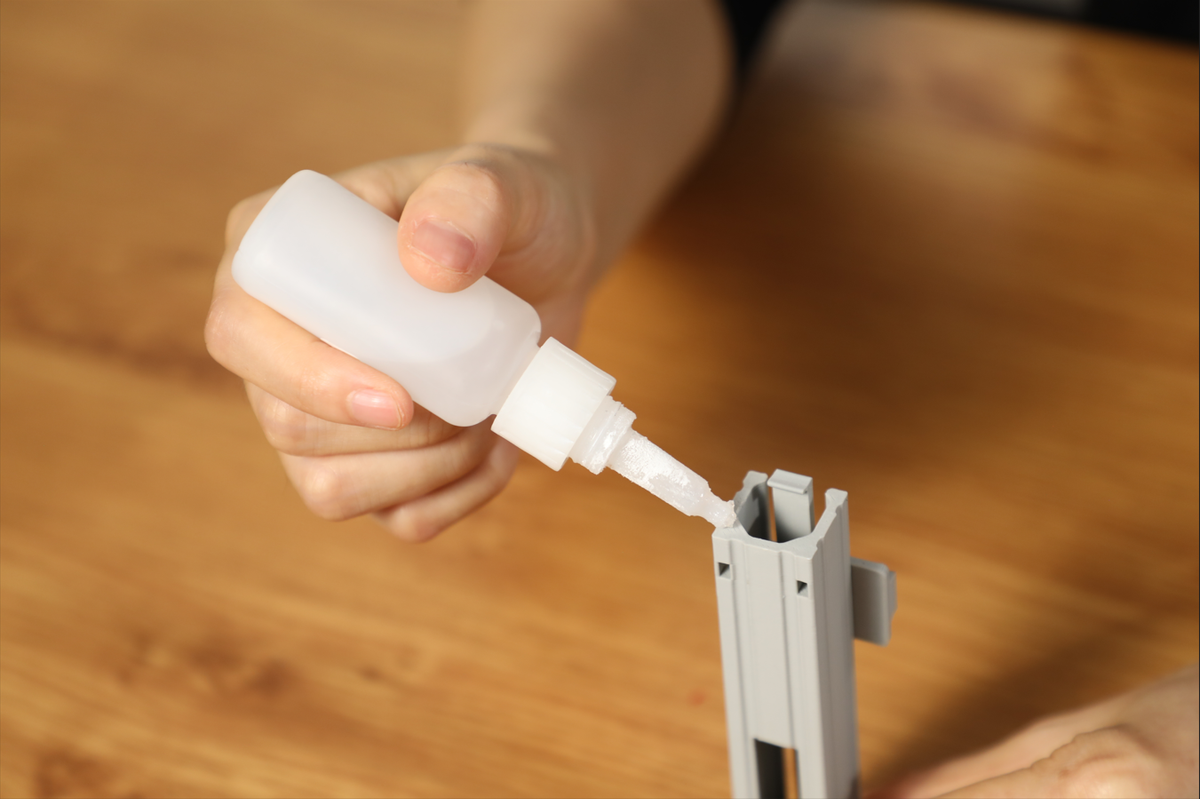
Step 3: Apply the Glue and Assemble
A common mistake is using too much adhesive. For a stronger bond, apply a thin, even layer. For maximum precision, dispense a small amount of glue onto a scrap surface and use a toothpick to apply it to your part. Press the parts together firmly.

Step 4: Clamp and Cure
The parts must be held securely without movement while the bond cures.
- For parts with regular geometry, use spring clamps.
- For complex shapes, painter's tape pulled tightly across the seam or rubber bands are effective clamping solutions.
- Be aware of the full cure time (often 8-24 hours) required for the adhesive to reach maximum strength. Do not put any stress on the part until this period has passed.
Quick Note: Why You Shouldn't Use Acetone on PLA
You may find information suggesting the use of acetone to "weld" PLA. This method is unreliable for pure PLA, which is highly resistant to acetone. It only works on specific "PLA+" or "Tough PLA" filaments because of certain additives, not the PLA itself. To ensure a predictable, strong bond on any standard PLA, it's best to use a proven adhesive.
Pro Tip: Reinforcing Bonds
A clever technique many makers use to instantly strengthen a CA glue bond involves baking soda. After joining the parts, lightly sprinkle baking soda onto the still-wet seam. It acts as a catalyst and a filler, hardening instantly into a sandable, plastic-like material that reinforces the joint.
Pro Tip: Design for an Easier Glue-Up
For the strongest assemblies, plan the joint before you even print. In your CAD software, you can design small holes into the mating faces of your parts. After printing, inserting a short piece of filament or a metal rod into these holes creates alignment pins. These pins lock the parts together perfectly and bear most of the physical stress, allowing the glue to function as a powerful locking agent.
Conclusion
Success with gluing PLA comes down to two things: choosing the right adhesive for the job and executing the proper technique.
- For most projects, a CA gel offers the best combination of speed and strength.
- For maximum durability on functional parts, use a two-part epoxy.
By pairing the right material with a disciplined workflow, you can achieve strong, clean, and professional bonds for all your 3D printing projects.