3D Printer Wall Thickness: The Secret to Stronger Prints
When a 3D print feels weak or snaps too easily, most people assume the fix is more infill. It seems logical. More plastic inside should mean more strength. In reality, that approach often wastes time and filament while doing very little to improve durability.
The real secret sits in a setting many beginners overlook. 3D printer wall thickness has a far greater impact on strength than infill ever will. Most of the stress on a print ends up on the outside layers. Those walls are what take the hits and give the part that solid, sturdy feel when you pick it up.
In the sections below, we will look at what wall thickness really does in day-to-day printing, why it often makes a bigger difference than infill, and how many walls tend to work best for light display pieces as well as parts that actually have to carry weight.
What Is 3D Printer Wall Thickness? (The Basics)
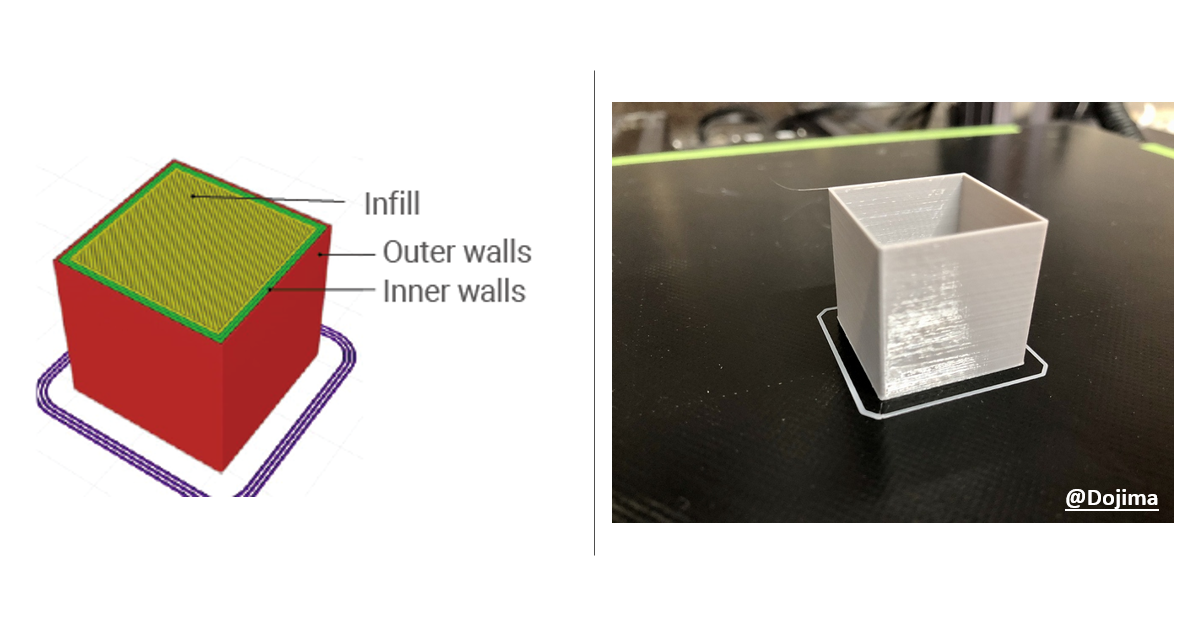
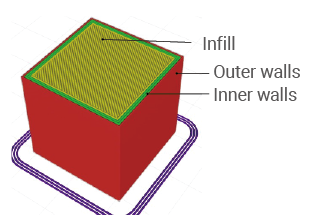
Wall thickness refers to the solid outer layers of a 3D print. It is the space between the outside surface and the infill. Depending on the slicer you use, this setting may be labeled as 3D print shells or perimeters 3D printing.
The calculation behind it is straightforward.
Wall Thickness = Nozzle Diameter × Number of Wall Lines
Say you are printing with a regular 0.4mm nozzle and you choose three walls. Once the print is done, those walls add up to roughly 1.2mm.
Most people find it works better when wall settings stay in step with the nozzle. Numbers like 0.8mm, 1.2mm, and 1.6mm usually behave well on the printer. The lines join up more cleanly, and there is less fiddling to fix gaps or blobs. When nozzle size and wall thickness are in sync, the outside of the print tends to look right without much effort.
Wall Thickness vs. Infill
One way to picture it is like a hollow tube. Almost all of its strength comes from the outside, while the inside does very little to hold it up. 3D prints behave the same way. The walls handle bending, pulling, and compression long before infill becomes relevant.
Using very high infill percentages often leads to longer print times and unnecessary material use. Dialing in your wall thickness also means you are not burning through good filament just to fill empty space inside a print. That plastic does nothing for the look or the strength once it is buried.
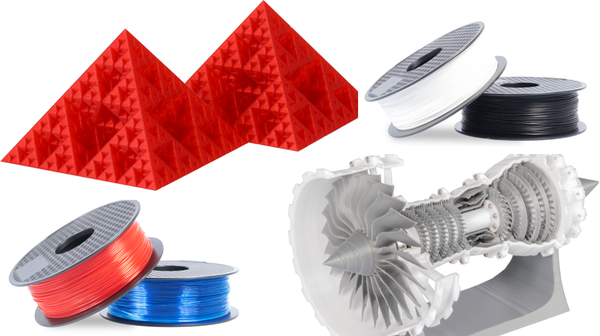
If you want to see what materials make sense for different jobs, Snapmaker’s 3D Printer Filament Collection is a good place to start.
Material choice still plays a role in durability. Some filaments resist impact better, while others hold shape under heat. Snapmaker explains this in detail in their comprehensive guide on material strength.
3D Printer Shell Thickness "Cheat Sheet"
There is no universal wall setting that works for every print. The correct choice depends on how the part will be used. Below are reliable guidelines for common scenarios.
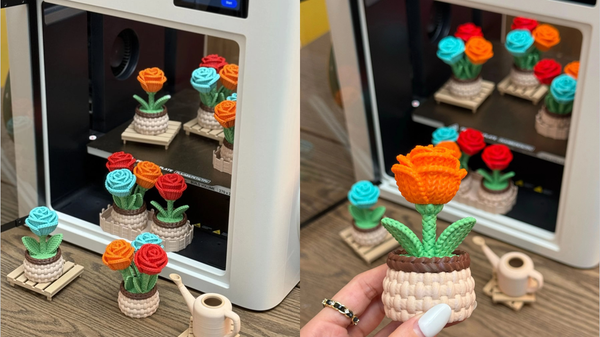
1. Decorative Prints & Miniatures
For figurines, display models, and purely visual parts, 2 wall lines are usually enough. With a 0.4mm nozzle, this equals about 0.8mm.
These prints do not carry weight. Two walls are thick enough to hide infill patterns while keeping prints light and fast. Adding more walls here rarely improves the result.
2. Standard / Daily Use
For most everyday prints, 3 wall lines are the ideal balance. That comes out to roughly 1.2mm.
This setup produces strong 3D prints that can handle regular use without feeling bulky. It also tends to create parts that are watertight when temperatures are dialed in properly.
3. Functional & Heavy-Load Parts
Mechanical parts such as brackets, hooks, mounts, or gears benefit from 4 to 6 wall lines. This gives a wall thickness between 1.6mm and 2.4mm.
Stress concentrates on the surface of a part. Thicker walls help resist cracking and wear over time. For mechanical parts that need to endure stress, combine 4 to 6 walls with a durable material like PETG filament for a nearly indestructible result.
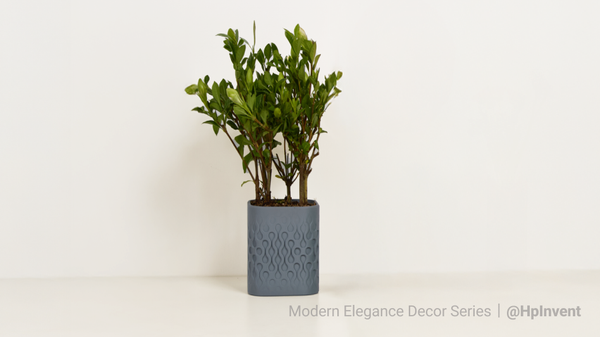
4. Watertight Prints
For containers, planters, or fluid-handling prints, use at least 3 to 4 wall lines. Continuous wall loops create a stronger seal than relying on dense infill, which can still leak through tiny gaps.
Troubleshooting Common Issues About 3D Printer Wall Thickness
Infill Bleeding (Ghosting)
If you can see the infill pattern on the surface, the walls are too thin. This often happens with a single wall line. Increasing the wall count to 2 or 3 usually fixes it.
If surface artifacts remain, the issue may be ghosting or ringing. Snapmaker’s 3D printing ghosting guide explains how motion settings can affect surface quality.
Delamination (Layer Separation)
When walls crack apart vertically, the cause is often poor layer bonding rather than wall thickness. Printing at a slightly higher temperature can improve adhesion.
If layers appear shifted instead of cracked, you may be dealing with mechanical issues. The layer shift guide helps identify and correct that problem.
Dimensional Accuracy
Very thick walls can cause slight dimensional changes due to material shrinkage. This is uncommon but worth noting for precision parts.
Conclusion
If your print breaks or is weak, it is not always the infill. Making the walls thicker helps the print be stronger. You can feel it is stronger when you hold it.
Open Snapmaker Luban or Snapmaker Orca and change your default profile from 2 walls to 3 walls. Many users notice an immediate difference.
Extra walls do add print time, but faster hardware helps offset that. While adding extra walls adds print time, using a high-speed IDEX machine like the Snapmaker U1 3D Printer allows you to print these robust parts in a fraction of the time. Stronger prints do not have to mean slower workflows.