3D Printer Under-Extrusion: Why It Happens & How to Fix It
There is nothing quite as heart-sinking as checking on a 10-hour print only to find the last few inches look like a brittle sponge. Or perhaps you’ve returned to find the printer “air printing” inches above the model, with no plastic coming out at all.
This is under-extrusion. It is the single most common quality issue in FDM printing, and it happens when your printer is unable to supply the necessary amount of plastic to the nozzle.
The good news? It is almost always fixable without buying new parts. Whether you are running a budget DIY kit or a high-end workstation, the physics are the same. This guide will walk you through a logical "path of least resistance," starting with the easiest checks before moving to mechanical repairs.
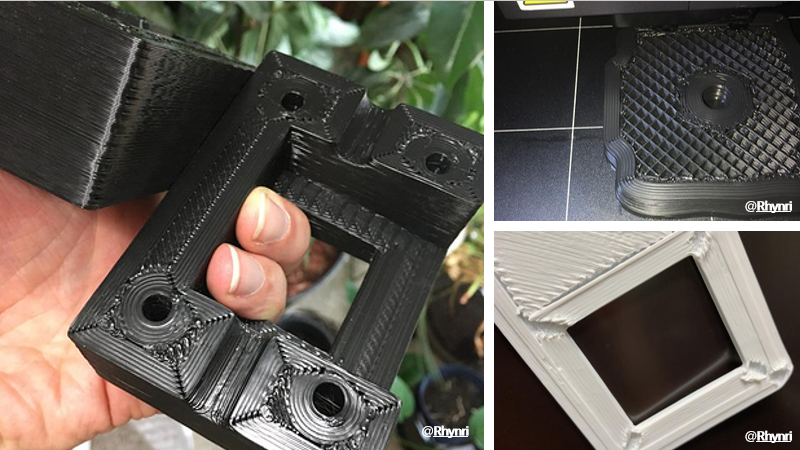
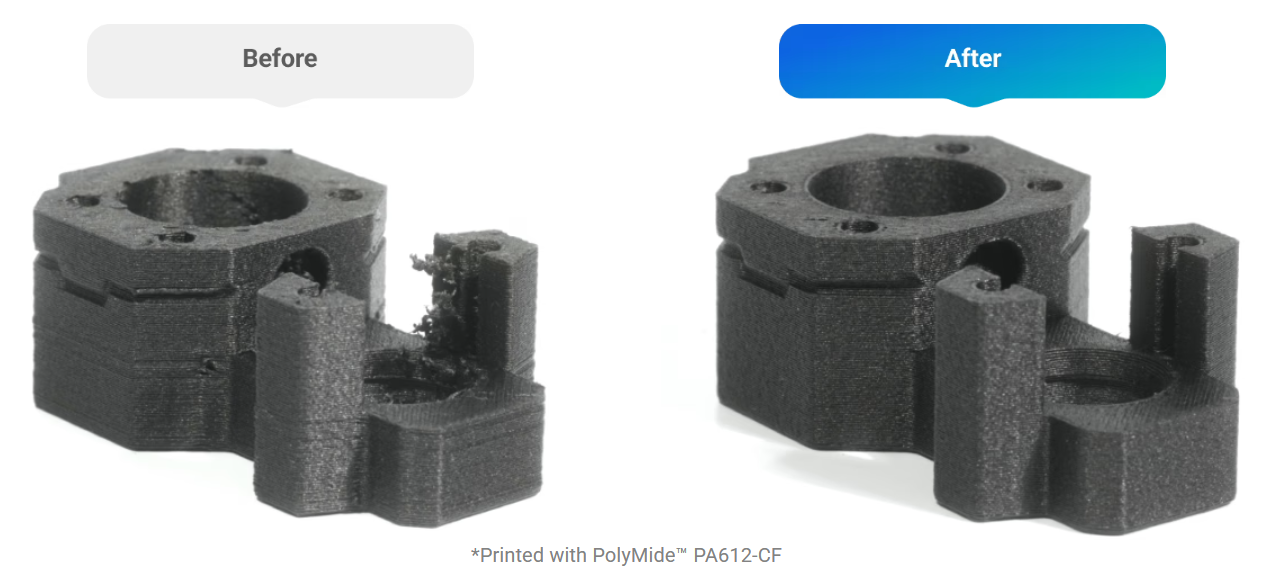
What Does Under-Extrusion Look Like?
Before you start tweaking settings, confirm the diagnosis. Under-extrusion usually manifests in three ways:
- Missing Layers: You see distinct horizontal gaps where layers didn't bond.
- Pockmarks & Gaps: Top surfaces have small holes or look "webbed" rather than solid.
- Weak, Spongy Parts: The print feels lighter than usual and crumbles under simple finger pressure.
Note: If the issue is only happening on the very first layer, you might not have under-extrusion. You likely have a bed leveling issue where the nozzle is too close to the build plate. Check our guide on First Layer Problems and Solutions to rule that out first.
Phase 1: The "Quick Checks" (Rule These Out First)
Don't disassemble your toolhead yet. Many extrusion issues are caused by simple environmental factors or oversight.S
1. Check Your Filament Path
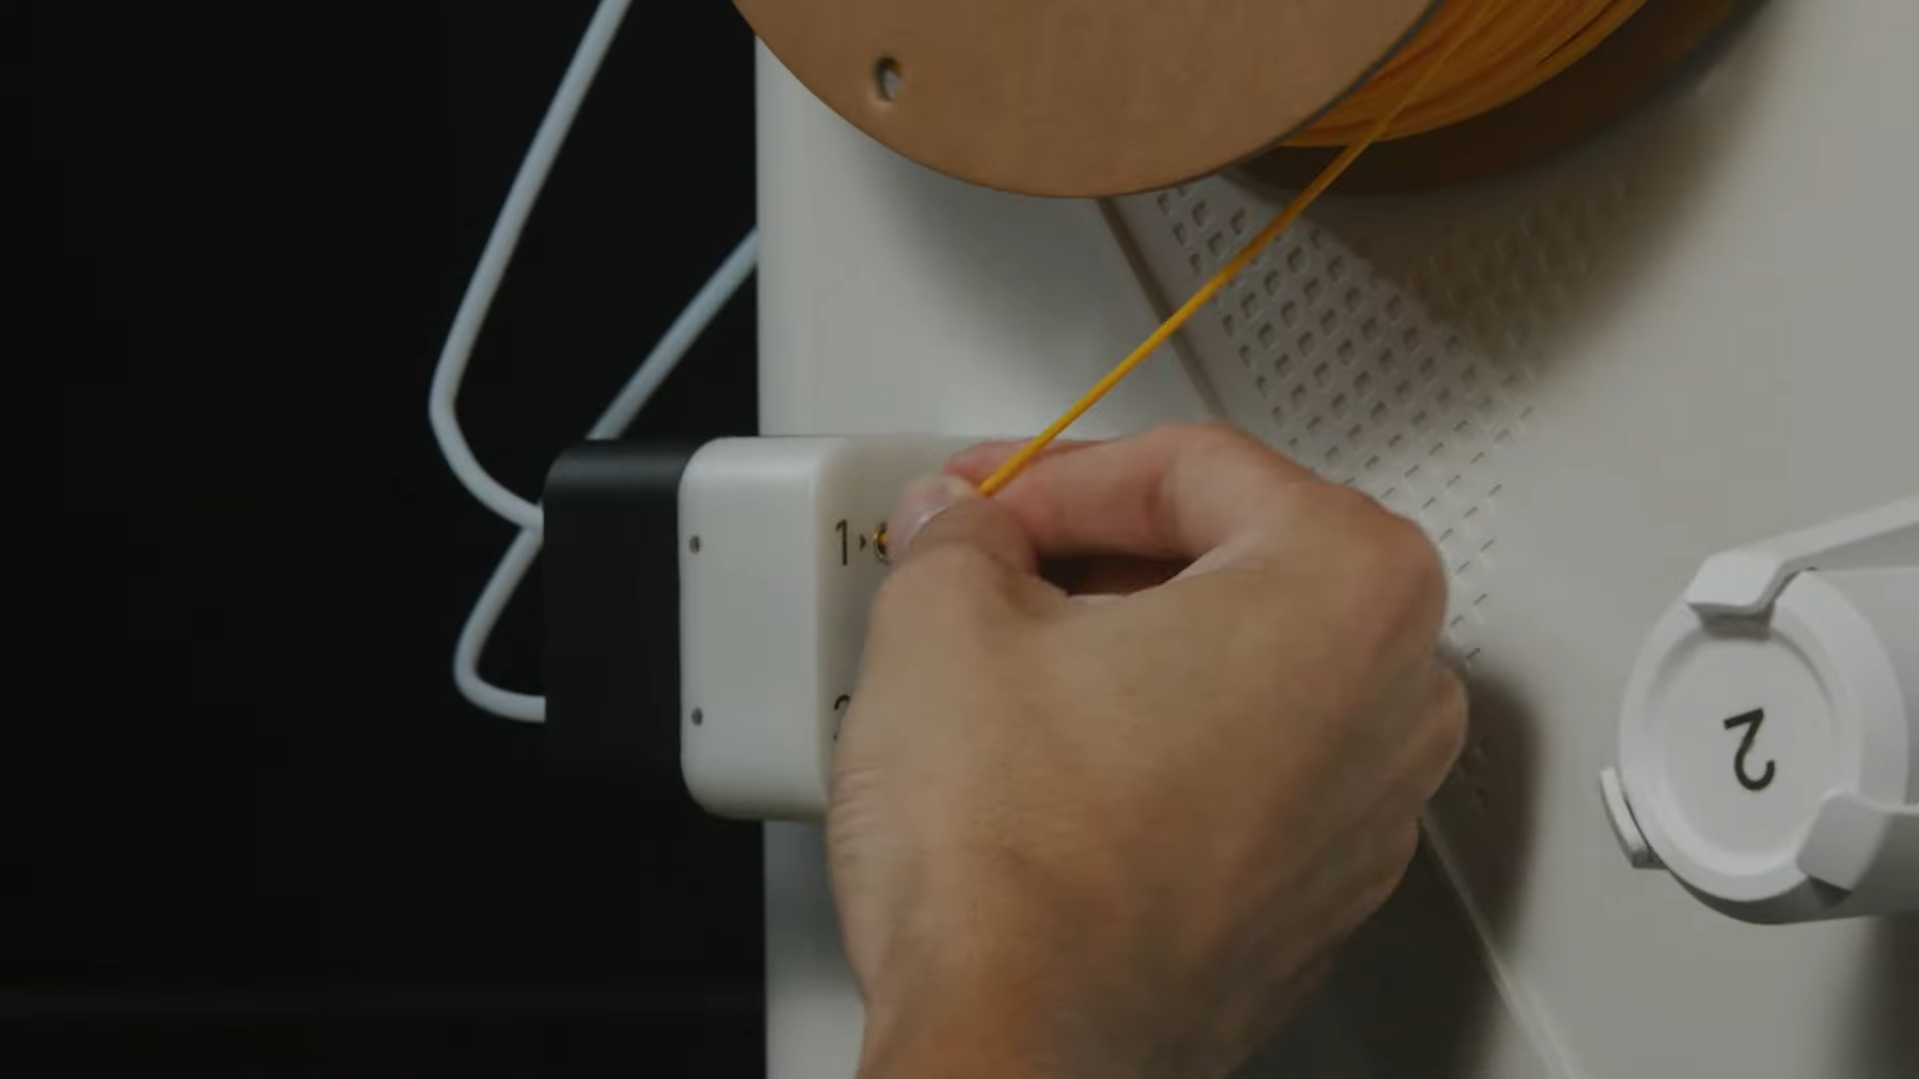
Is the spool spinning freely? A tangled spool—often caused by letting go of the filament end during storage—will pull against the extruder. If the extruder has to fight the spool, it will lose grip and fail to push plastic.
Also, check your Filament Diameter. While most modern printers use 1.75mm, accidental settings changes or poor-quality filament with inconsistent widths can cause jams in the Bowden tube.
2. Moisture & Filament Storage
Moisture is the "silent killer" of print quality. It isn't just a problem for advanced materials like Nylon or TPU; even standard PLA absorbs water over time. As wet filament hits the hot nozzle, the water boils into steam. This creates bubbles and voids in the plastic, resulting in a rough, under-extruded texture.
If you hear popping or hissing sounds while printing, your filament is wet.
The Solution: Active Drying To ensure consistent results, we recommend using a dedicated drying solution like the SnapDryer.
- All-in-One Efficiency: SnapDryer seals, dries, and stores your filament in one modular device.
- Material Versatility: It provides a reliable, moisture-proof seal for most 3D Printer Filament Types, including PLA, PETG, ABS, ASA, TPU, PA, PC, PVA, and Breakaway support.
- Universal Fit: It works great with both 1.75mm and 2.85mm filament sizes.
For more tips on keeping your materials dry, read our guide on How to Store Your 3D Printer Filament.
3. Temperature vs. Speed
This is a balancing act. If you try to print very fast but keep the temperature standard, the hot end cannot melt the plastic quickly enough to keep up with the flow.
The Fix: If you are pushing speeds above 60-80mm/s, try increasing your nozzle temperature by 5-10°C. This lowers the viscosity of the plastic, making it easier for the extruder to push.
Phase 2: Mechanical Fixes (The Hot end)
If your settings and filament are good, the issue is likely physical restrictions in the hot end.
1. The Partial Clog
A full clog stops printing entirely; a partial clog just restricts flow, leading to thin, weak lines.
- Visual Check: Heat the nozzle and extrude some plastic into the air. Does it flow straight down? If it curls up and sticks to the nozzle immediately, you likely have a partial clog.
- The Solution: Perform a "Cold Pull" (Atomic Method). This involves heating the nozzle, inserting a contrasting filament, cooling it down, and yanking it out to remove debris.
2. Heat Creep
This occurs when heat travels up the filament before it reaches the melt zone. The filament swells inside the cold zone and jams.
- Common Cause: Printing low-temp materials (PLA) in a fully enclosed chamber. The ambient heat gets too high.
- The Fix: If you have an enclosed printer, leave the door or top panel open when printing PLA. For a deeper dive into cooling, check out Why the 3D Printer Cooling Fan Matters.
Phase 3: The Extruder Assembly
If the pathway is clear, check the mechanism pushing the plastic. For a better understanding of how this component works, read What is a 3D Printer Extruder?.
1. Extruder Tension
The gears need to grip the filament firmly, but not so tight that they crush it.
- Too Loose: The gears spin, but the filament doesn't move.
- Too Tight: The gears grind the filament, creating plastic dust that clogs the teeth.
- Adjustment: Locate the spring tension screw. Tighten it until the gears leave distinct teeth marks on the filament, but do not deform it into an oval shape.
2. Physical Wear
Check for broken extruder arms or worn drive gears. If the teeth on your drive gear are filled with plastic shavings, clean them with a stiff brush as part of your regular FDM Printer Maintenance.
Phase 4: Slicer Settings (Software)
Sometimes the machine is fine, but the instructions (G-code) are wrong. Check these settings in your slicer.
1. Flow Rate (Extrusion Multiplier)
If your steps/mm are calibrated but prints are still consistently 2-3% under-extruded (walls not touching), you may need to adjust your flow rate.
The Fix: Bump your Flow Rate to 105%. This is a common quick fix for specific rolls of filament that might be slightly undersized. Learn more in our article: What Is Flow Rate in 3D Printing?.
2. Retraction Settings
Retraction pulls filament back to prevent stringing. However, if you retract too far or too often, you pull molten plastic into the cold zone of the heatsink, causing a jam.
- Direct Drive: Keep retraction under 1.5mm.
- Bowden: Keep retraction under 6mm.
Summary Checklist
If you are facing under-extrusion, follow this order to save time:
- Listen: Is the extruder clicking? (Mechanical jam).
- Check: Is the filament tangled, wet, or is the nozzle temperature too low?
- Inspect: Is the nozzle partially clogged? (Do a Cold Pull).
- Calibrate: Check your Flow Rate in the slicer.
By systematically ruling out these variables, you can return to printing solid, durable parts without the headache of guessing.